Setting Groups
Setting Groups are named configuration profiles. Each group holds a set of settings — attendance display, notifications, email configuration, and integrations — and can be assigned to specific classes and forms. This lets different parts of your school run with different configurations.
For example, you might have one group for your main school (using the default ClassBuddy email sender) and another for a specific programme that uses its own Gmail account for notifications.
Managing setting groups requires the groupSettings:write permission. Editing individual settings within a group requires setting:update. See Roles & Permissions for details.
Go to Settings > Setting Groups to manage your groups.
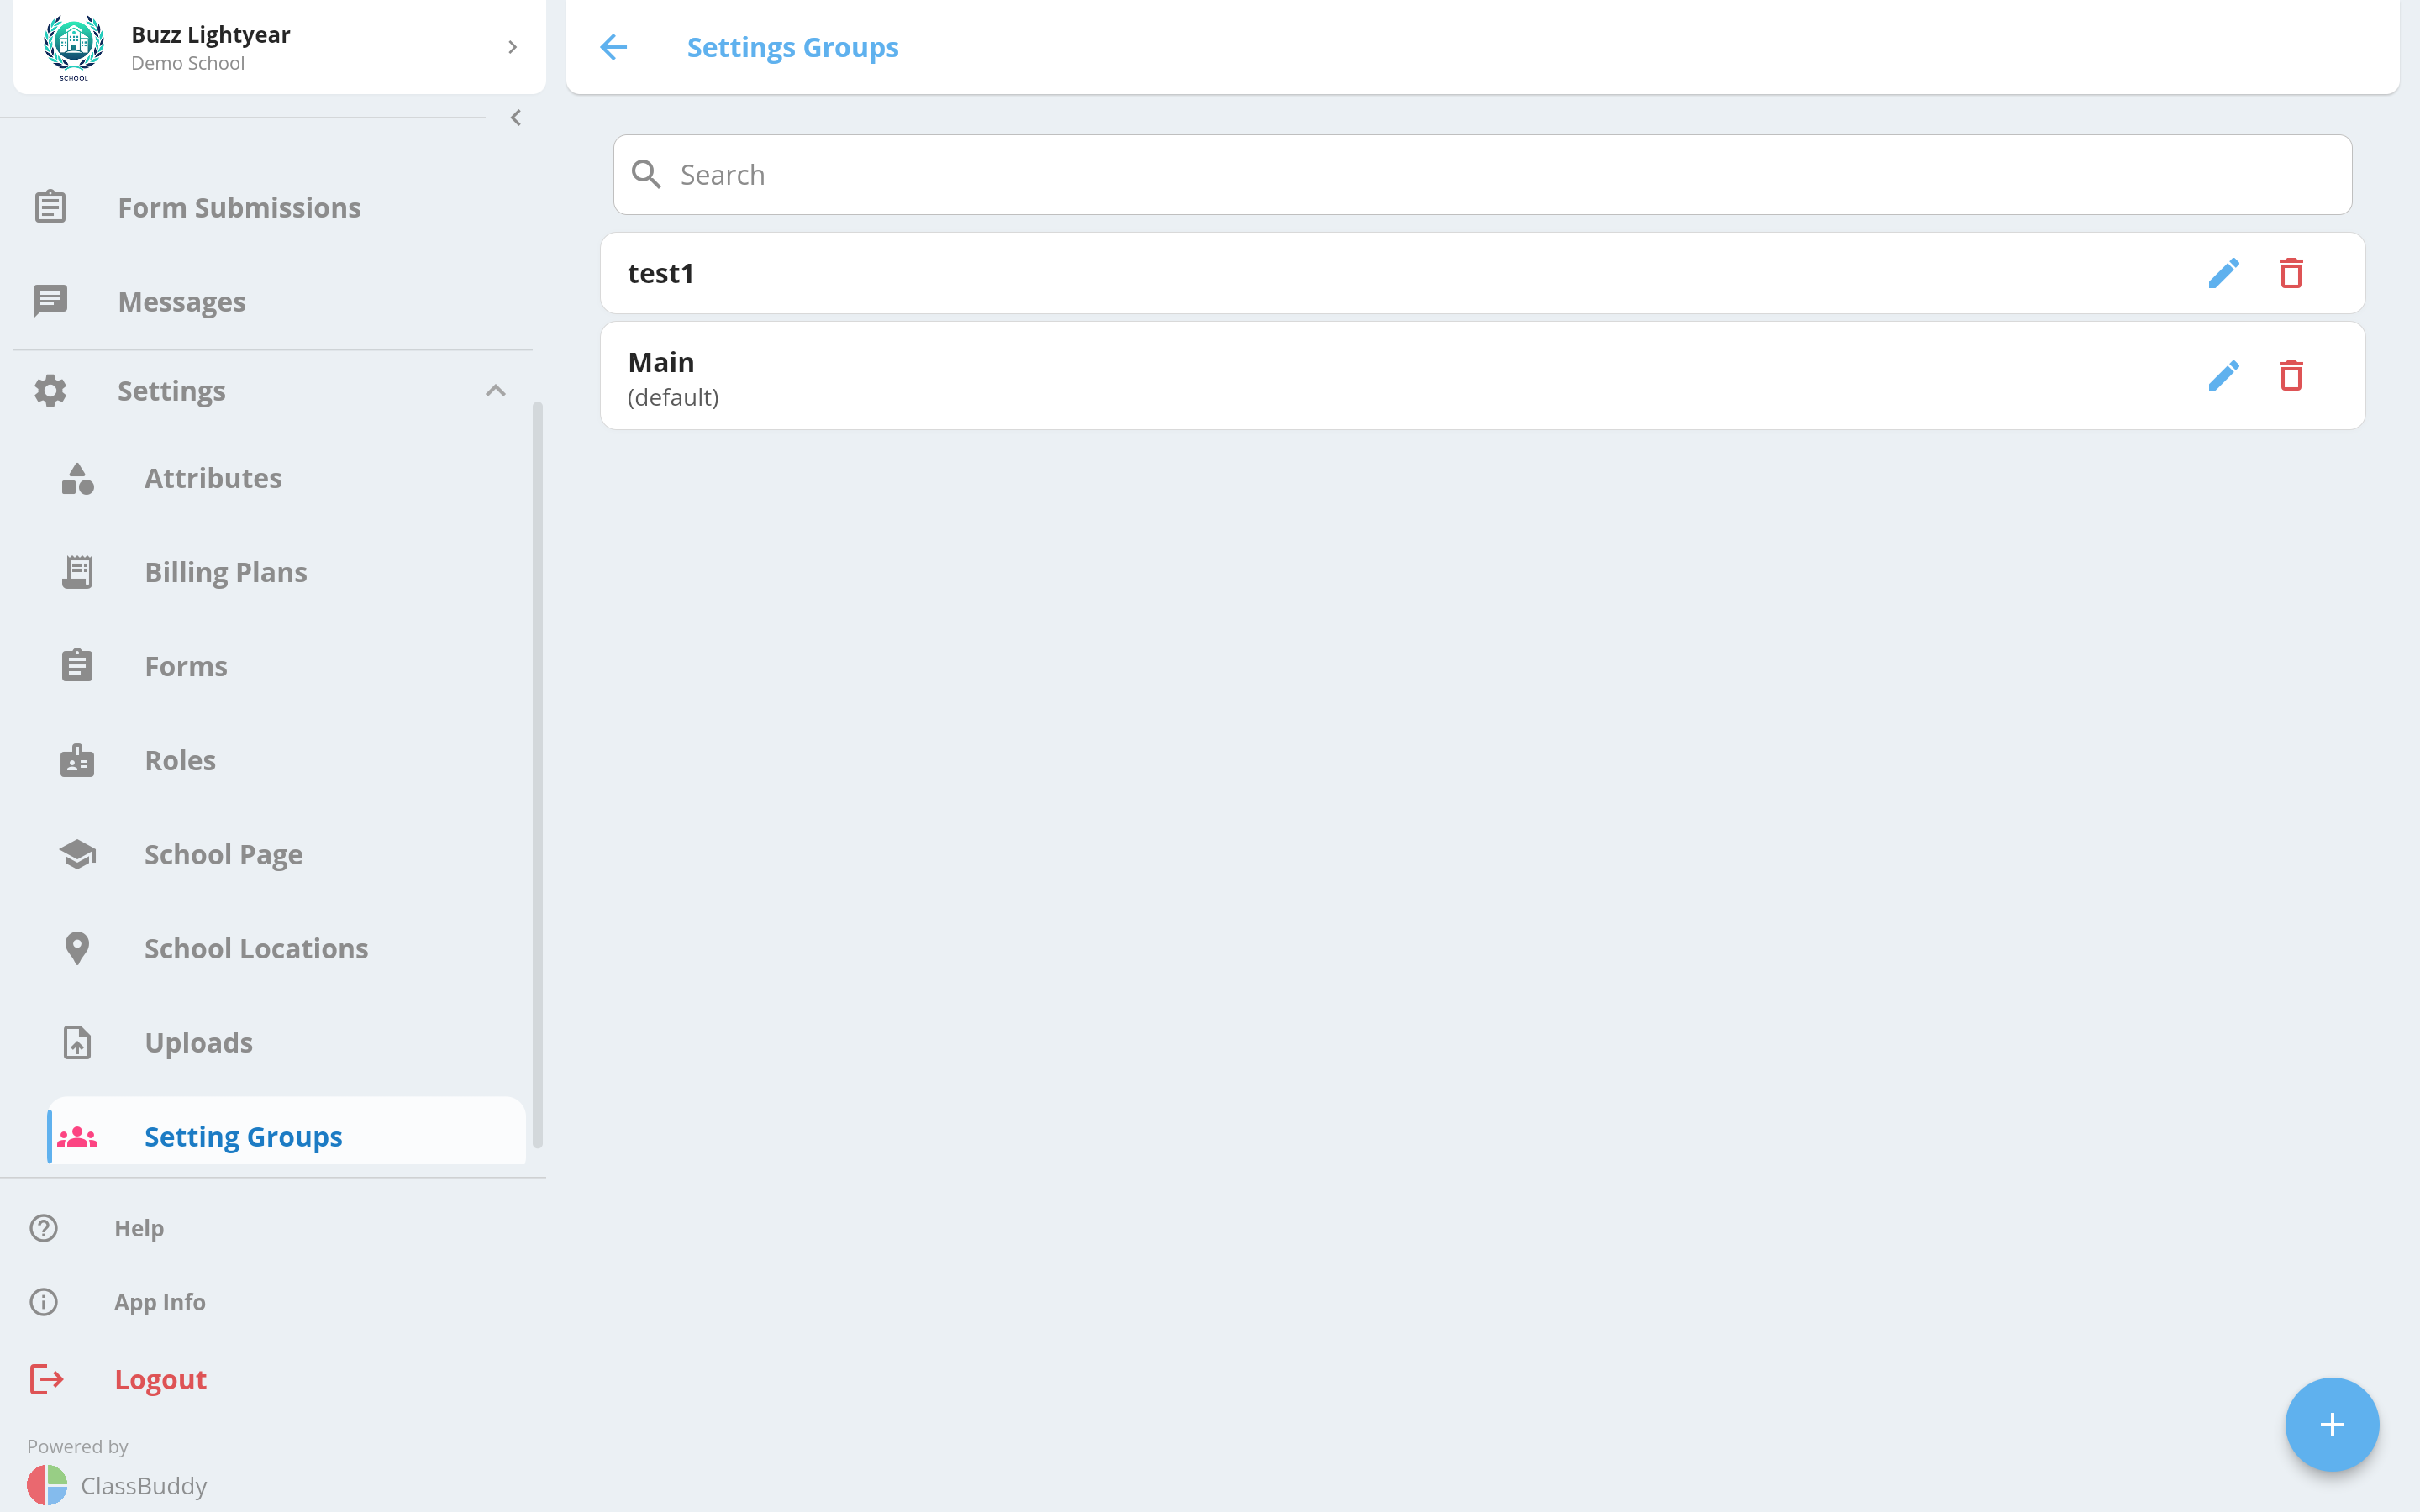
The Default Group
One group is designated as the default. Any class or form not explicitly assigned to another group inherits the default group's settings. Every school should have exactly one default group.
The default group is marked with (default) in the list.
Create a Group
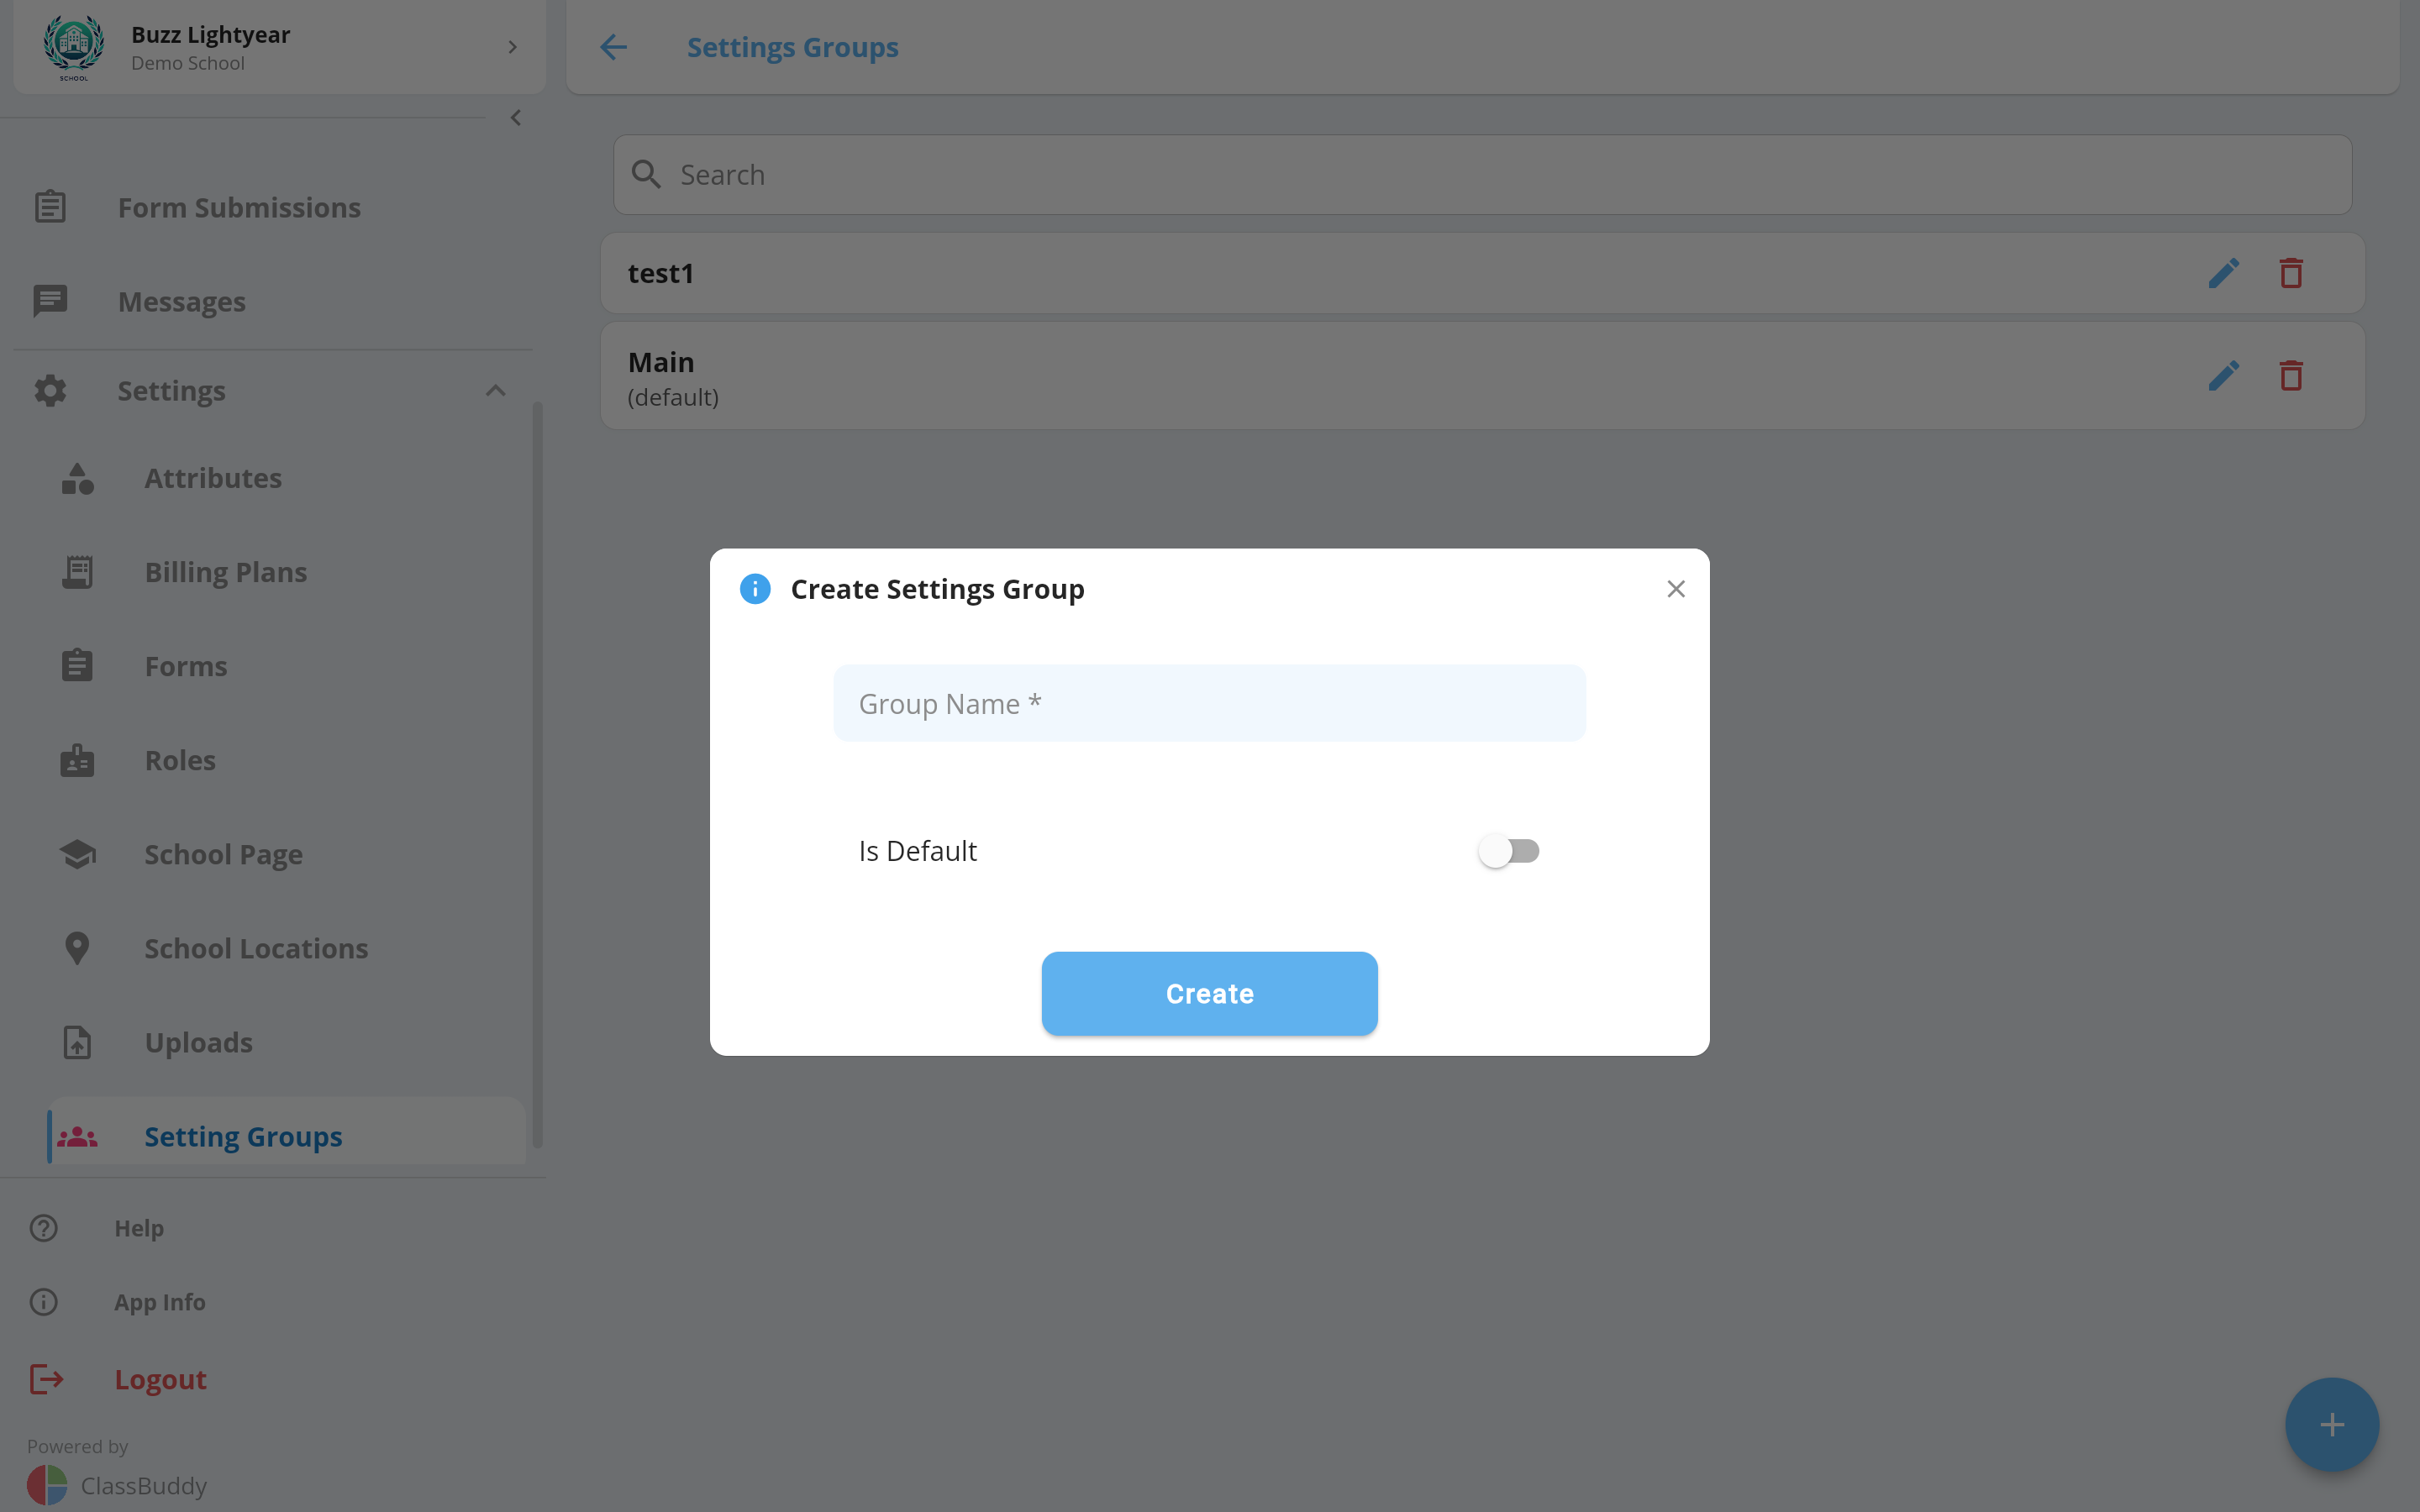
Tap the + button to create a new group.
| Field | Description |
|---|---|
| Group Name | A descriptive name for this group |
| Is Default | Toggle on to make this the school's default group |
Tap Create to save.
Edit or Delete a Group
Tap the menu (three dots) on any group card to Edit or Delete it.
Deleting a group removes all its settings. Any classes or forms assigned to it will fall back to the default group.
Assign Classes and Forms to a Group
Open a group and go to the Members tab to see which classes and forms are assigned to it.
Tap the + button to add members. Select the member type (Class or Form), then choose one or more from the list.
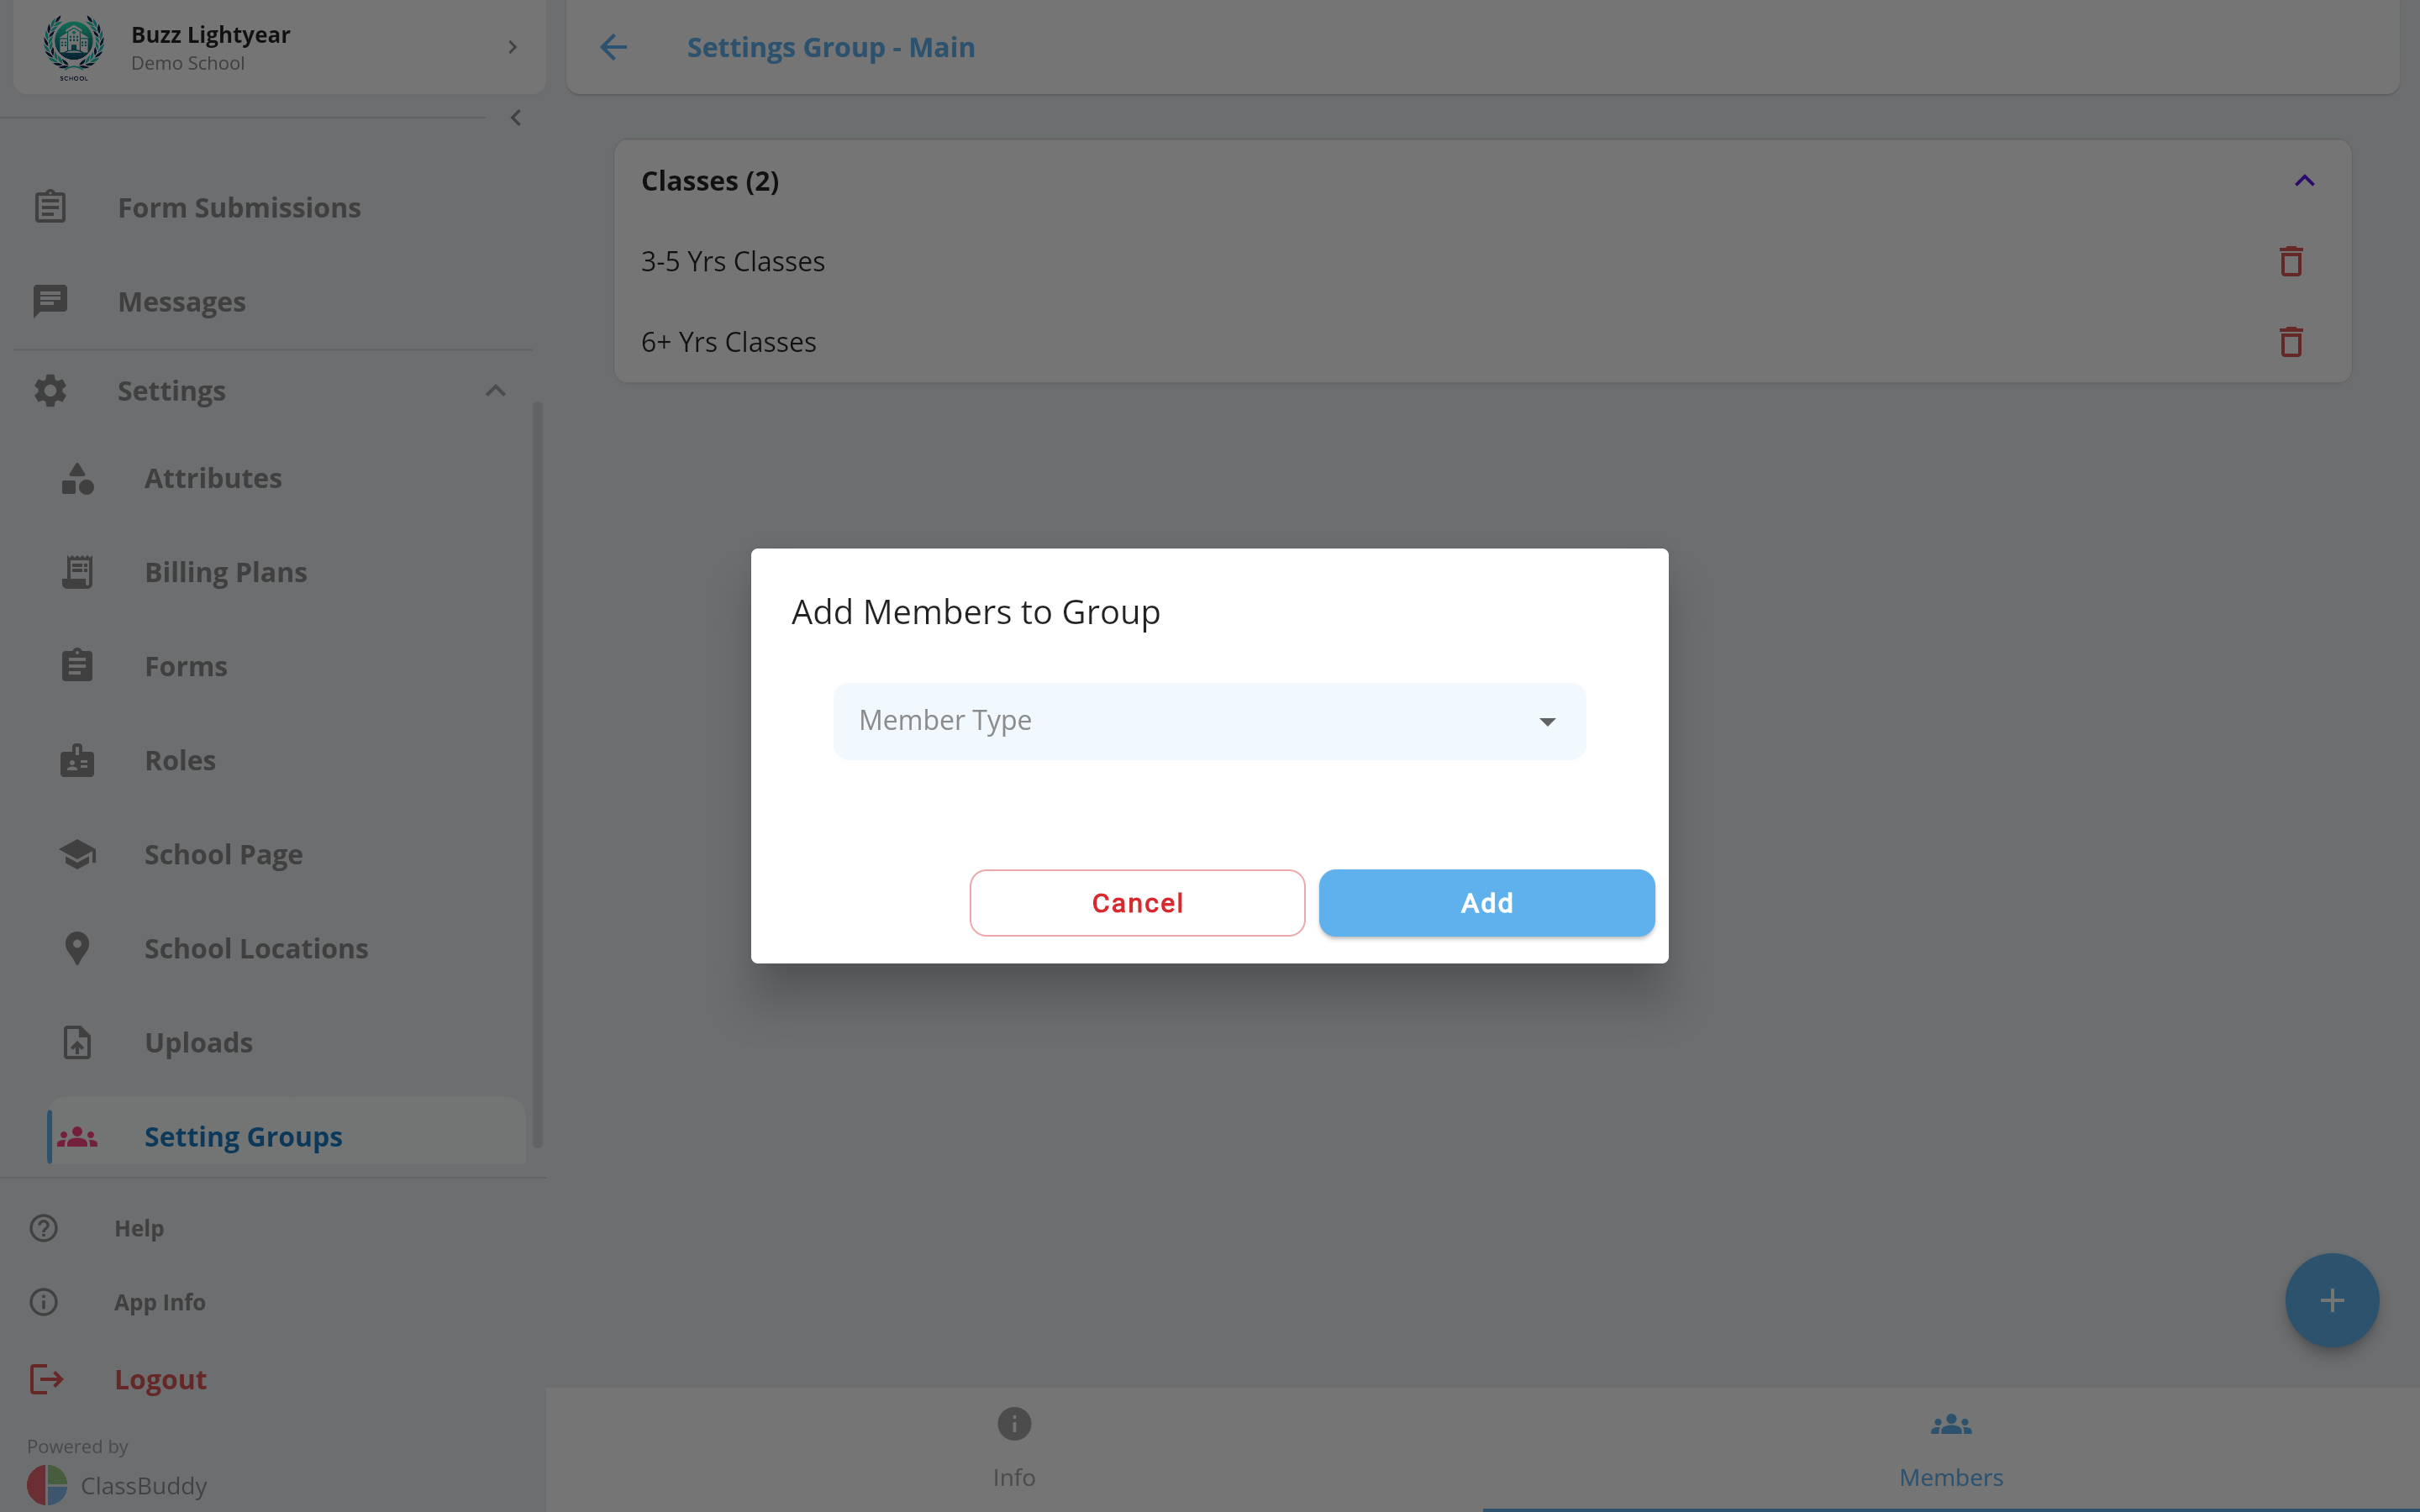
To remove a member, tap the delete icon next to it.
Settings
Open a group and go to the Info tab to view and edit its settings. Settings are organised into categories.
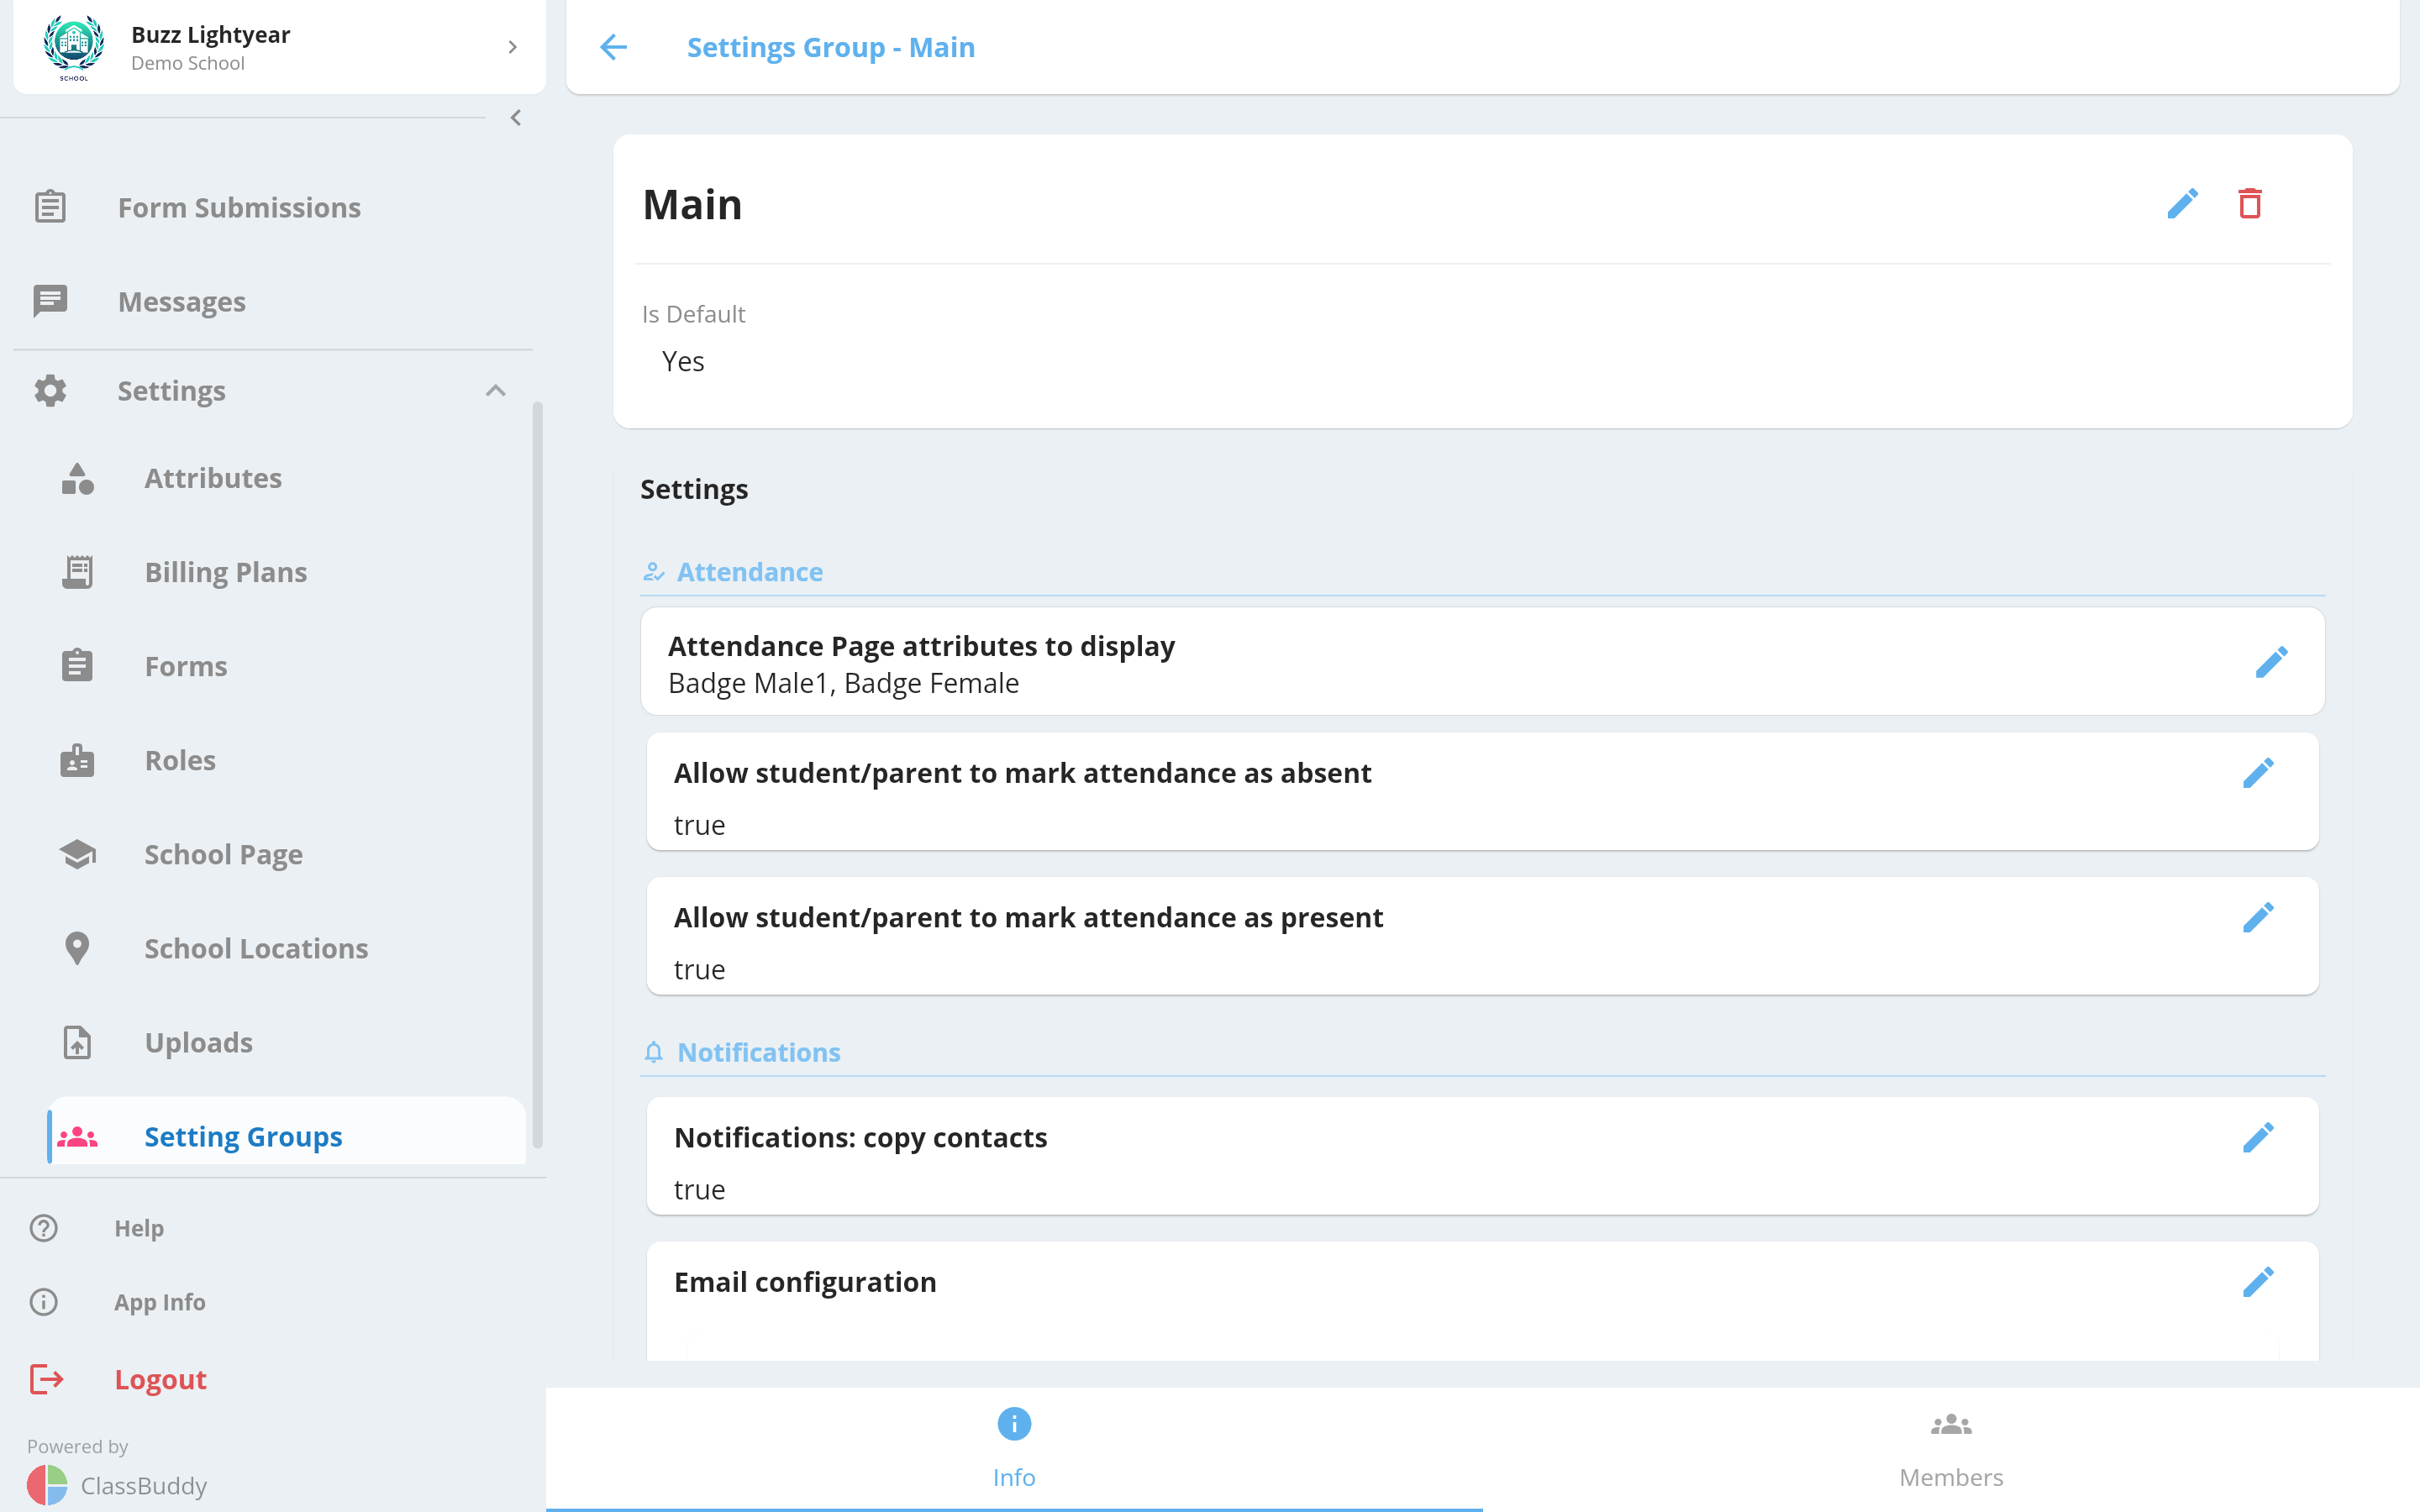
Tap the edit icon next to any setting to change its value.
Attendance
Attendance Page Attributes
Select which custom student attributes appear on the attendance page alongside each student's name. Useful for showing relevant context at a glance — for example, a student's level or stream.
Notifications
Include Contacts in Student notifications?
When enabled, a student's saved contacts (parents and guardians) also receive notification emails in addition to the student. Both this setting and the individual contact's Subscribe to notifications toggle must be on. See Contacts for details.
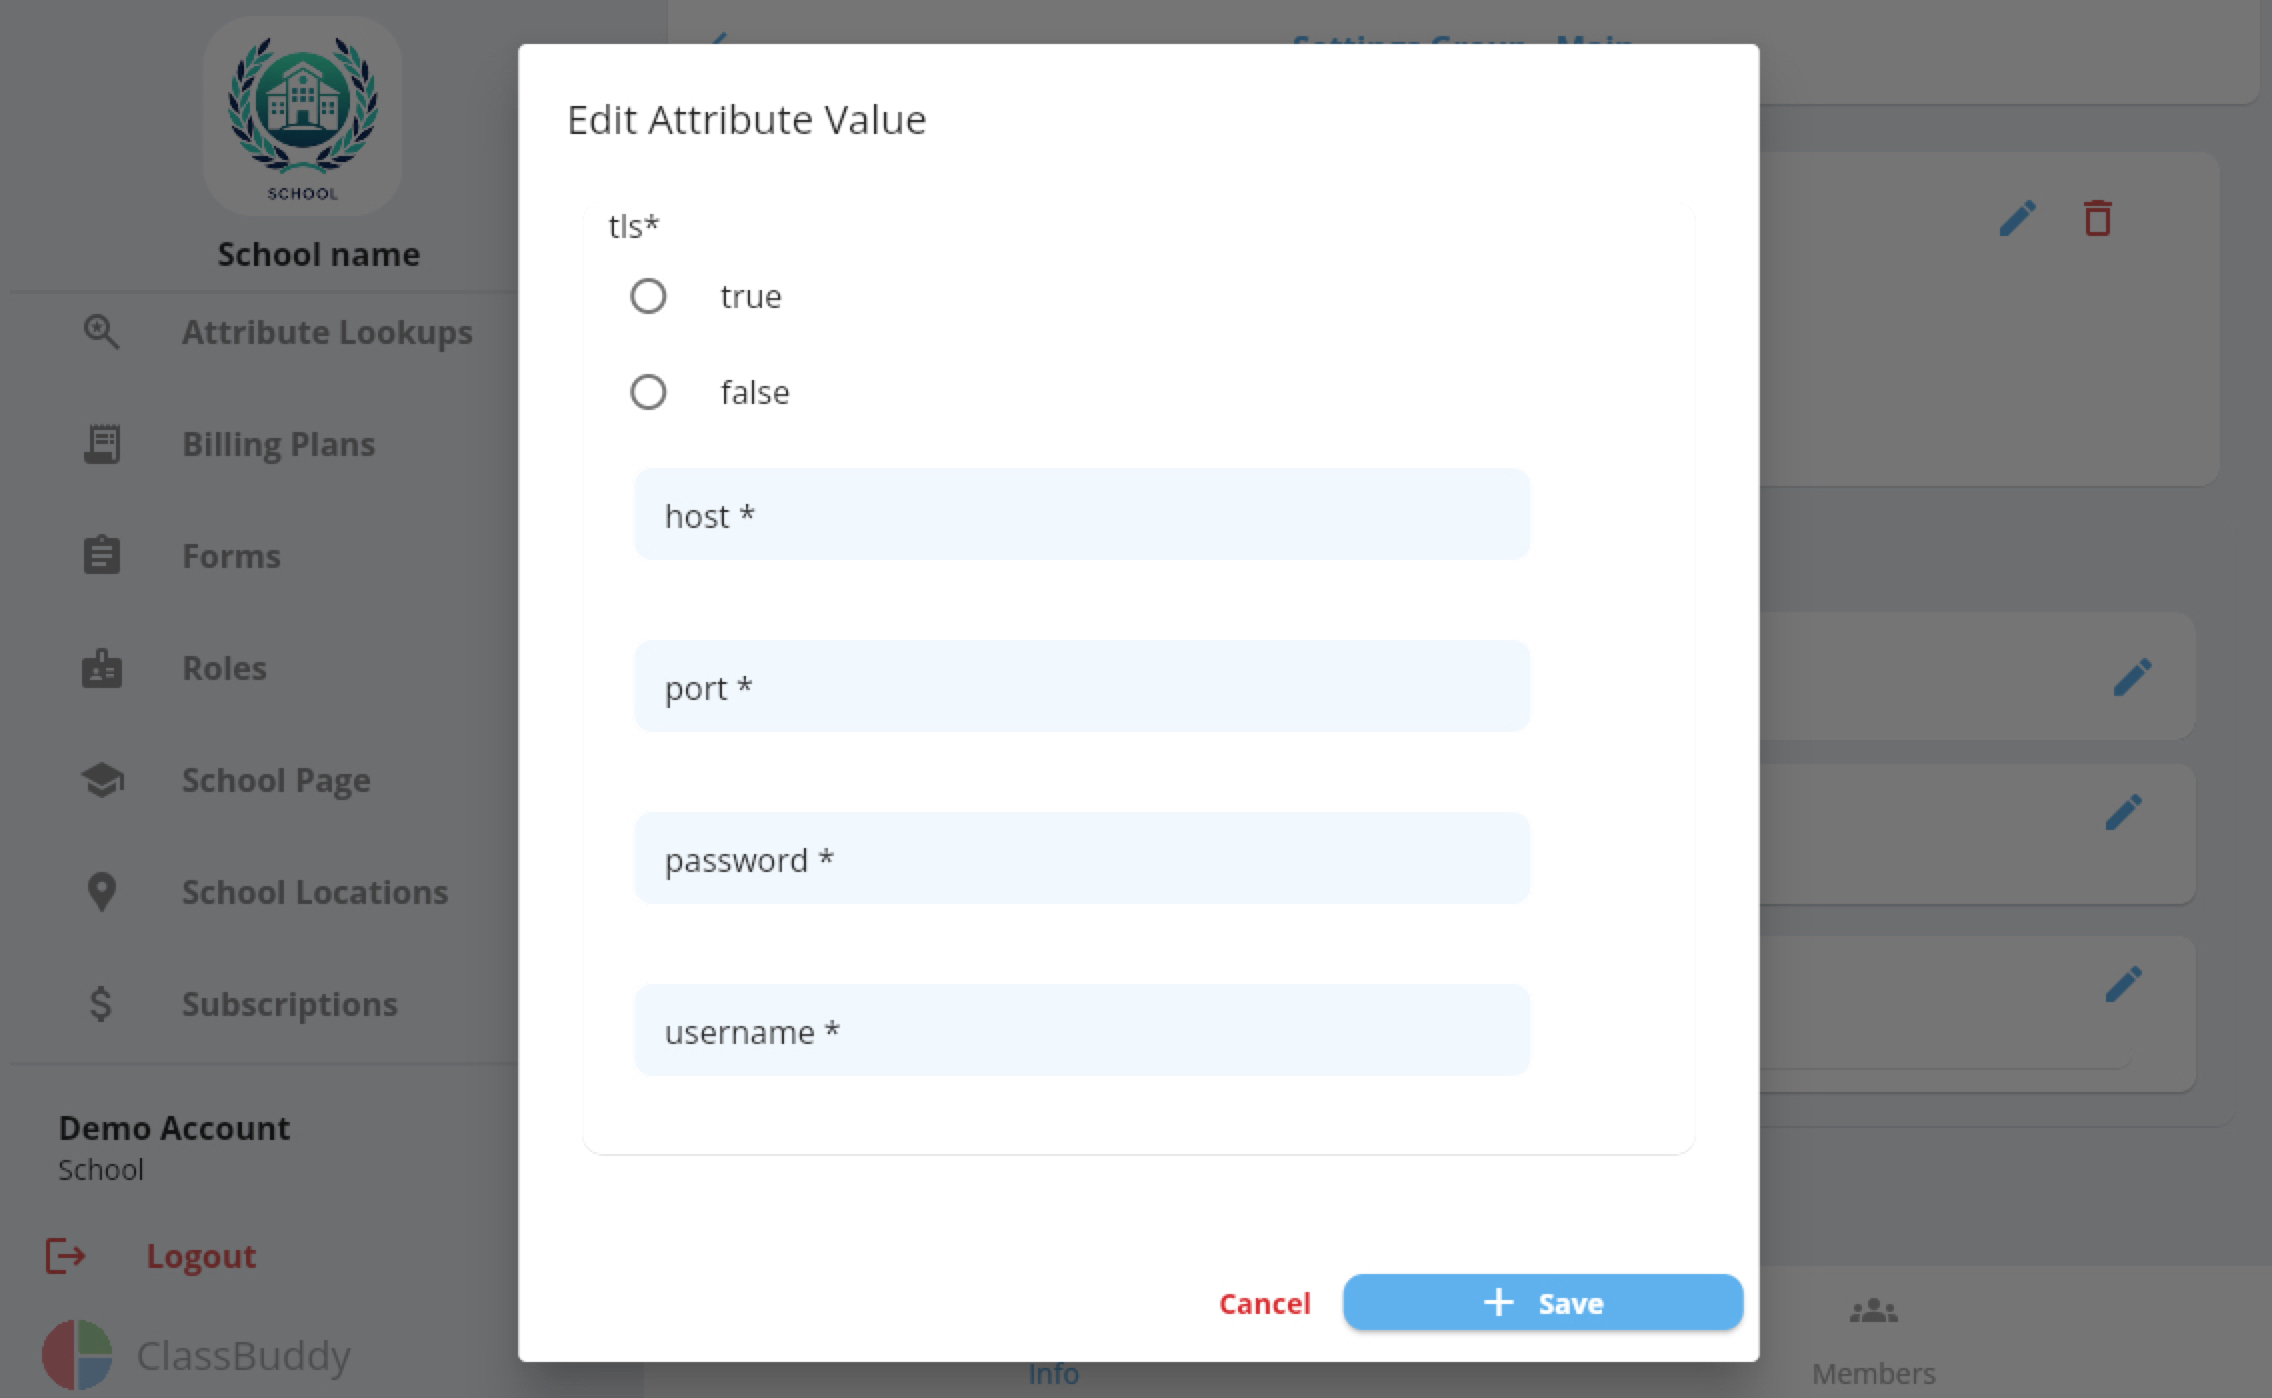
Email Configuration (SMTP)
When filled in, outgoing emails for this group (attendance notifications, form submissions, messages, etc.) are sent from your own email account instead of the default ClassBuddy sender. Leave blank to use the ClassBuddy default.
| Field | Description |
|---|---|
| Host | SMTP server hostname |
| Port | SMTP port (typically 587 for TLS) |
| TLS | Toggle on for encrypted connections |
| Username | Your email address |
| Password | Your email password or app password |
Configuring Gmail as your email sender
Google requires an App Password for third-party apps — your regular Google password will not work.
Step 1 — Generate an App Password
- Go to your Google Account settings and open the Security tab.
- Enable Two-Step Verification if you haven't already.
- Search for App passwords and open it. You may be asked to sign in again.
- Choose Mail as the app and Other (Custom name) as the device. Enter a label like "ClassBuddy".
- Click Generate. Copy the 16-character password immediately.
Step 2 — Enter the details in ClassBuddy
Click the edit icon next to Email Configuration and enter:
| Field | Value |
|---|---|
| TLS | true |
| Host | smtp.gmail.com |
| Port | 587 |
| Username | Your full Gmail address (e.g. you@gmail.com) |
| Password | The 16-character App Password from Step 1 |
Integrations
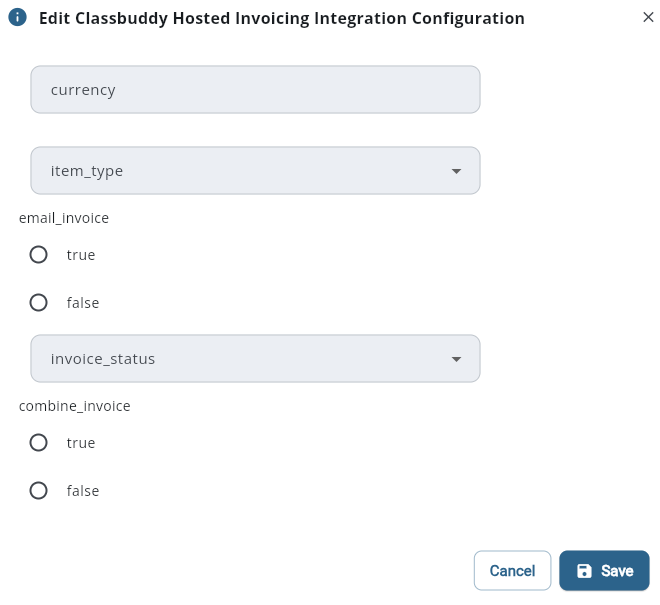
ClassBuddy Invoicing
- Configure the settings for ClassBuddy invoicing. Fill in the following fields:
| Field | Value |
|---|---|
| Currency | ex - ZAR for South Africa |
| item_type | choose EXTERNAL_CHARGE |
| email_invoice | choose true if you would like to send an email once invoice is created |
| invoice_status | choose DRAFT or COMMITTED |
| combine_invoice | If there are 2 or more students under one email, choose to combine the invoice or not |
After the integration has been configured for your group, tap Activate to initialise it, then Sync Contacts to synchronise billing contacts.
Once activated, school admins can create invoices, record payments, and send account statements for students. See Invoicing for the full guide.