Forms
Schools can create two types of forms:
- Sign Up — used when a student is ready to join a class. Can include class and schedule selection.
- Waiting List — used when classes are full and you want to track applicants until a spot opens.
Creating and editing forms requires the form:update permission. See Roles & Permissions for details.
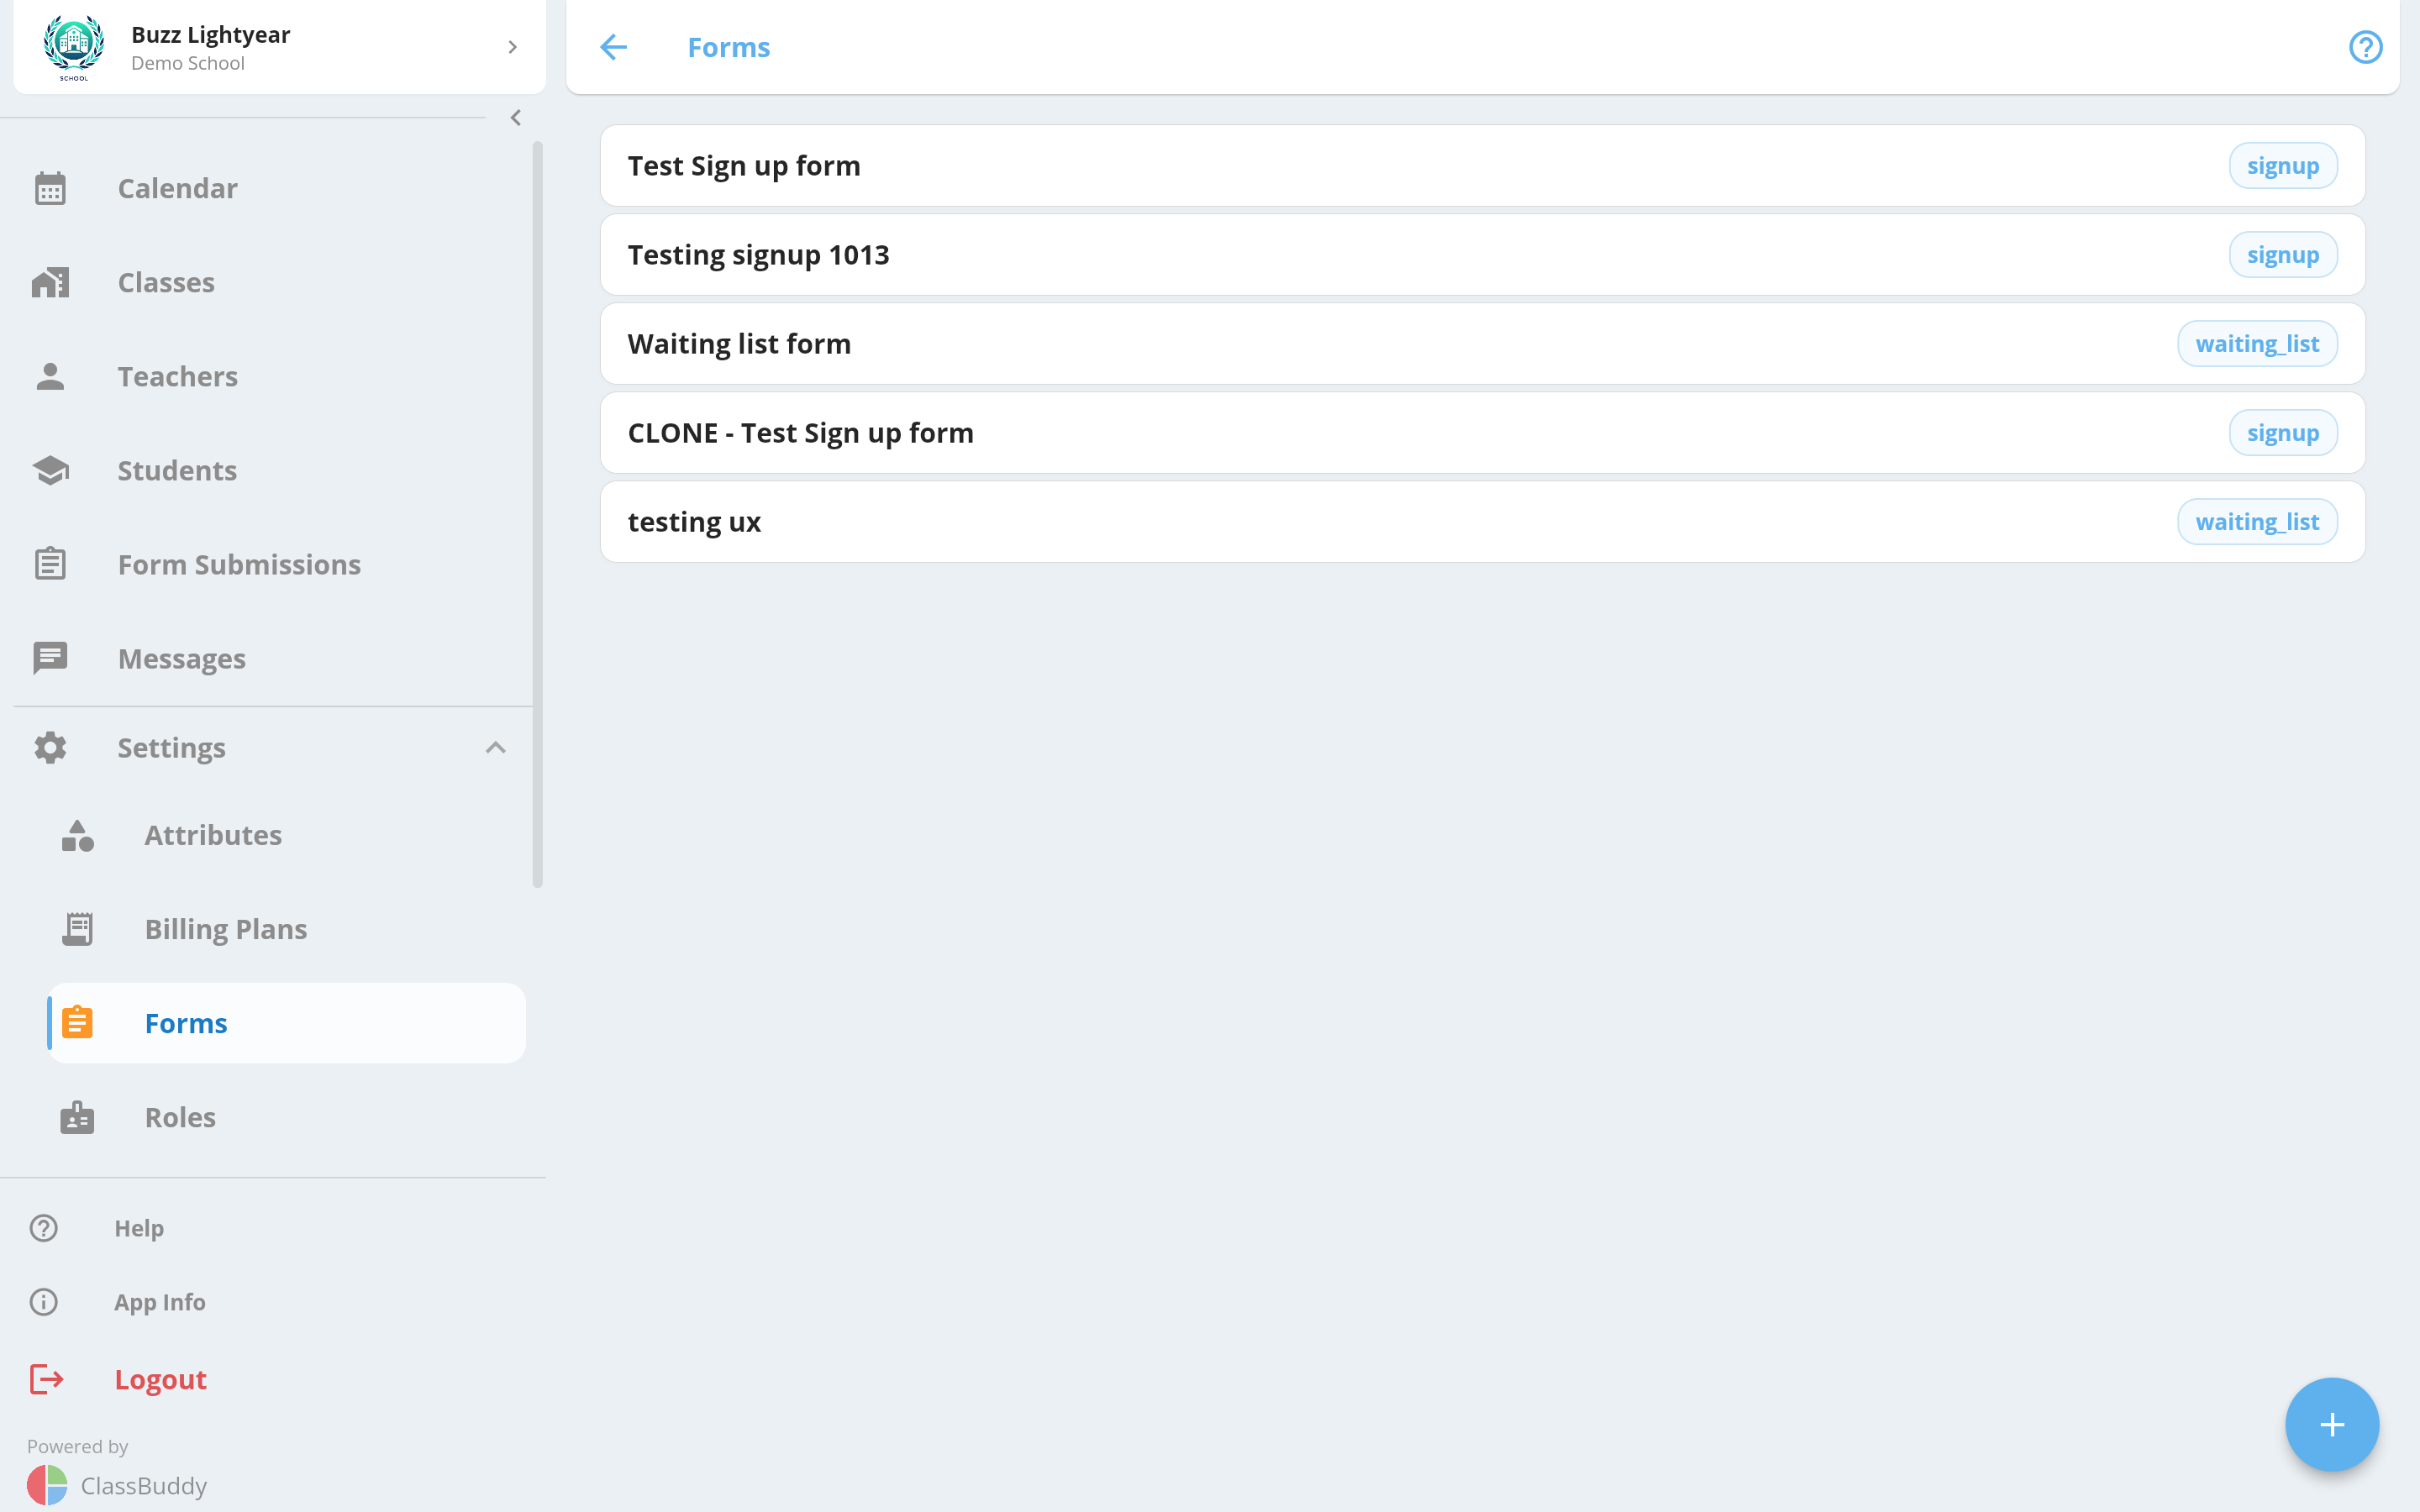
View Forms
Go to Menu > Settings > Forms to see all forms. Each row shows the form name, and type.
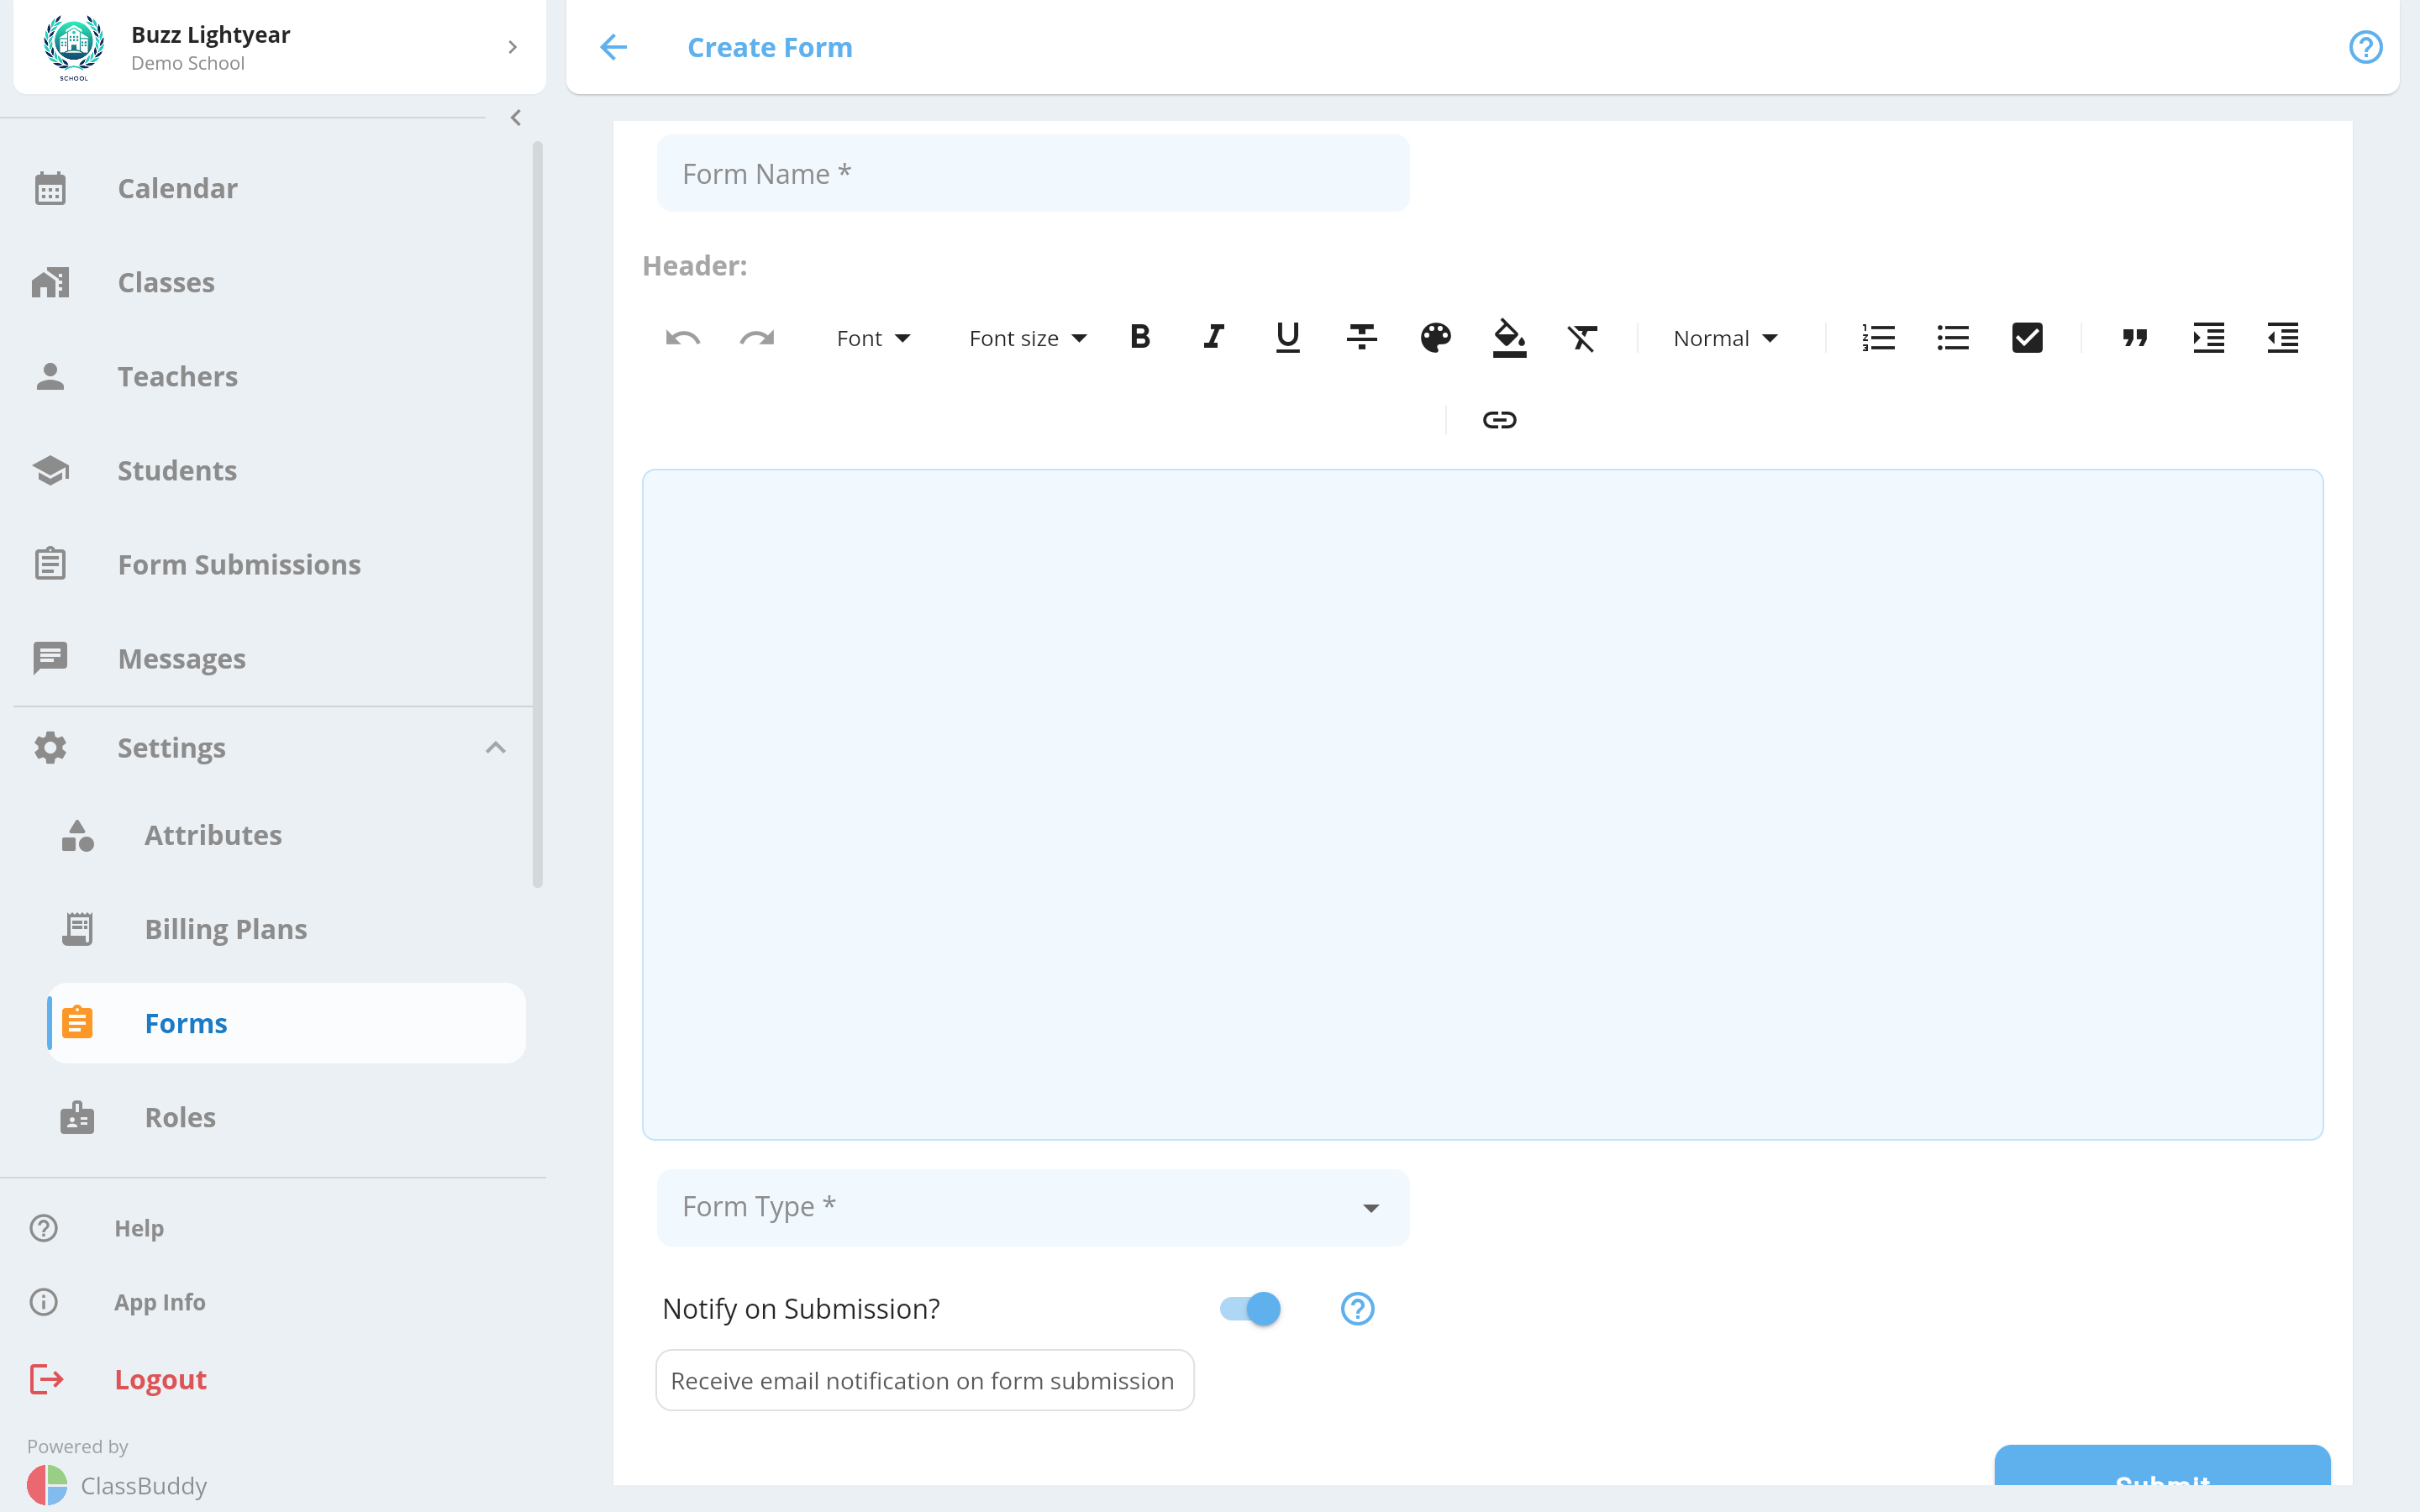
Create a Form
Tap the + button to create a new form.
| Field | Description |
|---|---|
| Form Name | Friendly name for the form |
| Description | A brief description shown at the top of the form |
| Form Type | Sign Up or Waiting List |
| Class or Schedule selection required | Sign Up only — toggle on to make class/schedule selection mandatory |
| Notify on Submission | Toggle on to receive a notification when someone submits the form |
View Form Details
Tap any form to open it to see form settings and the shareable web link.
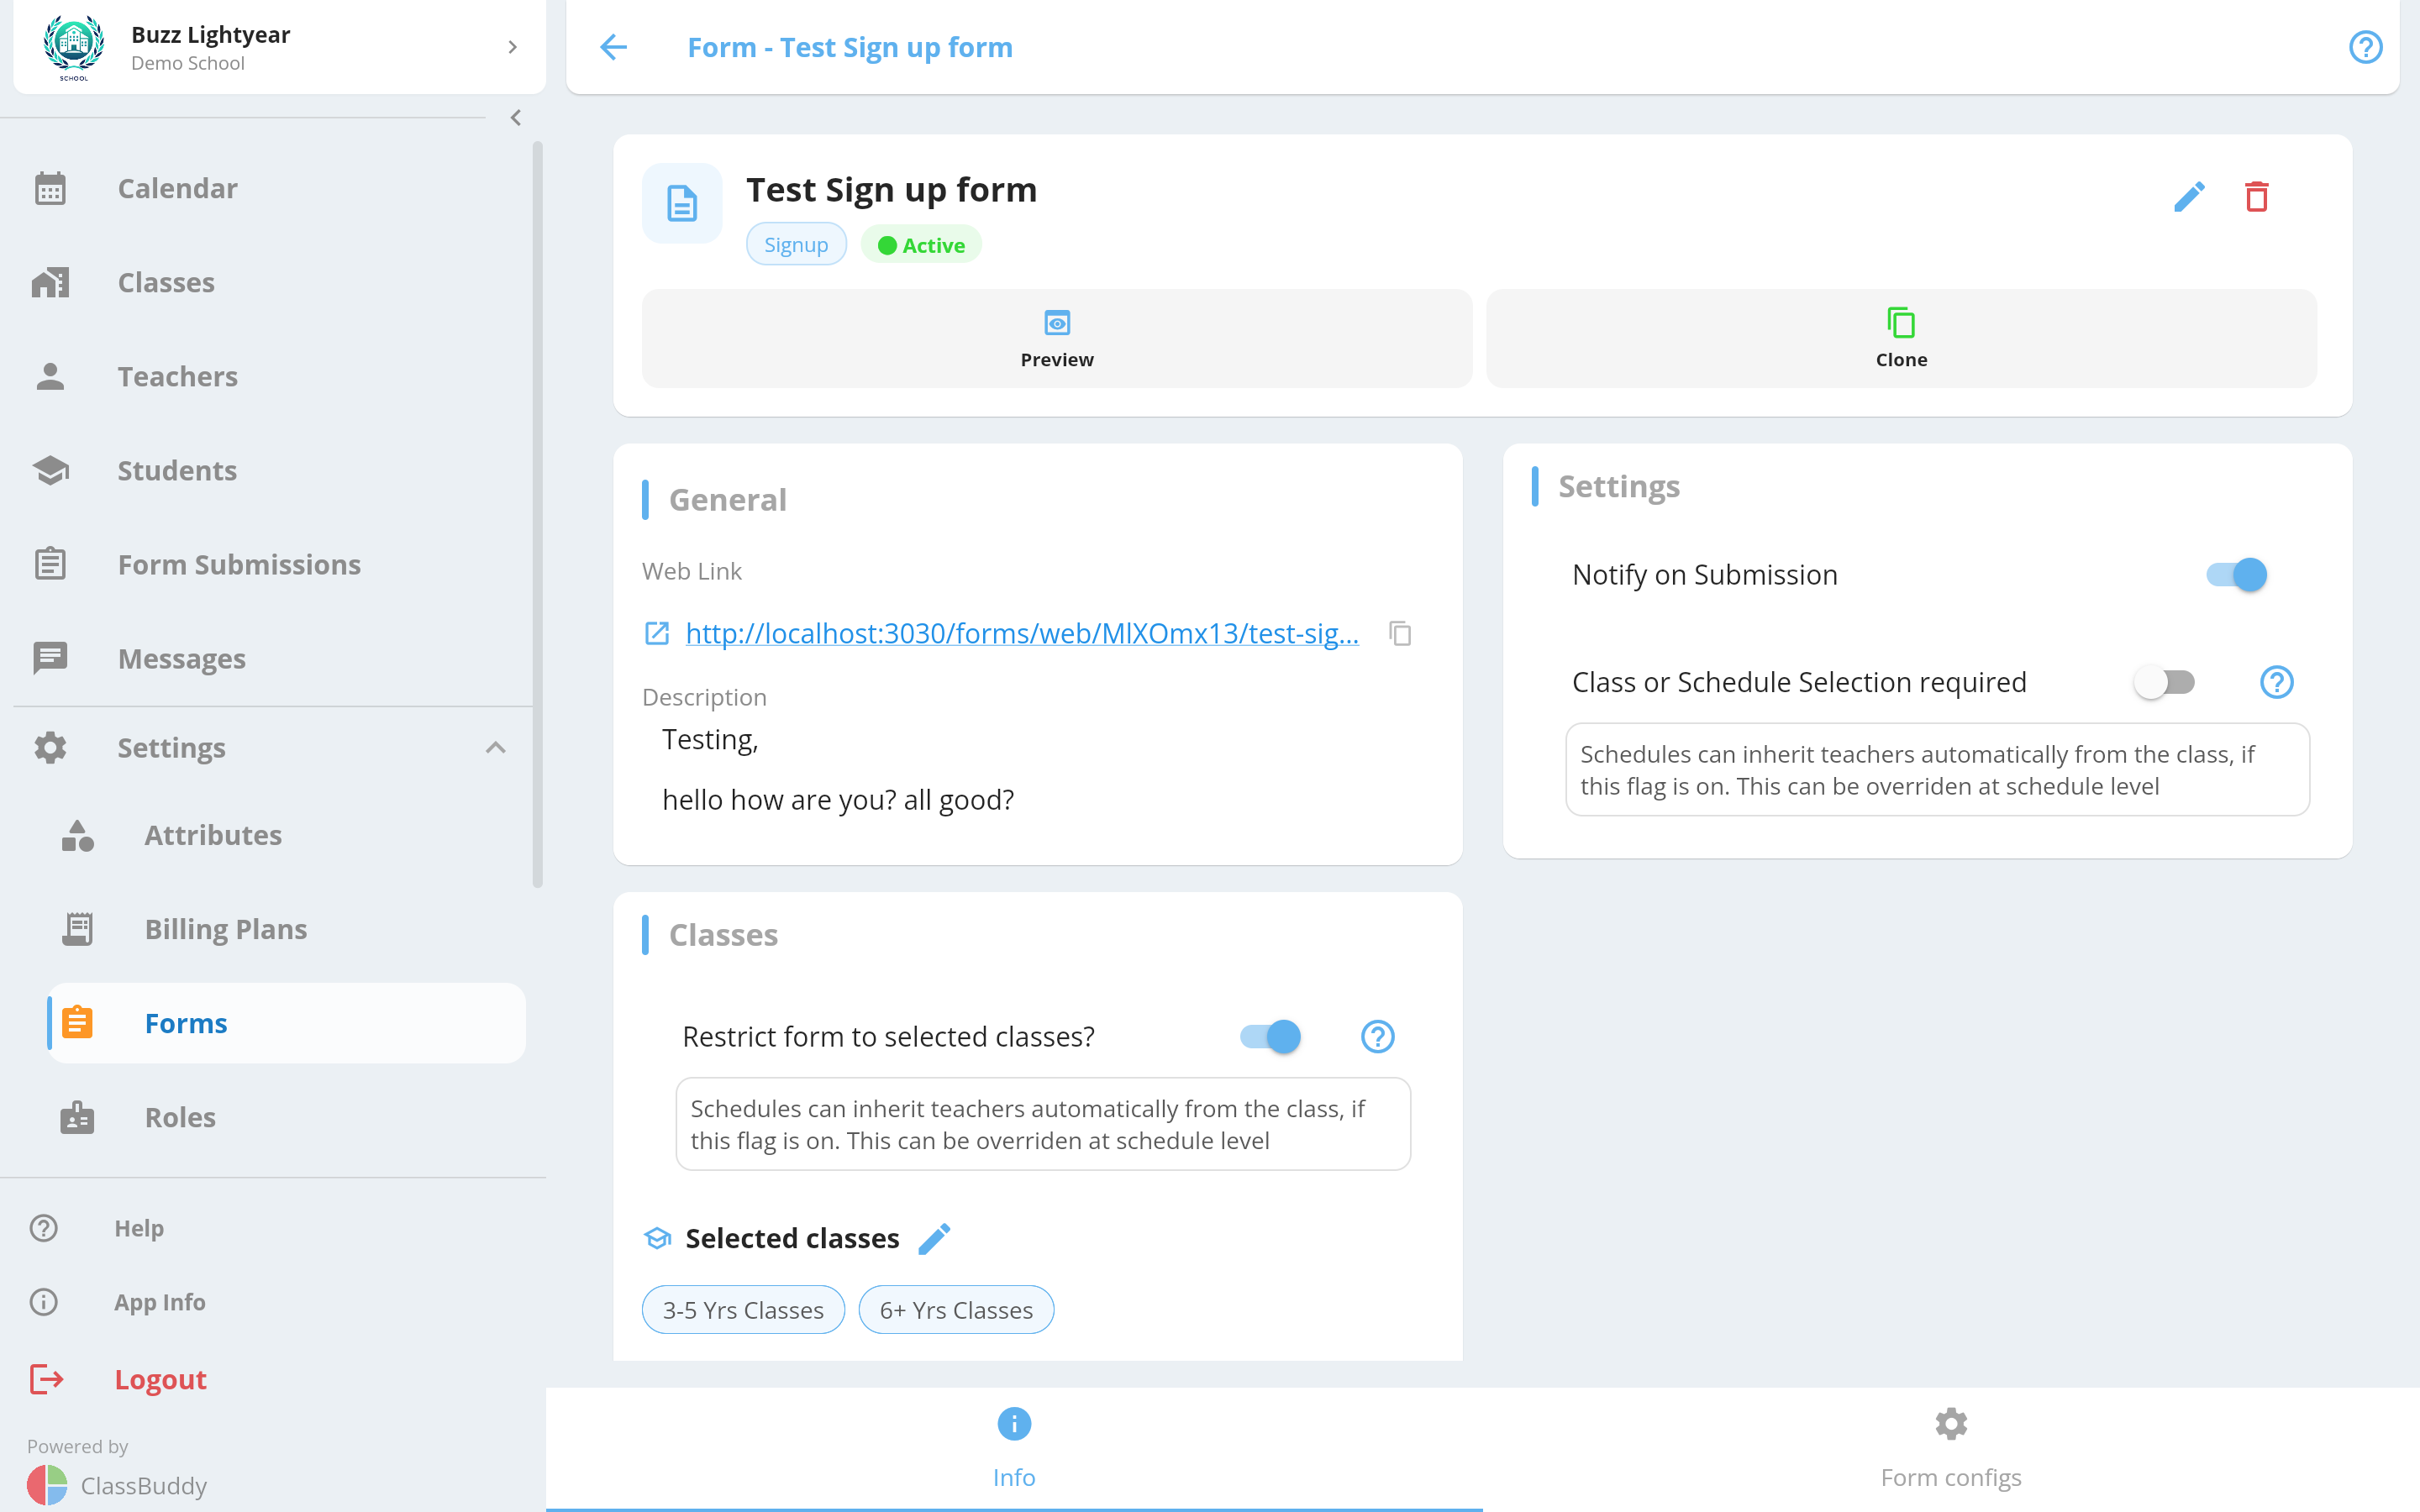
The Info tab also shows:
- Whether the form is active or inactive
- Which classes (if any) the form is restricted to
- Notification setting
From the menu (three dots) on the Info tab, you can:
- Preview the form as a student would see it
- Clone the form to create a duplicate with all fields copied
- Delete the form
Edit a Form
From the menu (three dots), choose Edit to update the form name, description, or settings. Set Form Status to Inactive to stop accepting new submissions without deleting the form.
You can also restrict the form to specific classes. When restricted, only the listed classes will appear on the sign-up form for students to choose from.
Configure Form Fields
Choose Form configs to manage the fields on your form.
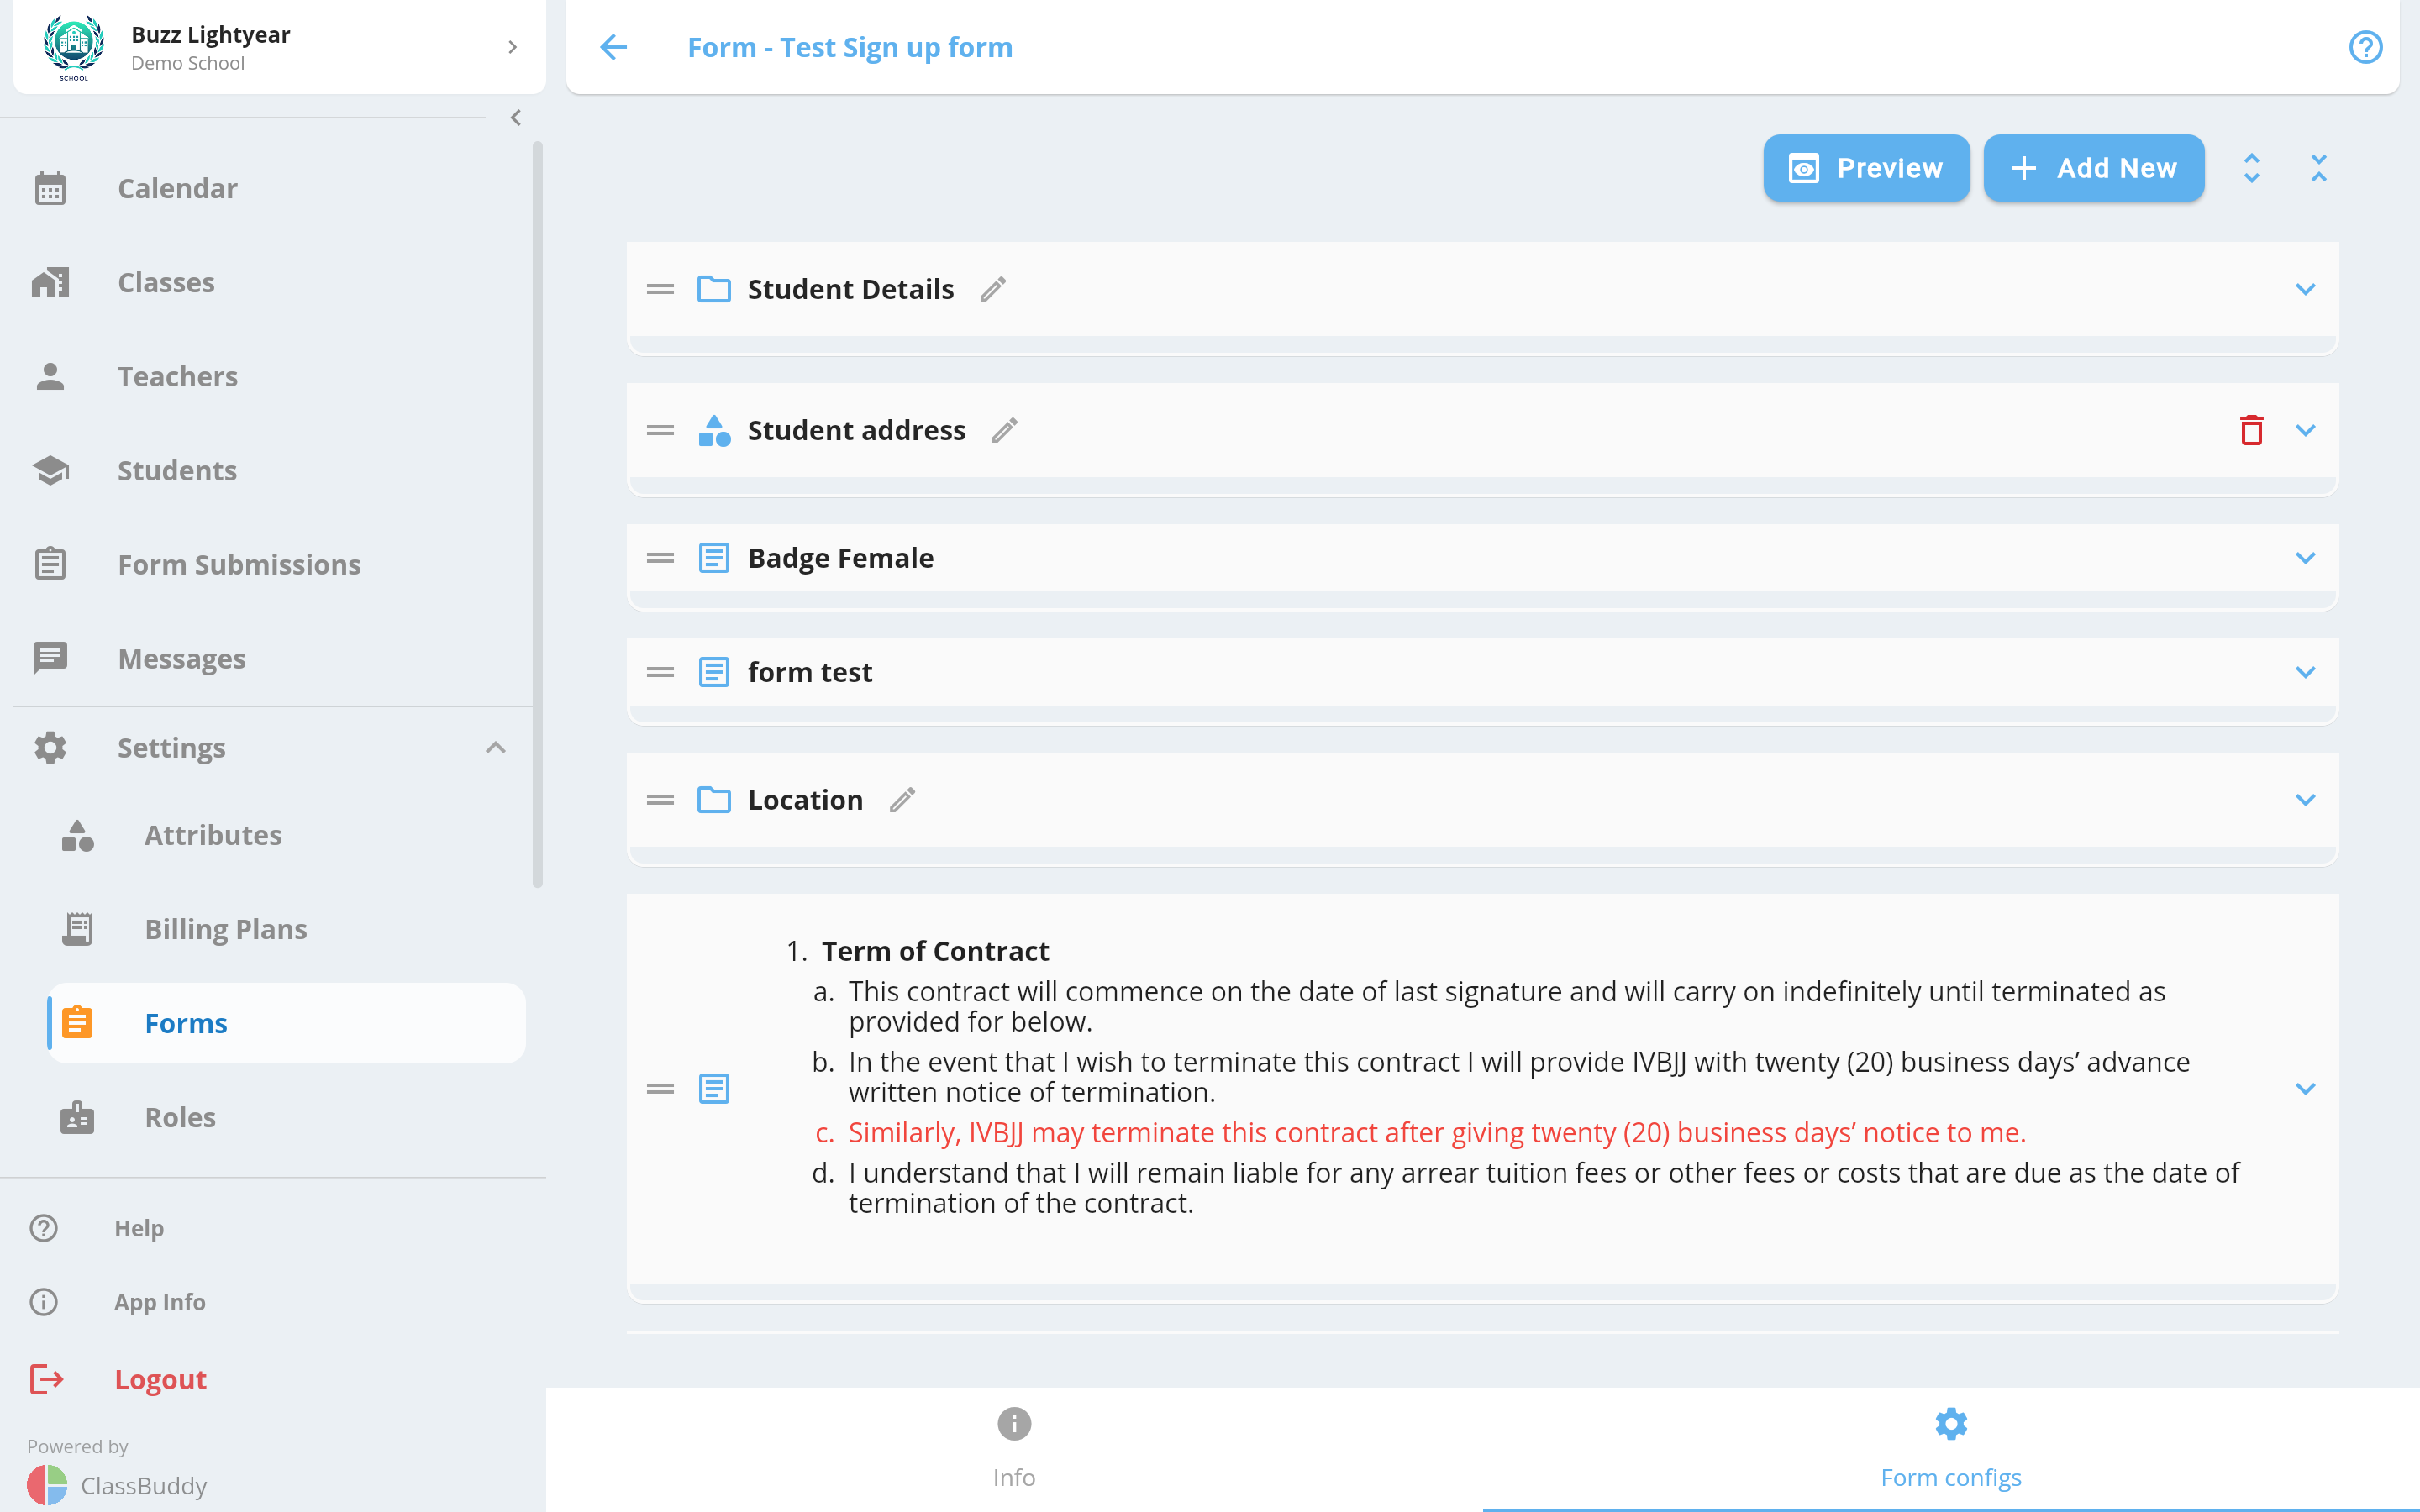
A set of default student information fields is pre-added to every form. Add, reorder, or remove fields as needed.
Use the drag handle on the right to reorder fields. Tap the + button to add a new field.
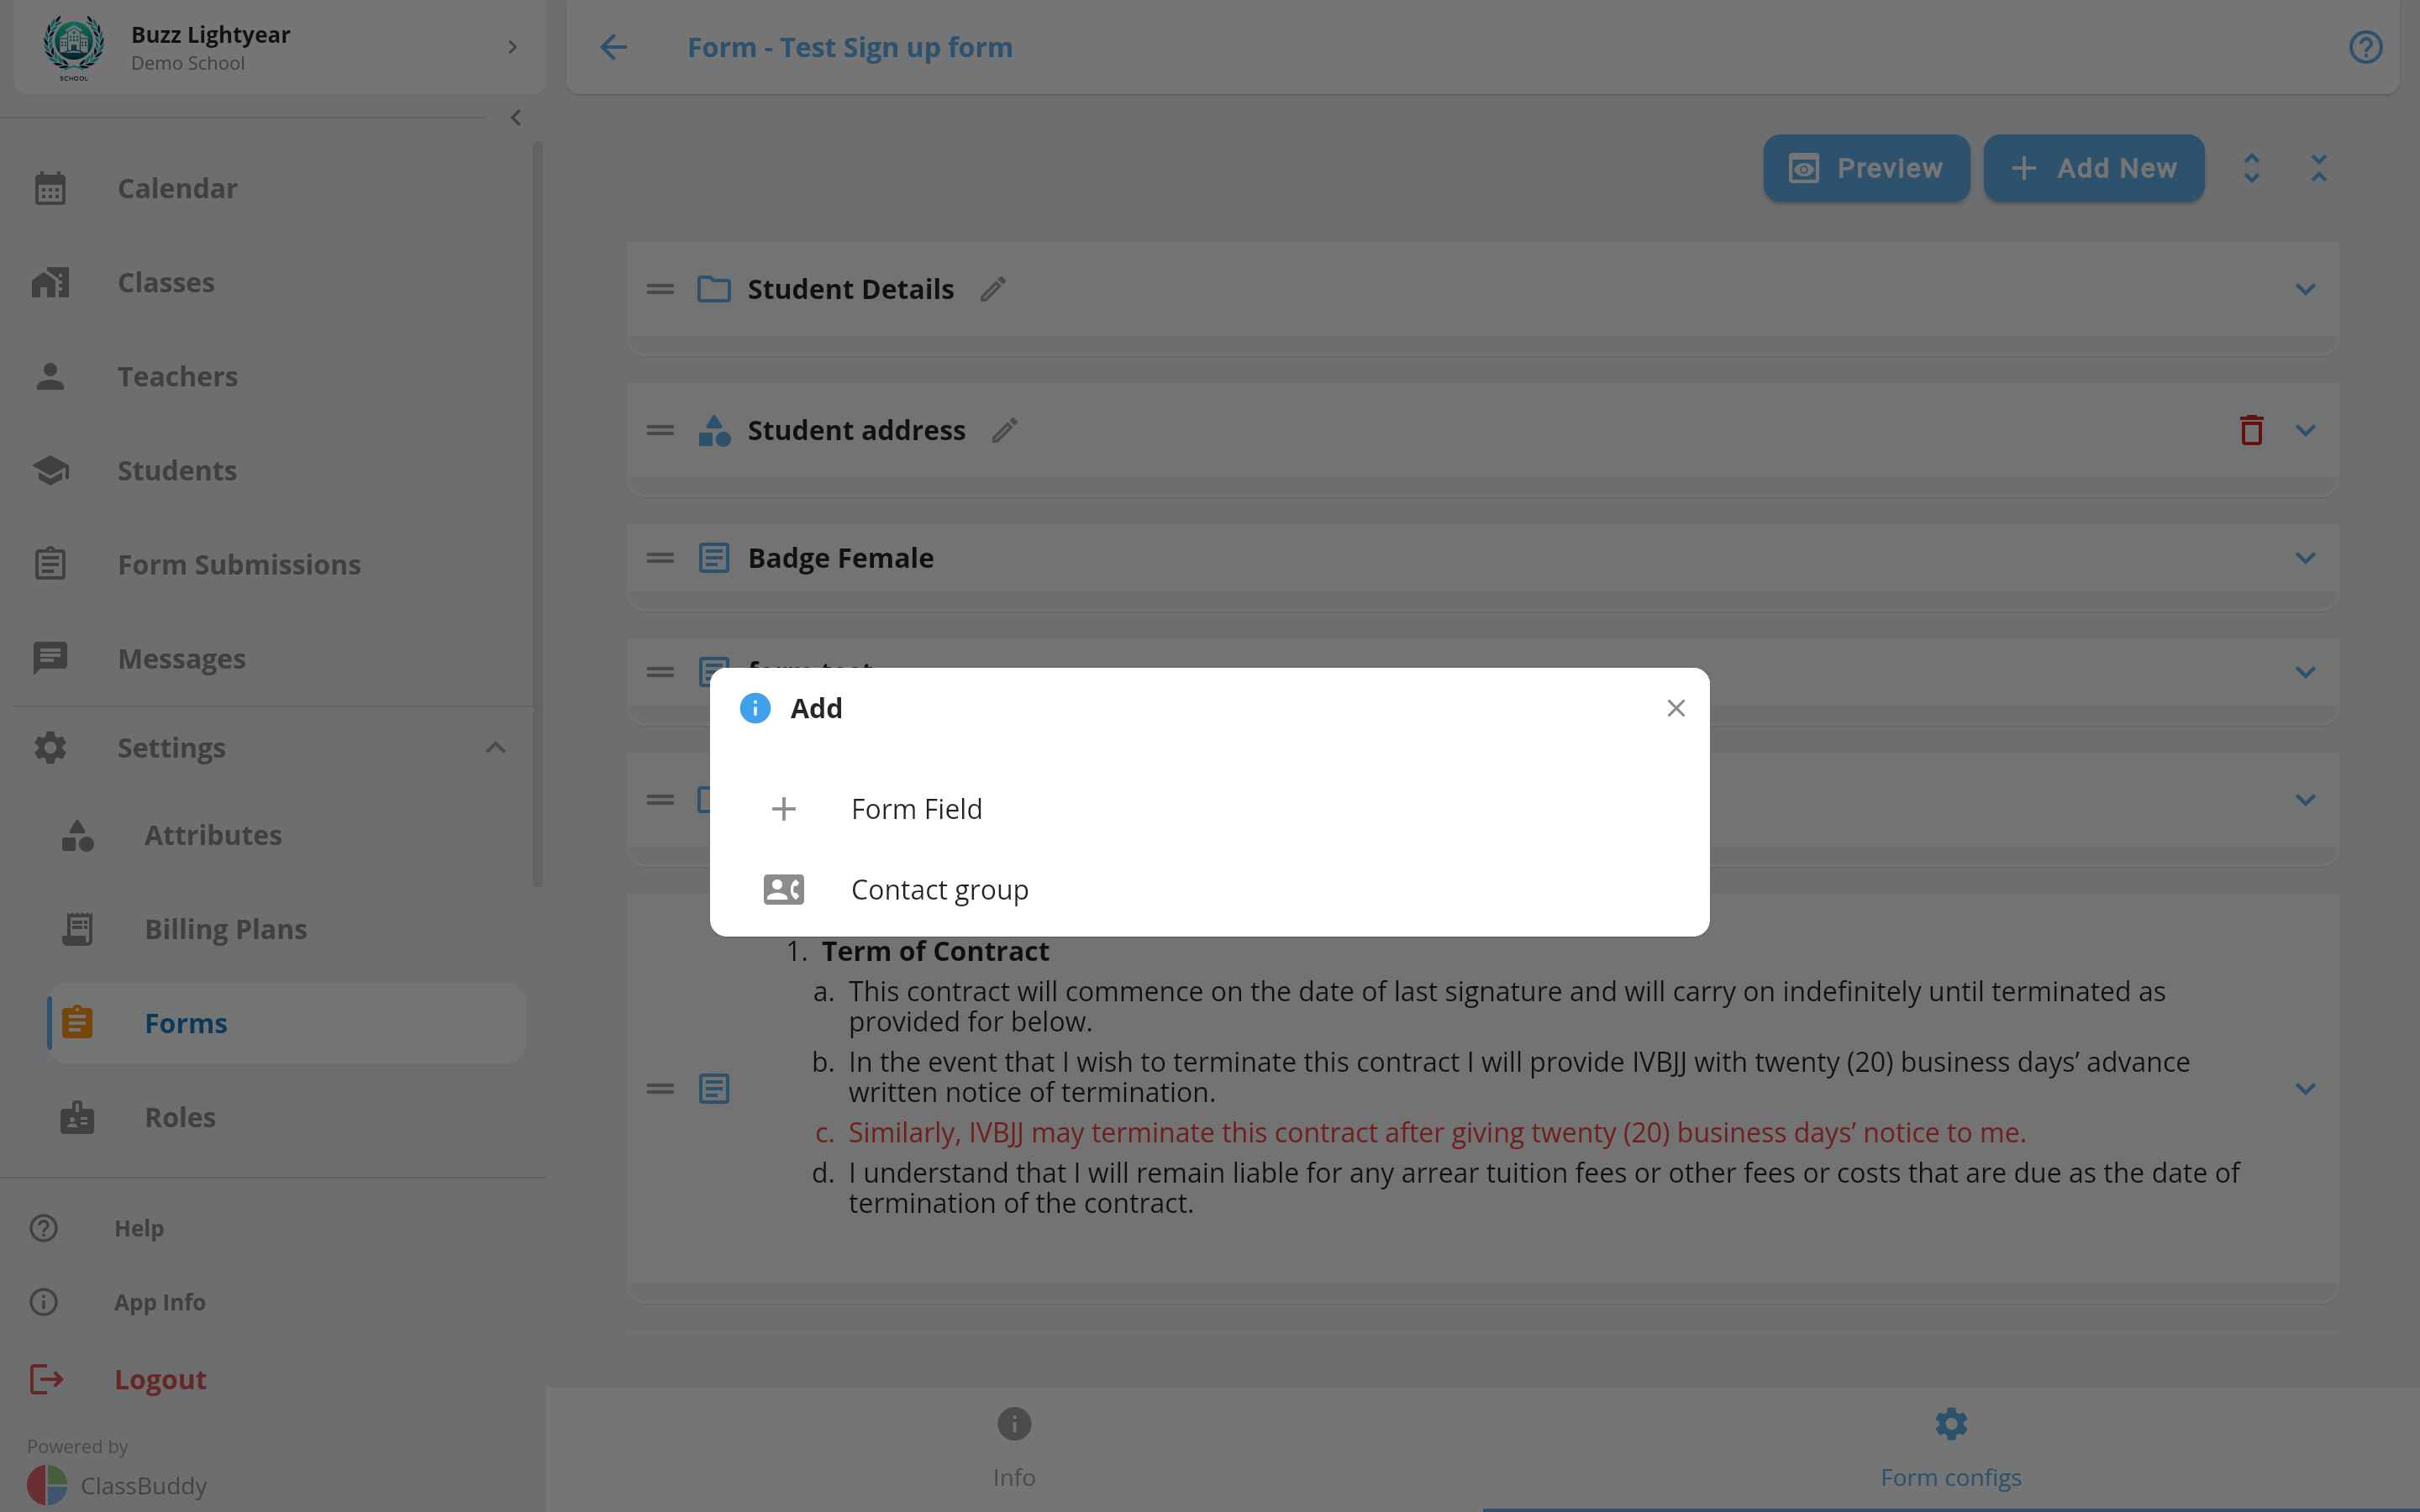
Adding a Field
Click "Add New" to add a new form field.
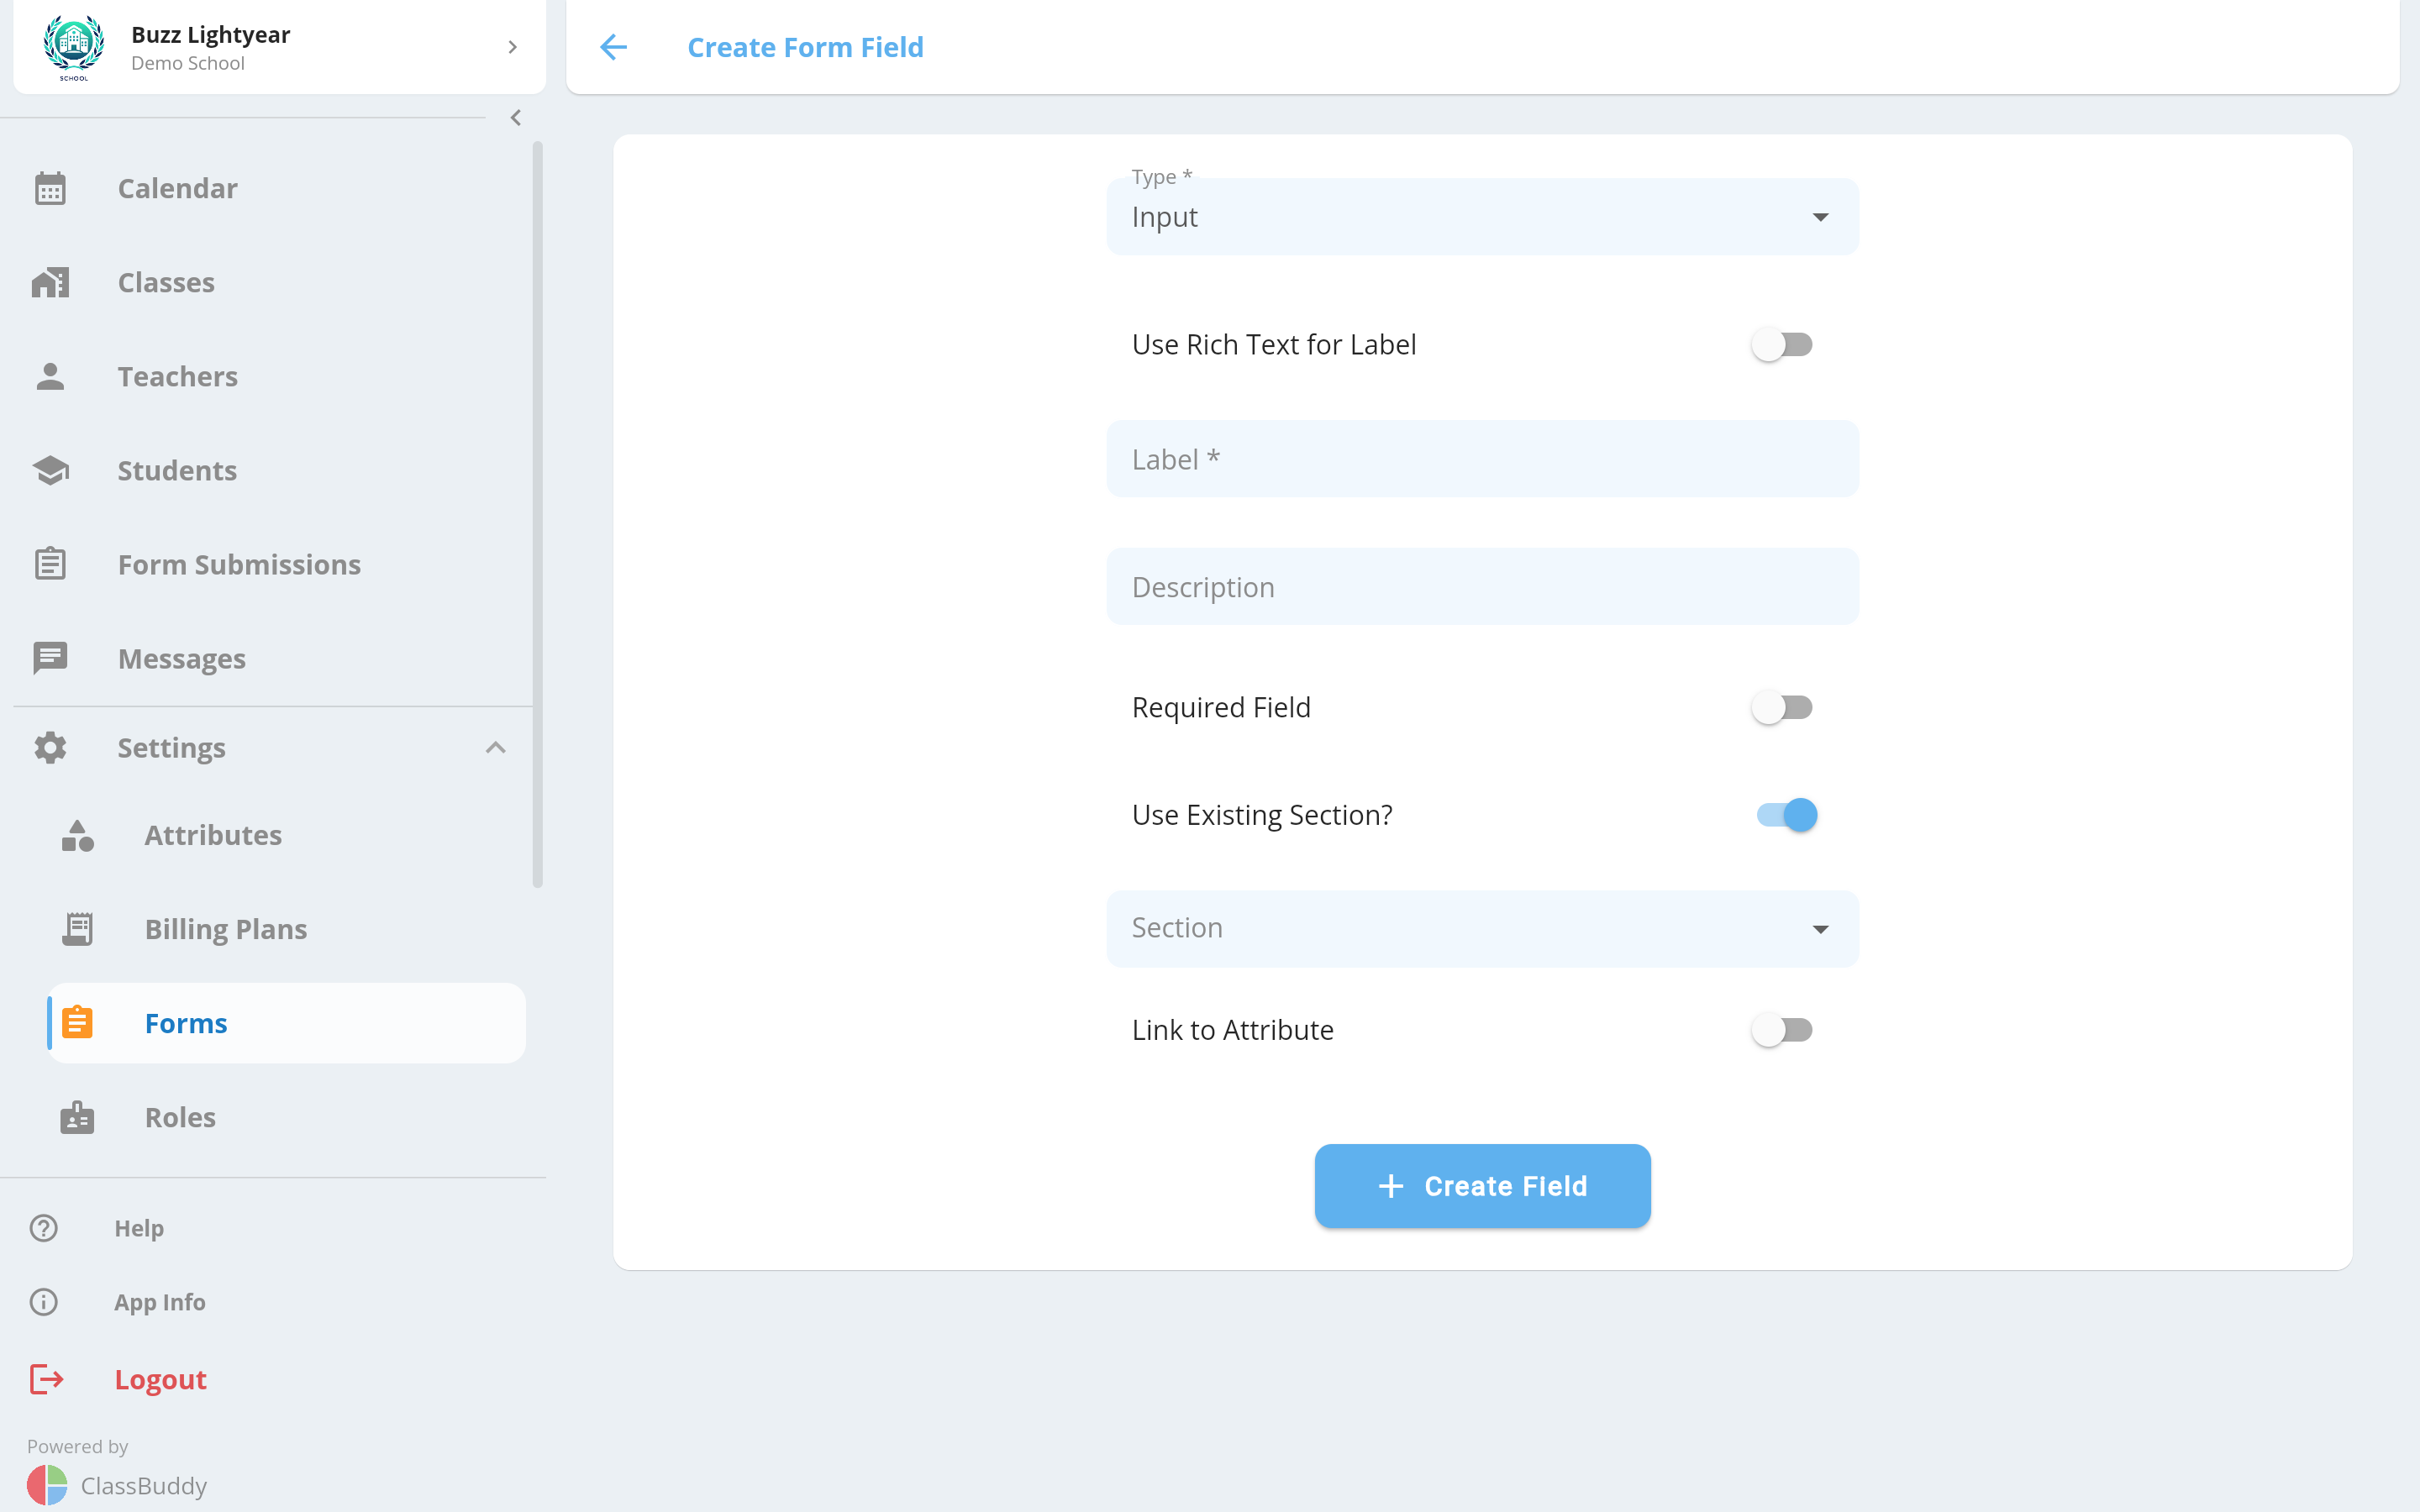
| Field | Description |
|---|---|
| Input type | Type of field (see Supported Field Types below) |
| Label | Label displayed above the field |
| Description | Optional helper text shown below the field |
| Required | Toggle on to make the field mandatory |
| Section | Group related fields under a named section heading |
| Sort Order | Controls display order within a section |
| Link to an attribute | Toggle on to store the response as a student attribute value. The input type is set by the attribute type. |
Supported Field Types
| Type | Description |
|---|---|
| Input | Single-line text |
| Email address with format validation | |
| Date | Date picker |
| Textarea | Multi-line text |
| Select (dropdown) | Single-choice dropdown |
| Checkboxes | Multiple-choice checkboxes |
| Radio Buttons | Single-choice radio buttons |
| Address | Full address group with smart address search or manual entry |
| Location | Location selector — lets the student choose a preferred location |
| Note | Static text or informational content (no input, supports rich text) |
Adding a Contact Group
To collect parent or guardian information at sign-up, add a Contact Group field. This creates a labelled group of fields (alias, name, email, phone) that are automatically saved as a contact on the student's profile when the form is submitted.
Sharing a Form
Each form has a unique shareable web link generated automatically. Copy it from the Info tab and share it with parents or students by email, message, or your school's website.
The form is public — no app login is required to fill it out. For sign-up forms, the student's age determines which classes and schedules are shown.
View Form Submissions
Click on Menu > Form Submissions to view form submissions.
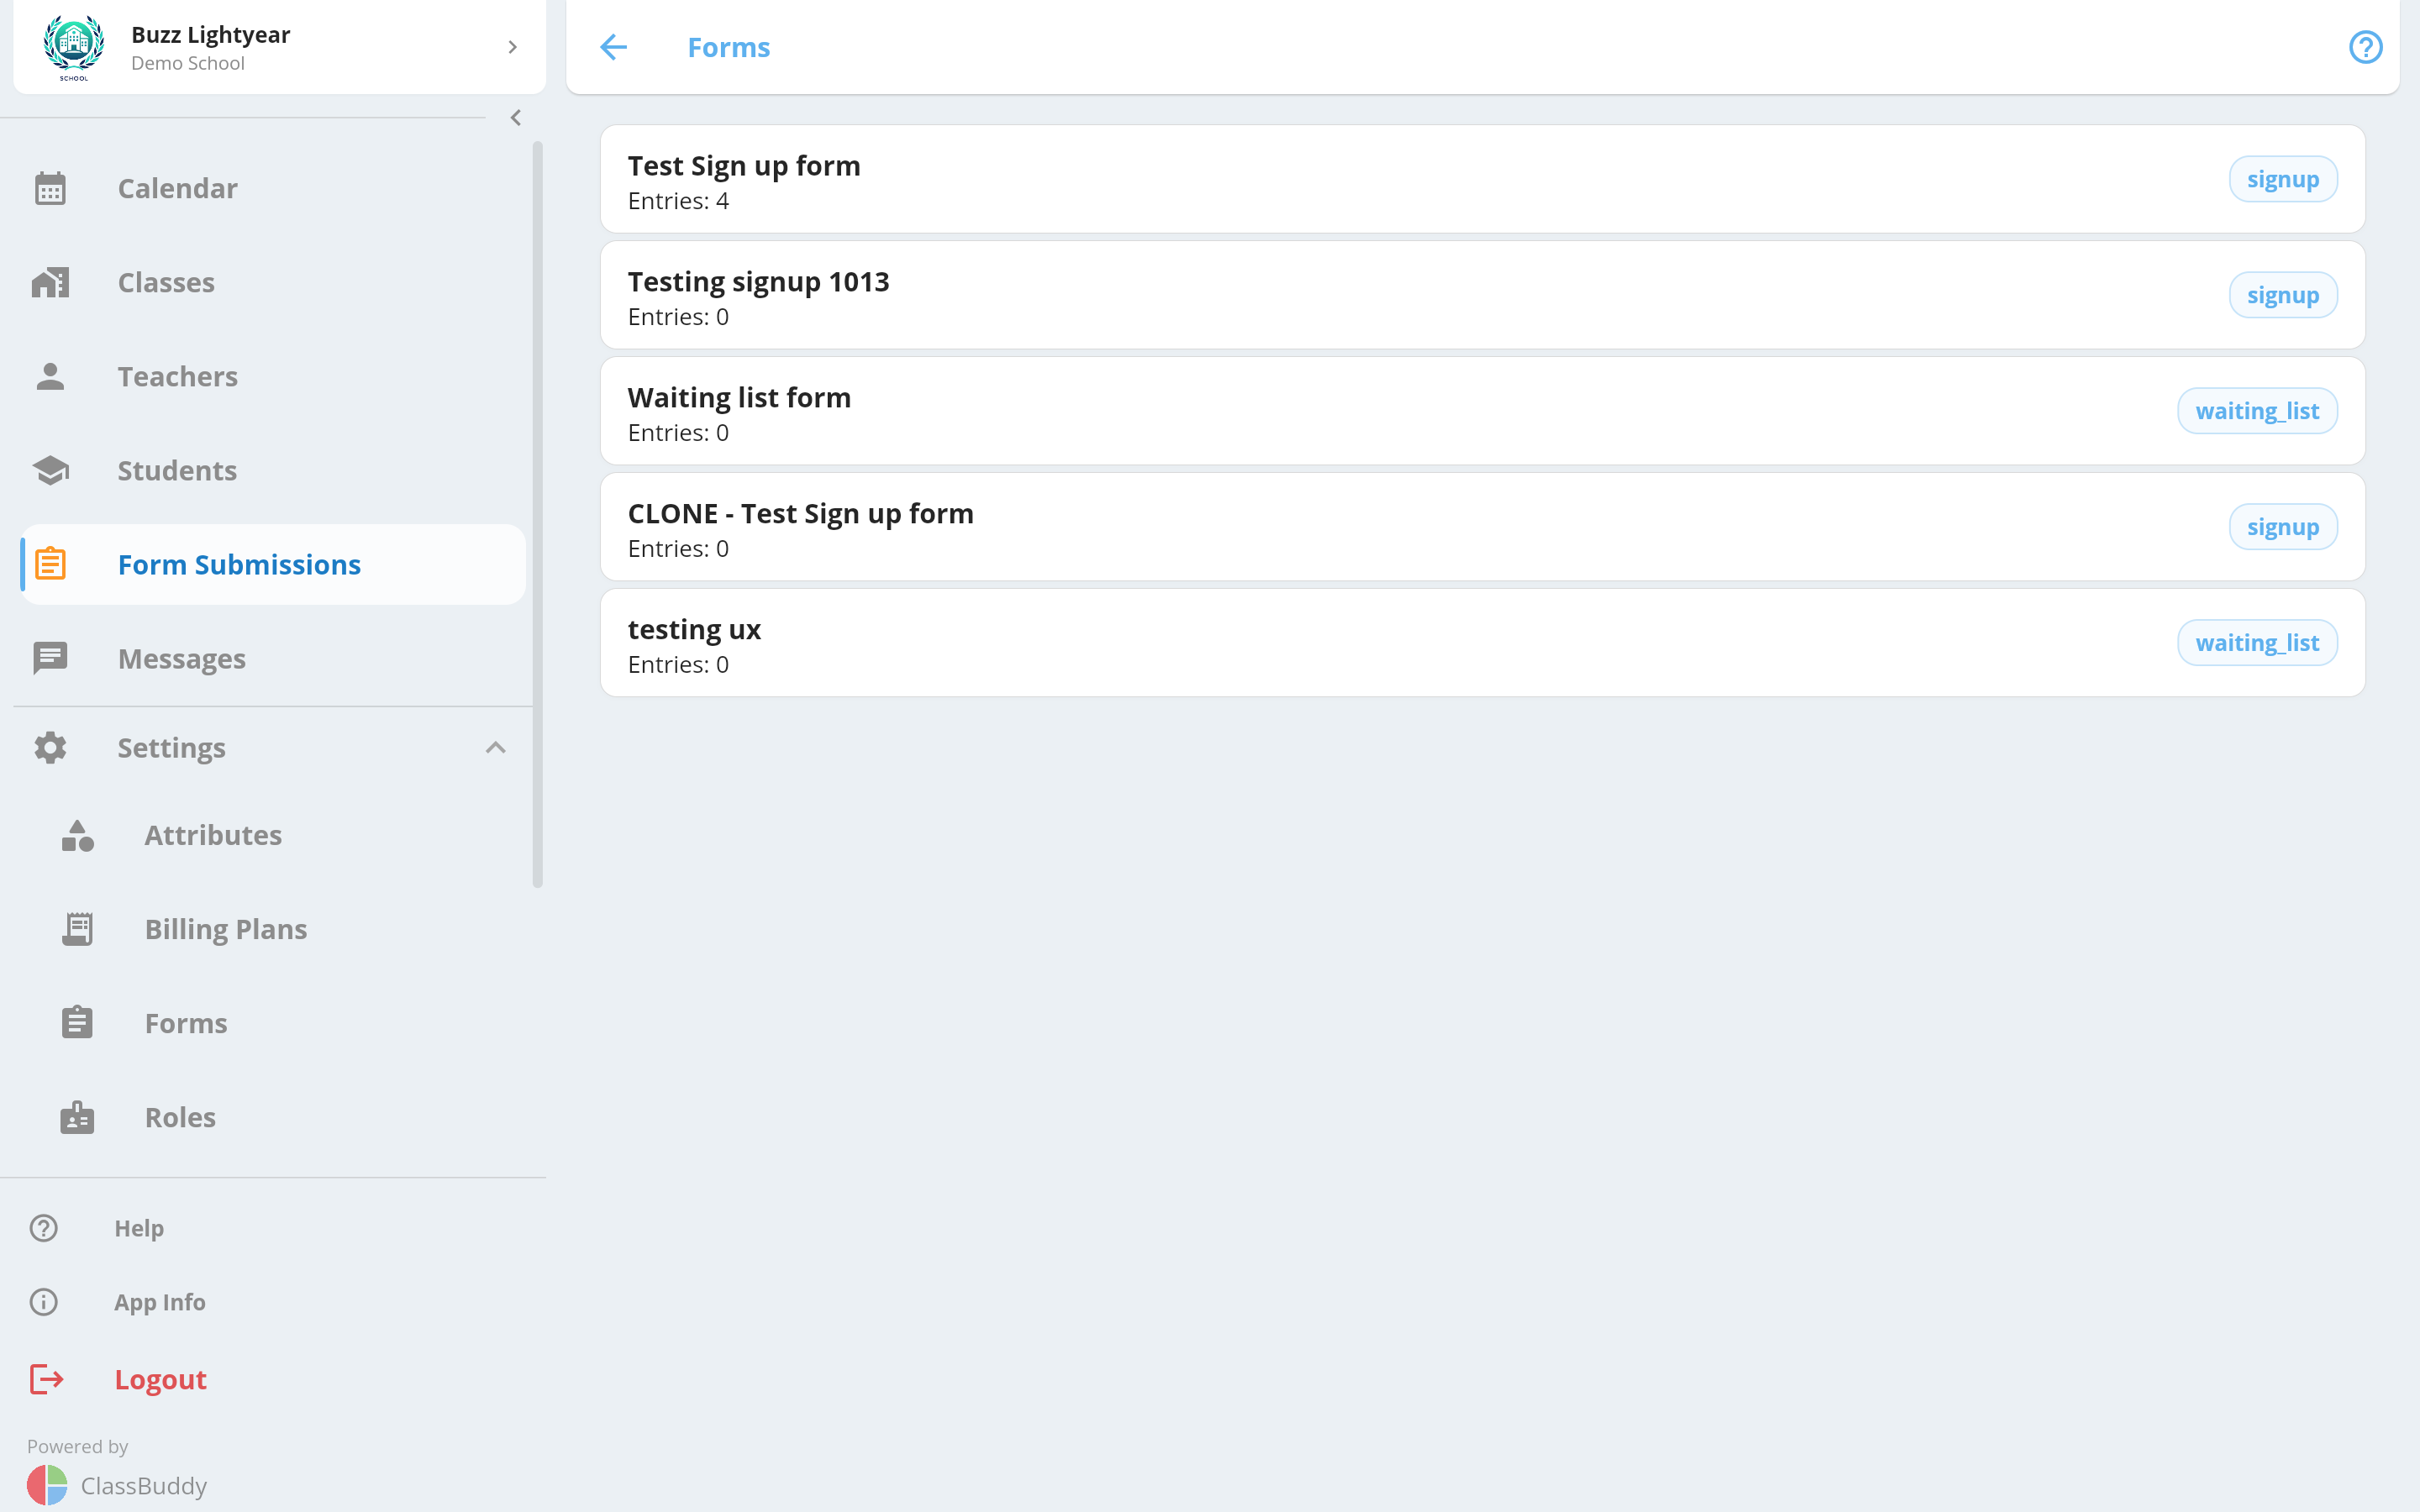
The Responses tab lists all active submissions. By default, students with pending_signup, on_trial, or waiting_list status are shown. Use the filter icon to change the status filter, filter by age range, or filter by location.
Use the search bar to find a submission by student name.
The table columns include submission date, student name, status, date of birth, email, contact number, and preferred location. Tap any column header to sort.
Bulk Actions
Select one or more submissions using the checkboxes, then:
- Archive — moves selected submissions to the Archived tab
- Delete — permanently deletes selected submissions (requires form_submission:delete permission)
Other actions
- Add or edit a note — tap the note icon to attach an internal note to the submission
- Print — tap the printer icon to open the submission in another view which can be used for printing
- Archive or delete — use the menu (three dots)
How the Form Looks to Students
When a student or a parent opens the form link:
- They see the form header and a list of fields marked with * if required.
- For Sign Up forms, they can select a class (filtered by their age) and a schedule.
- If a schedule has reached its Max Students limit, it is disabled automatically.
- After completing all fields, they tap Submit and see a confirmation page summarising what they entered.
FAQ
How do I force schedule selection on a sign-up form?
Enable the Schedules Required on Signup setting at class level.
How do I show only relevant classes based on the student's age?
Classes and schedules on a sign-up form are automatically filtered by the student's age. Update the age range on each class to control which ones appear.
How do I prevent a full schedule from being selected?
If a schedule has reached its Max Students limit, it is automatically hidden from the sign-up form. Adjust the limit at schedule level as needed.
How do I limit how many schedules a student can select?
The number of selectable schedules is controlled by the billing plan. For example, a once-per-week plan allows selection of only one schedule.