Attributes
Attributes are custom fields you define to store extra information beyond the built-in fields. They can be assigned to individual students with values, or used to enrich your school's public page.
Examples: Belt Colour (karate school), Swimming Level, Medical Notes, Emergency Contact, School Address.
Attribute Types
When creating an attribute, you choose a type (called a schema) that determines how the value is entered and displayed. Choose the type that best matches the kind of data you want to store.
| Type | What it stores | Example use |
|---|---|---|
| Text | A single text value | Student's nickname, dietary notes |
| Number | A single numeric value | Locker number, years of experience |
| True or False | A yes/no value | Has signed consent form? |
| Address | A full postal address | Student's home address |
| Contact | Contact details | Emergency contact |
| Link | A URL with a name and description | Resource link with label |
| List of Text | Multiple text values | Allergies, languages spoken |
Use Text, Number, or List of Text with a lookup to restrict users to a predefined set of options (e.g. belt colours, subjects studied).
Special field behaviours
Some types have additional rendering:
- Address — Displays as a formatted postal block with a copy-to-clipboard button.
- Link — Displays as a clickable web link.
- True or False — Displayed as Yes or No.
Object-based types (Address, Contact, Link) can also have:
- Rich text fields — Uses a full text editor for formatted content.
- Secret fields — Displayed as masked characters (••••••••) when viewed.
Creating an Attribute
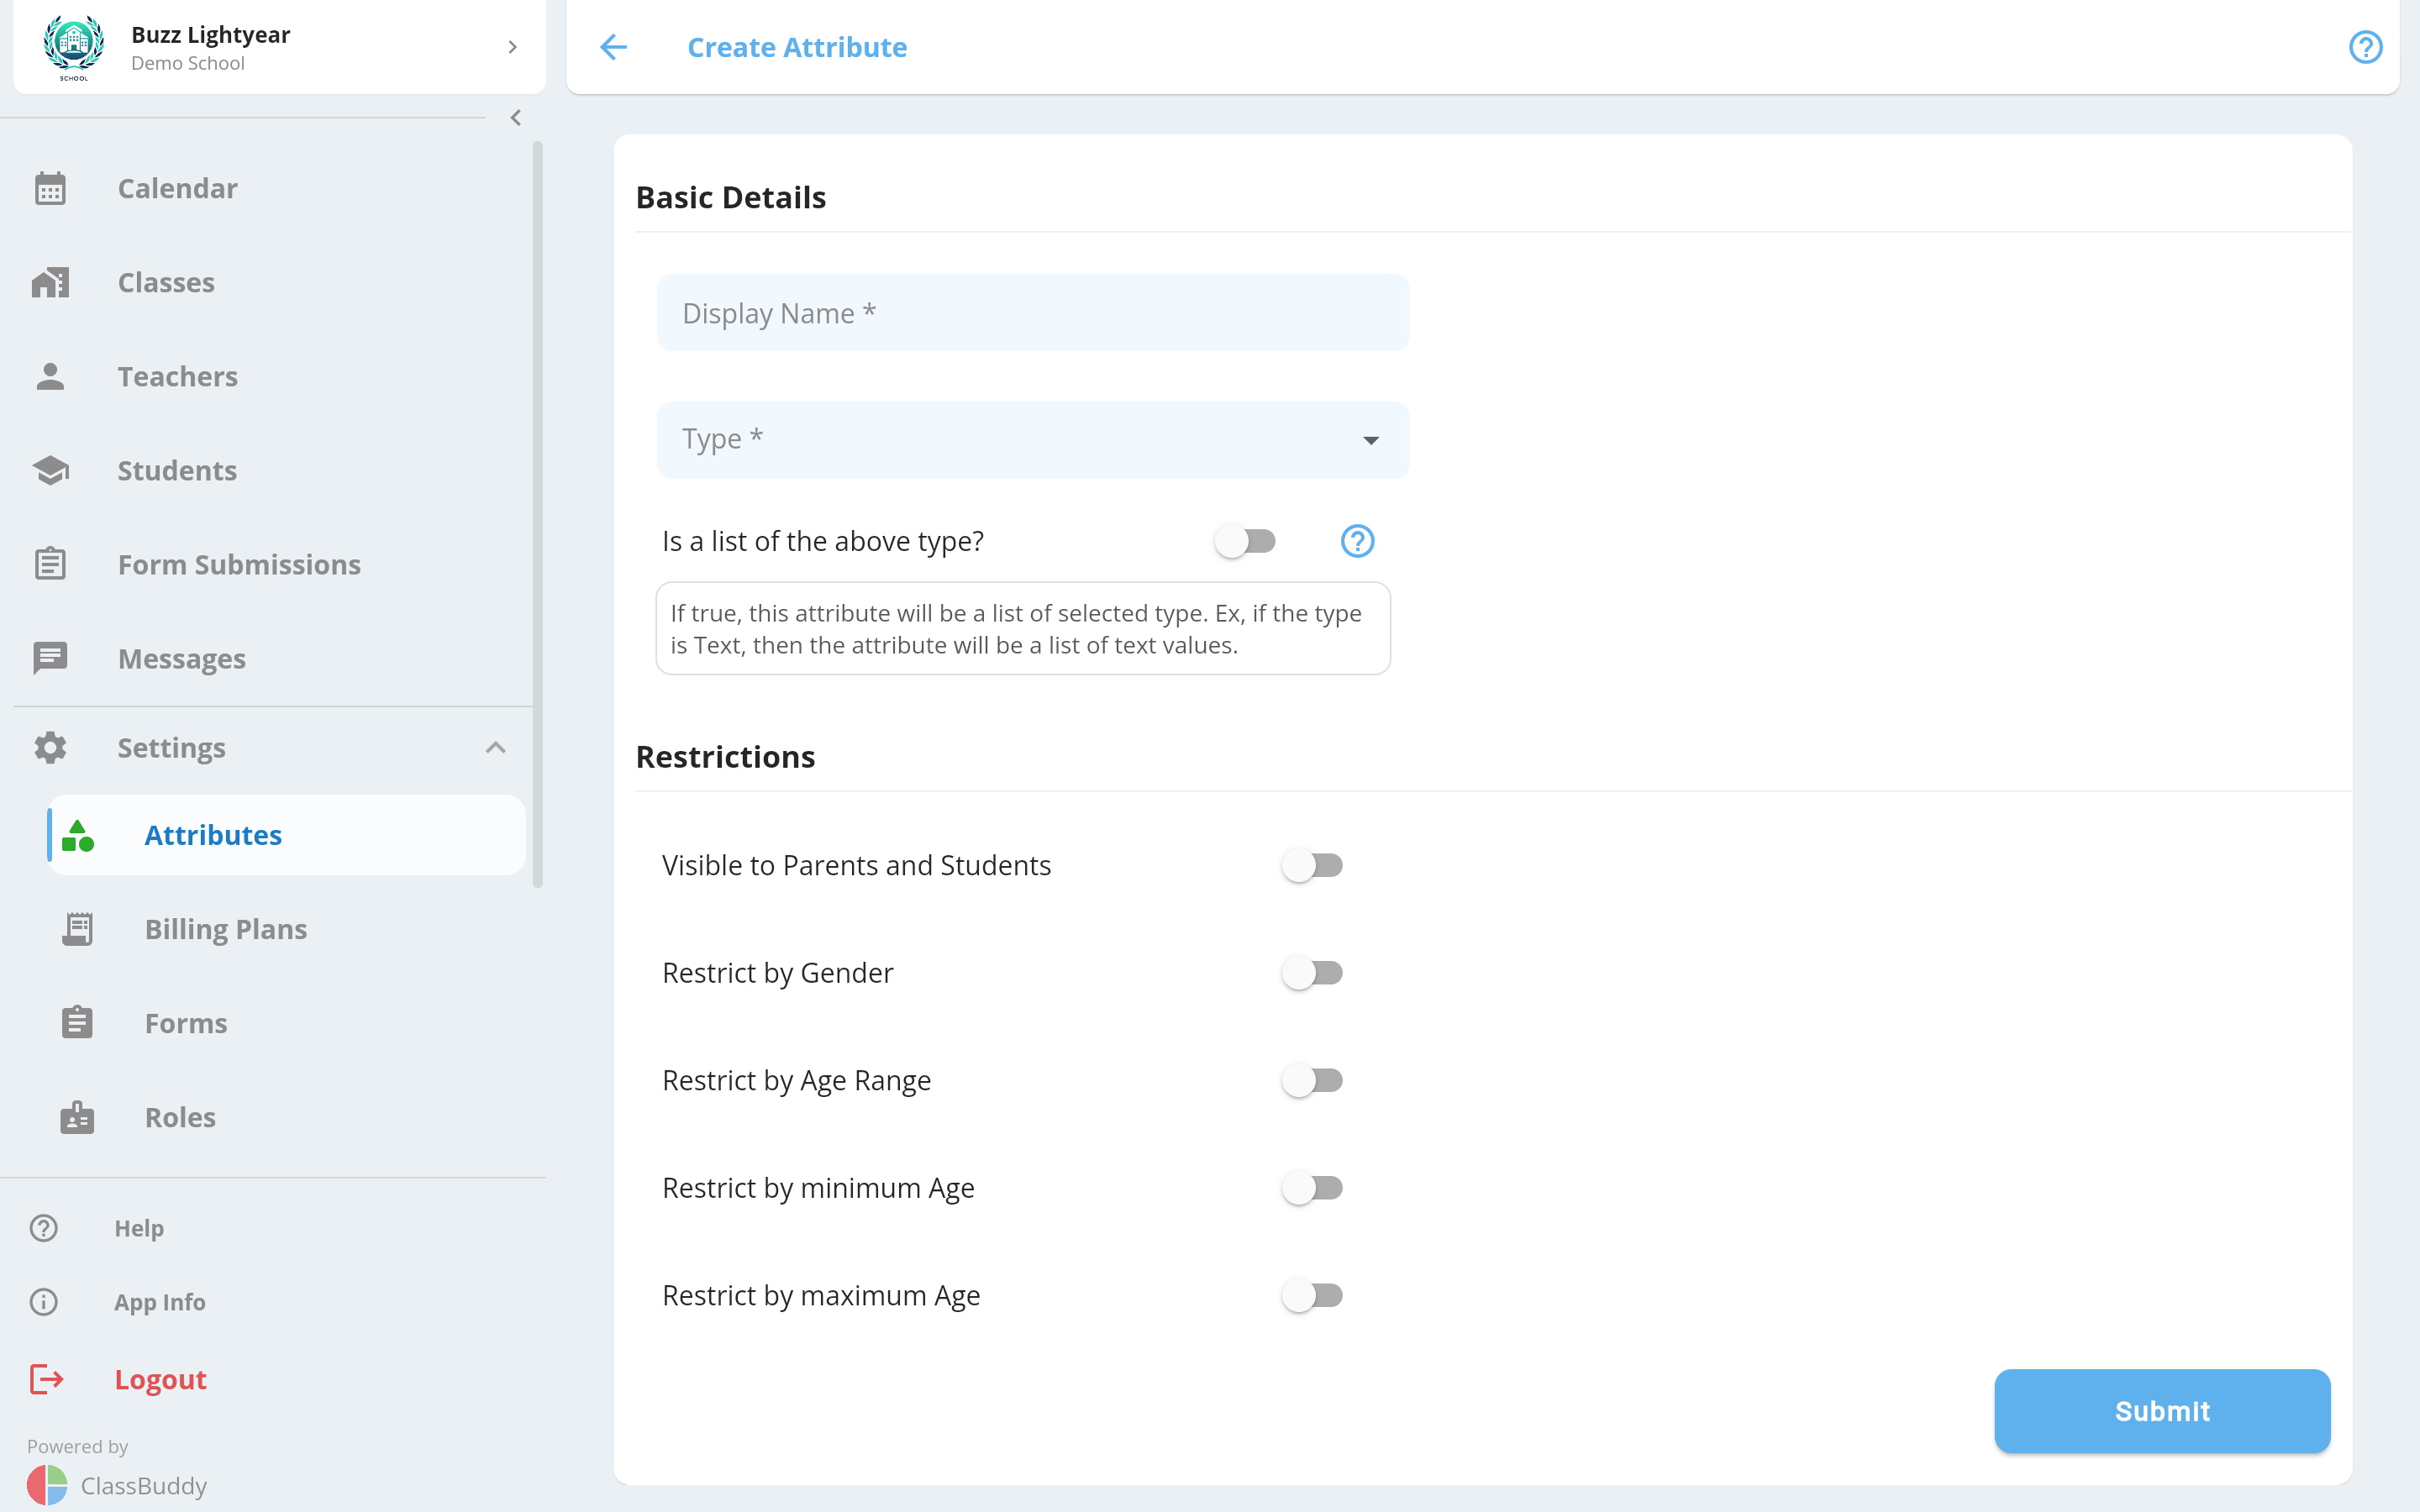
Go to Settings > Attributes and tap +.
| Field | Required | Description |
|---|---|---|
| Display Name | Yes | The label shown throughout the app. The ID is auto-generated from this (lowercase, underscores only) and cannot be changed after creation. |
| Type | Yes | The data type — see Attribute Types above. Cannot be changed after creation. |
| Is a list of the above type | No | When on, the attribute stores multiple values instead of one (e.g. a list of allergies instead of one allergy). |
| Use a list of lookup values | No | Available for Text, Number, and List of Text types. When on, enter the allowed values inline — users must pick from this list instead of typing freely. |
| Visible to Parents and Students | No | When on, parents and students can see this attribute and its value on the student profile. When off, it is only visible to admins and teachers. |
Restrictions
Restrictions limit which students an attribute is relevant to. When a teacher or admin adds an attribute to a student, only attributes that match the student's profile are shown.
| Restriction | Description |
|---|---|
| Restrict by Gender | The attribute only applies to students of a specific gender (Male / Female / Other). |
| Restrict by Age Range | The attribute only applies to students within a minimum and maximum age. |
| Restrict by Minimum Age | The attribute only applies to students at or above a certain age. |
| Restrict by Maximum Age | The attribute only applies to students at or below a certain age. |
Use restrictions to keep the attribute list manageable. For example, a "Junior Membership" attribute could be restricted to students under 18 so it never appears when managing adult students.
Viewing and Editing an Attribute
Tap any attribute in the list to view its details, including its type, visibility setting, and any restrictions.
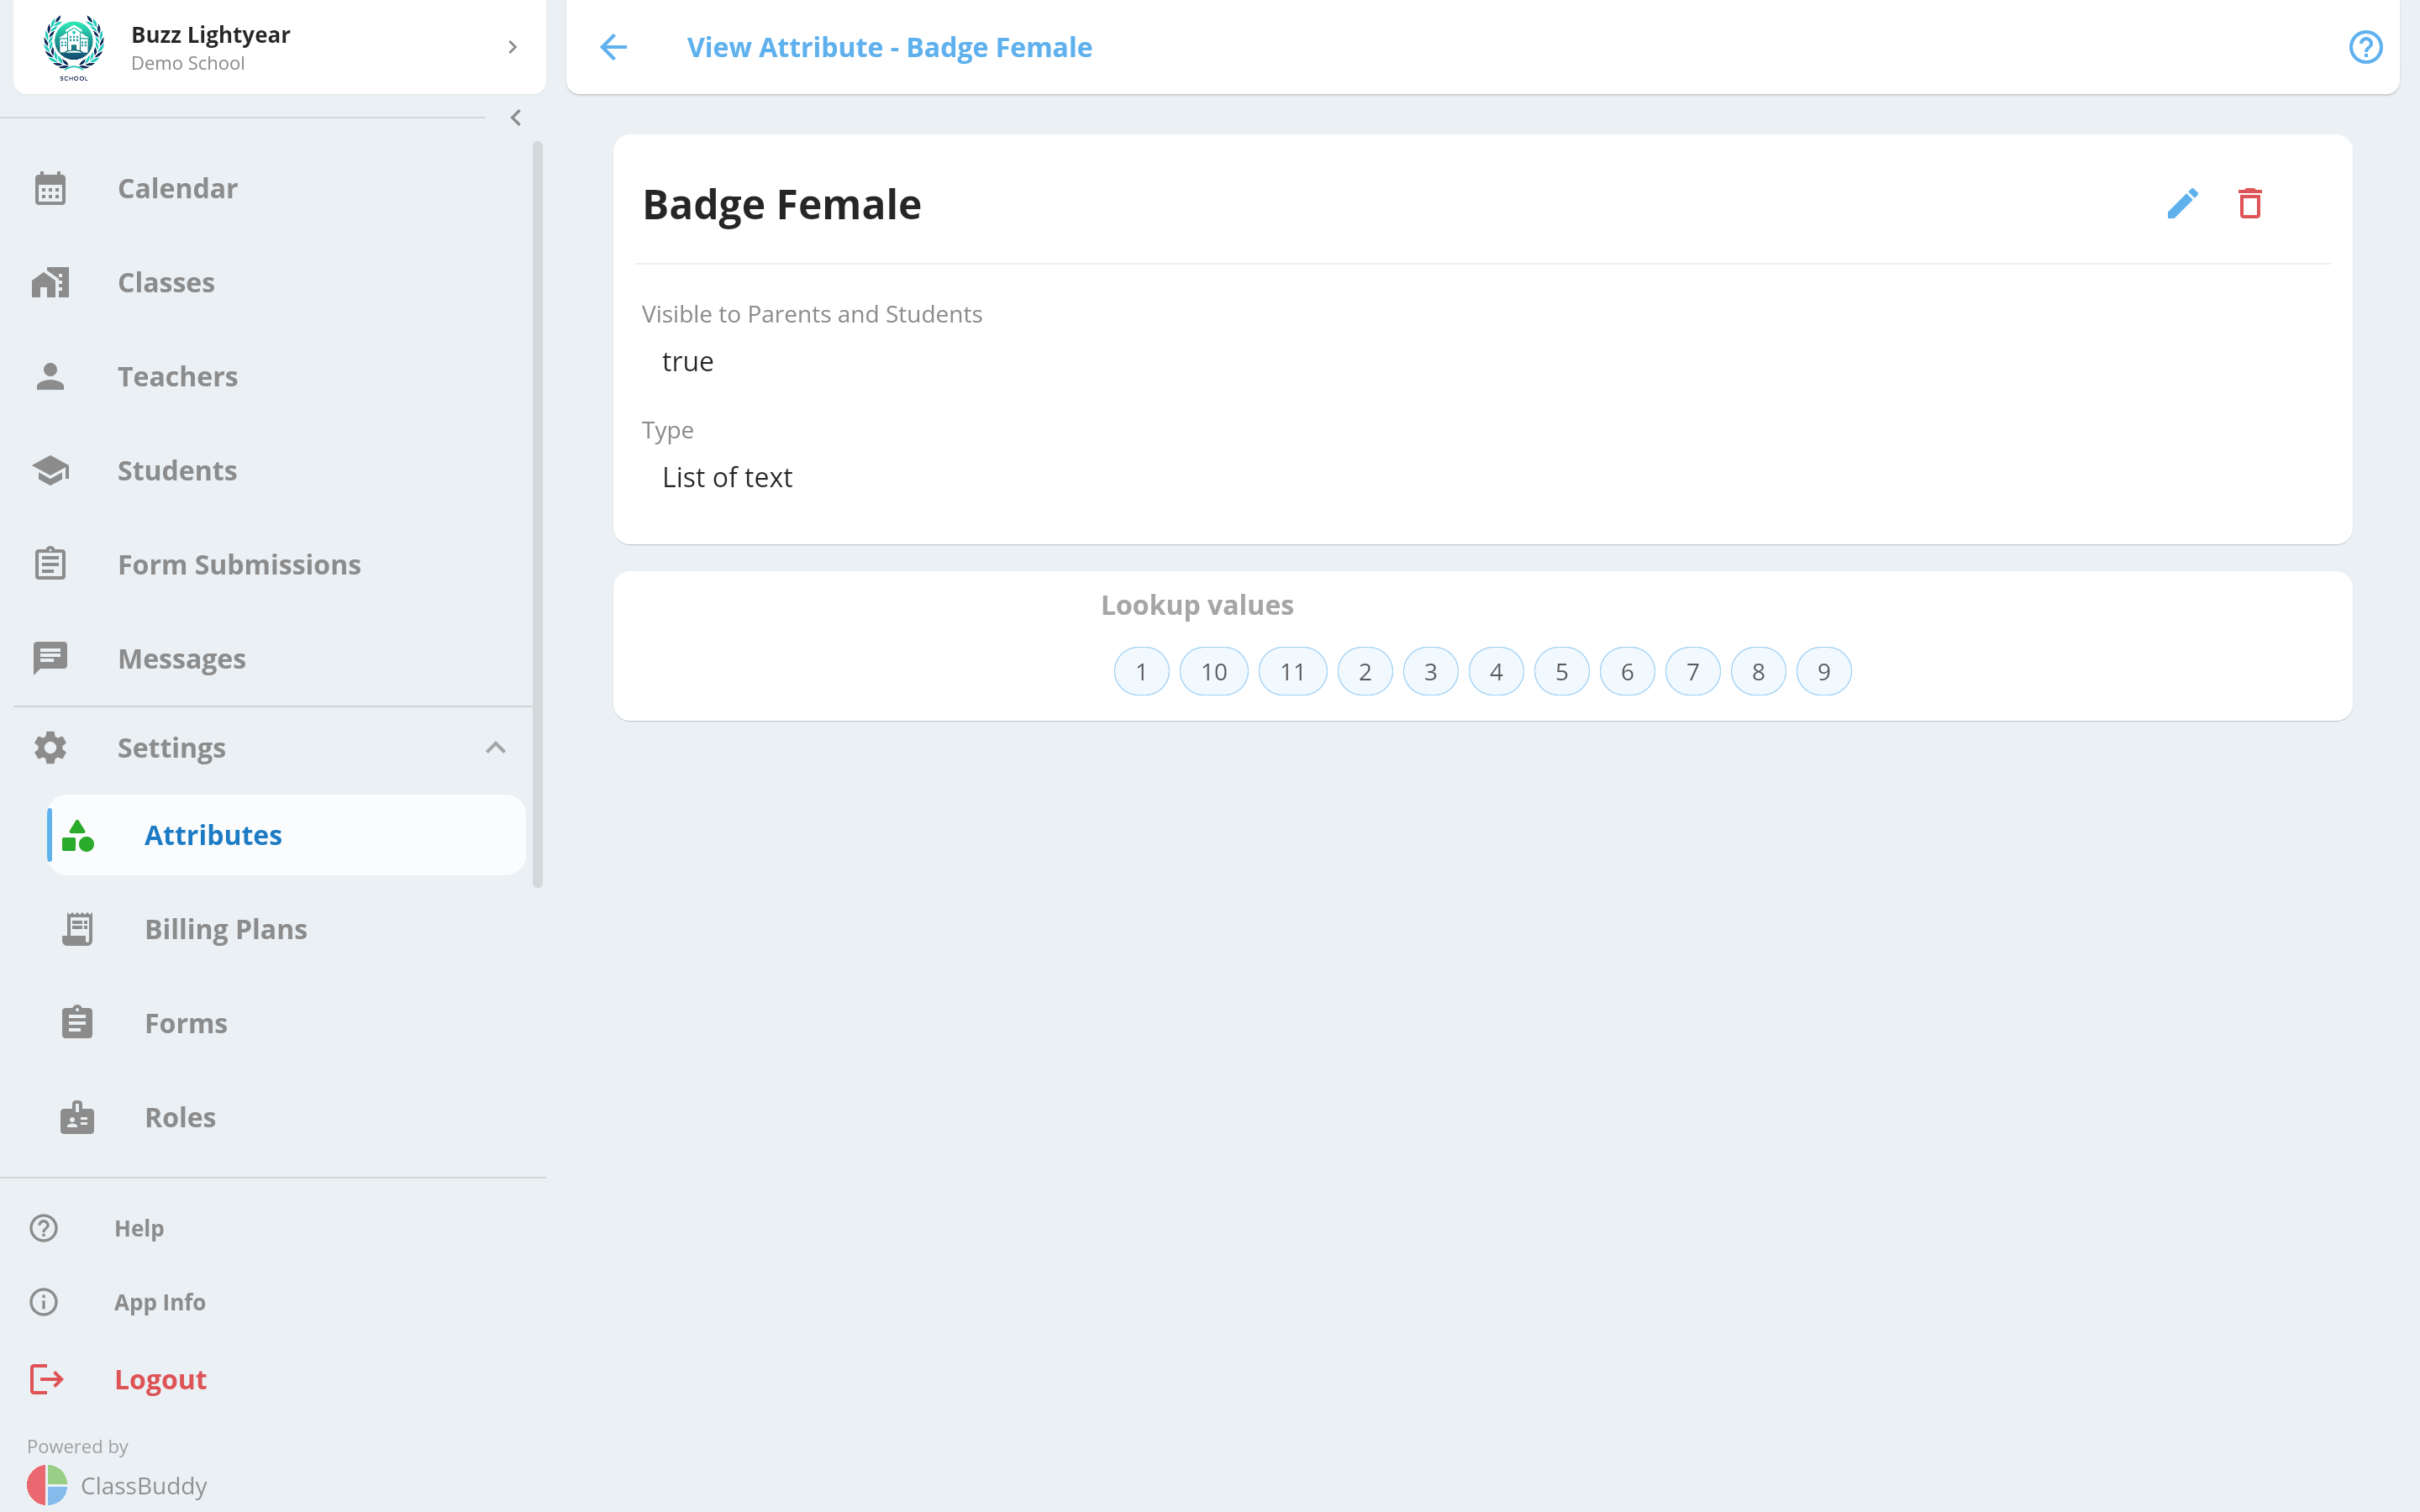
Use the menu (three dots) to Edit or Delete the attribute.
Deleting an attribute removes it from all students it has been assigned to. This cannot be undone.
Assigning Attributes to Students
Adding an attribute
Once attributes are created under settings, they can be assigned to a student with values. On the student page, click on the Add button under attributes to add a new attribute to the student. That will bring up a screen as below. Select the required attribute, assign a value and save.
Based on the type of attribute, you can assign the select/enter a value for the attribute and save.
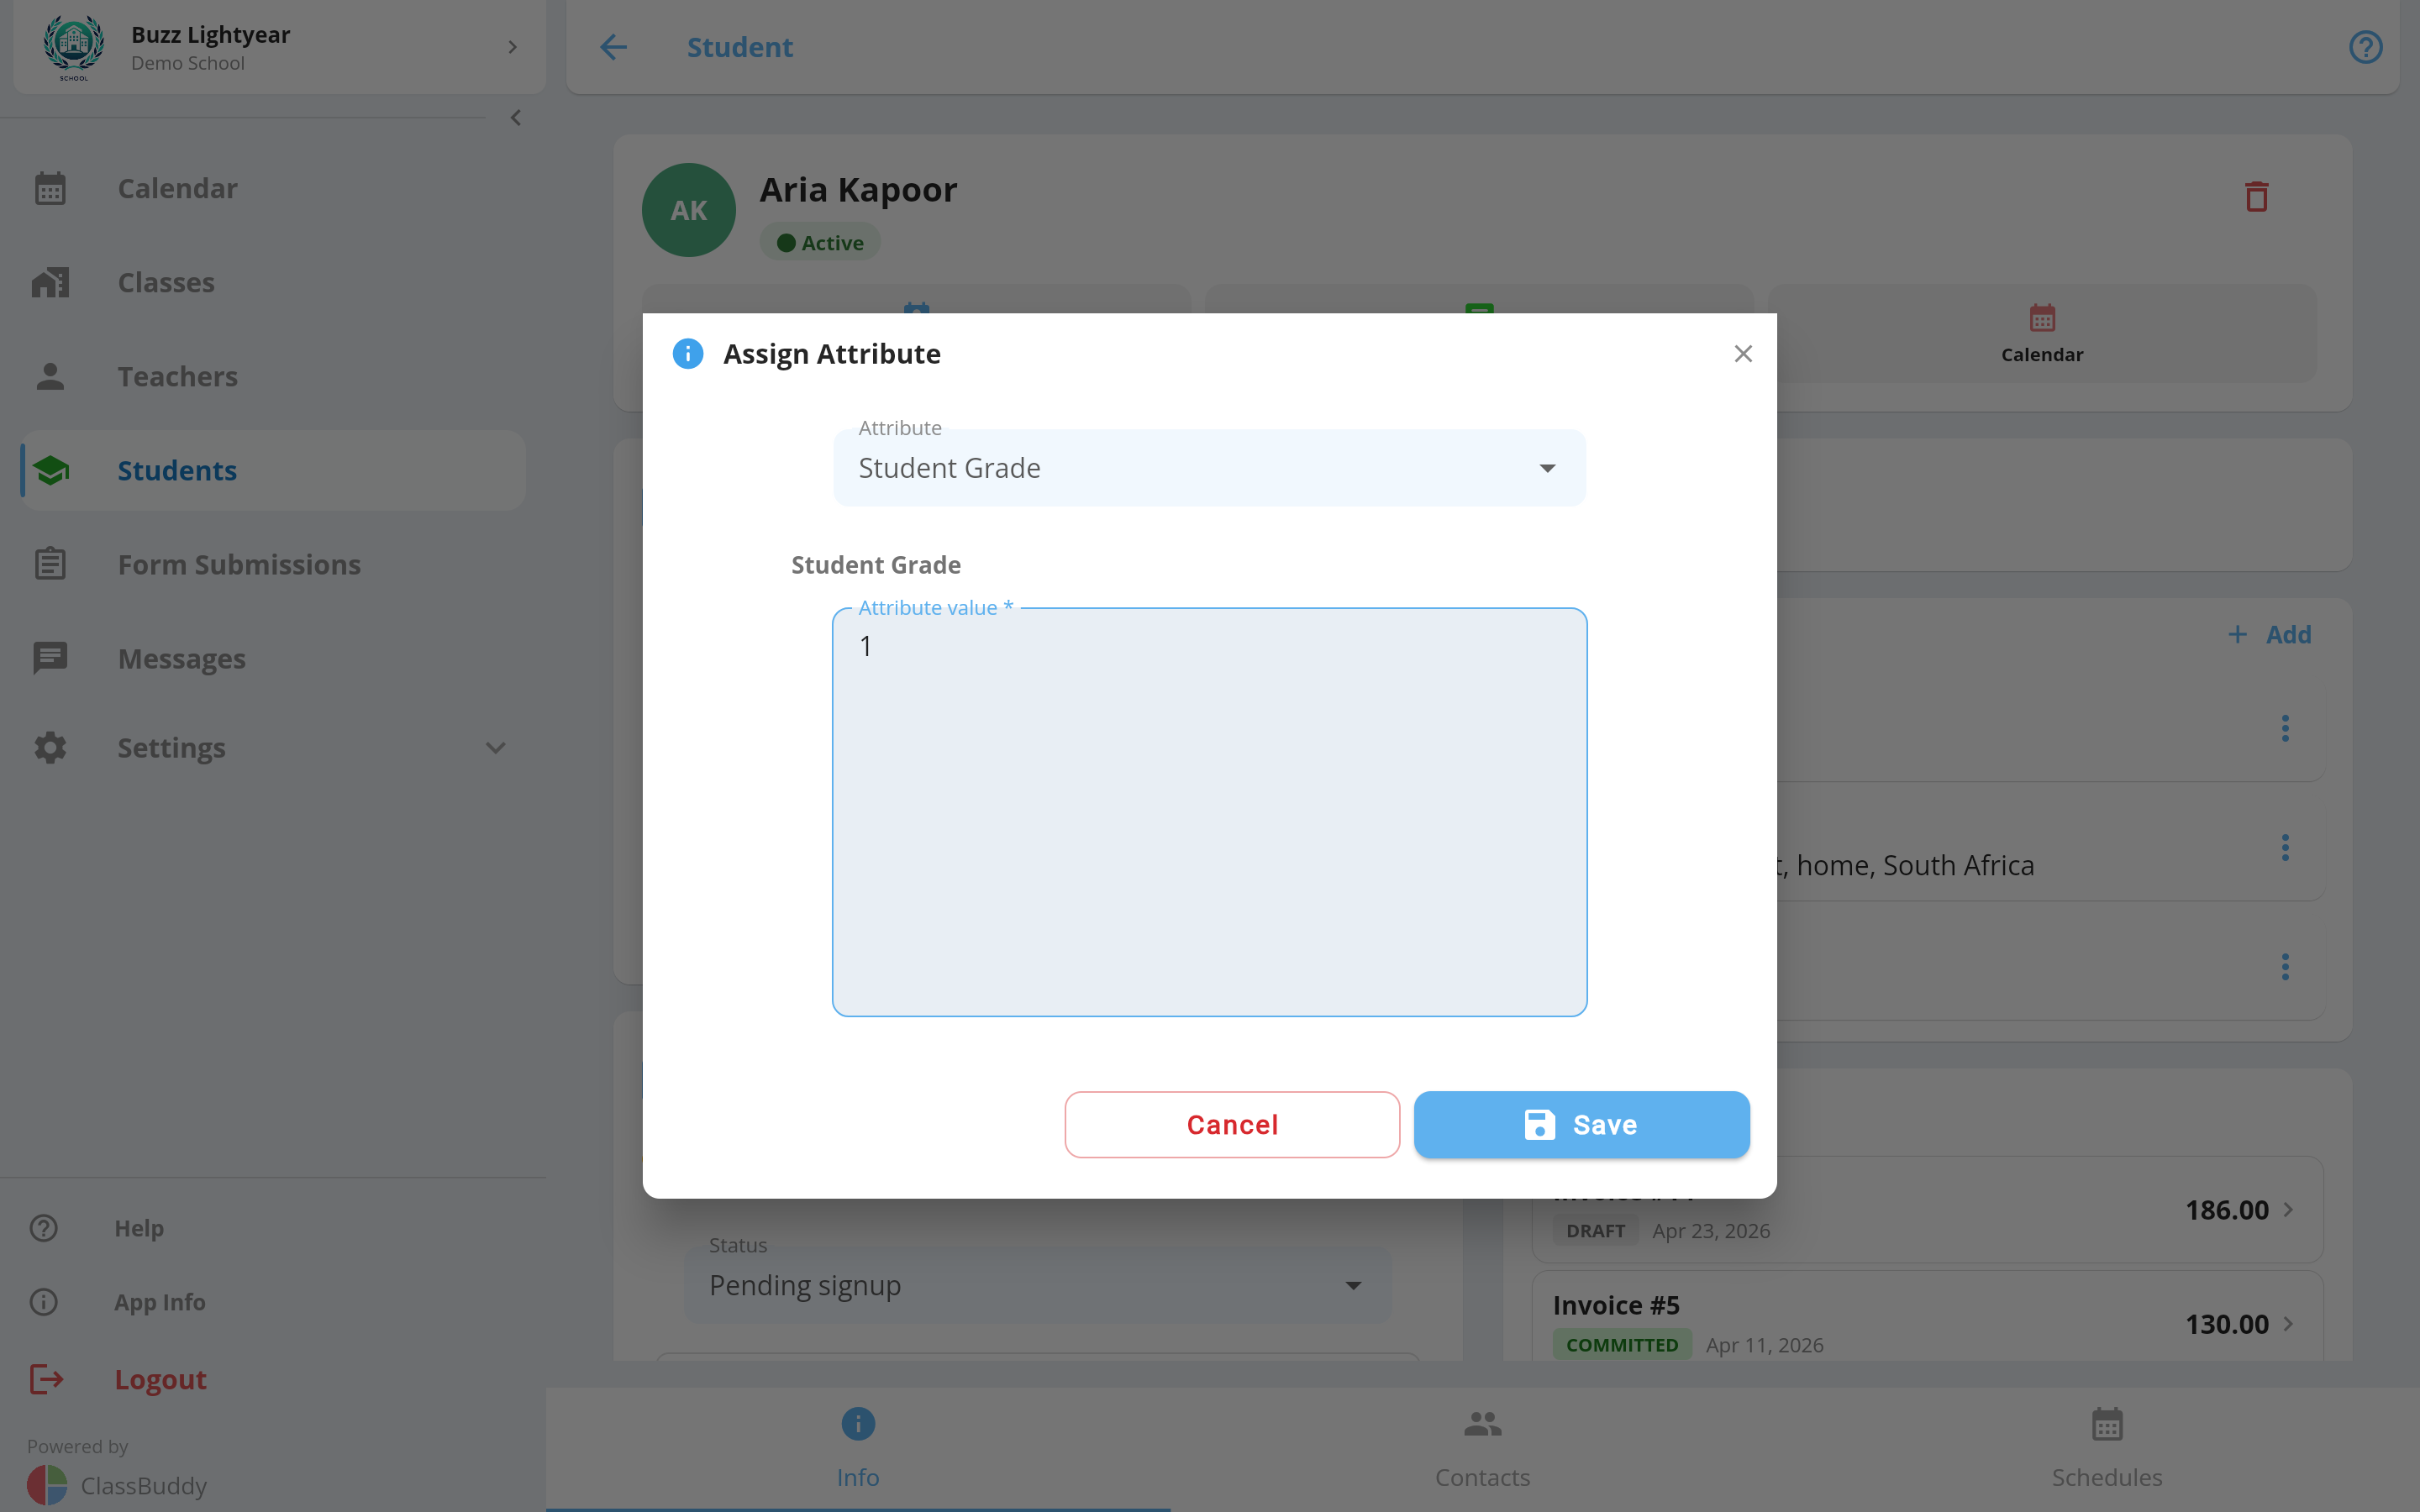
If an attribute doesn't appear in the list, check whether a restriction (gender or age) is preventing it from showing for that student.
Editing an attribute value
Tap the edit icon next to any attribute on the student profile. Update the value and tap Save.
Deleting an attribute from a student
Tap the delete icon next to the attribute. Confirm the deletion.
School Page Attributes
Attributes with the School usage tag are used to add custom information to your school's public page — things like founding year, contact details, mission statement, or social media links.
These are managed from Settings > School Page Settings, not from the student profile. See School Info for details.
School page attributes have an additional Is Private flag. When enabled, the value is hidden from the public page and only visible to school admins.
Using Attributes in Other Features
Attendance page — Attributes can be displayed alongside student names on the mark attendance page. Configure which attributes appear under Settings > Setting Groups > Attendance Page Attributes to display. Useful for showing things like a student's level or group at a glance while taking attendance.
Sign-up forms — Attributes can be added as fields on sign-up and waiting list forms so the data is collected at enrolment. See Forms for details.
Student filtering — The student list can be filtered by attribute values, letting you quickly find all students with a specific attribute.