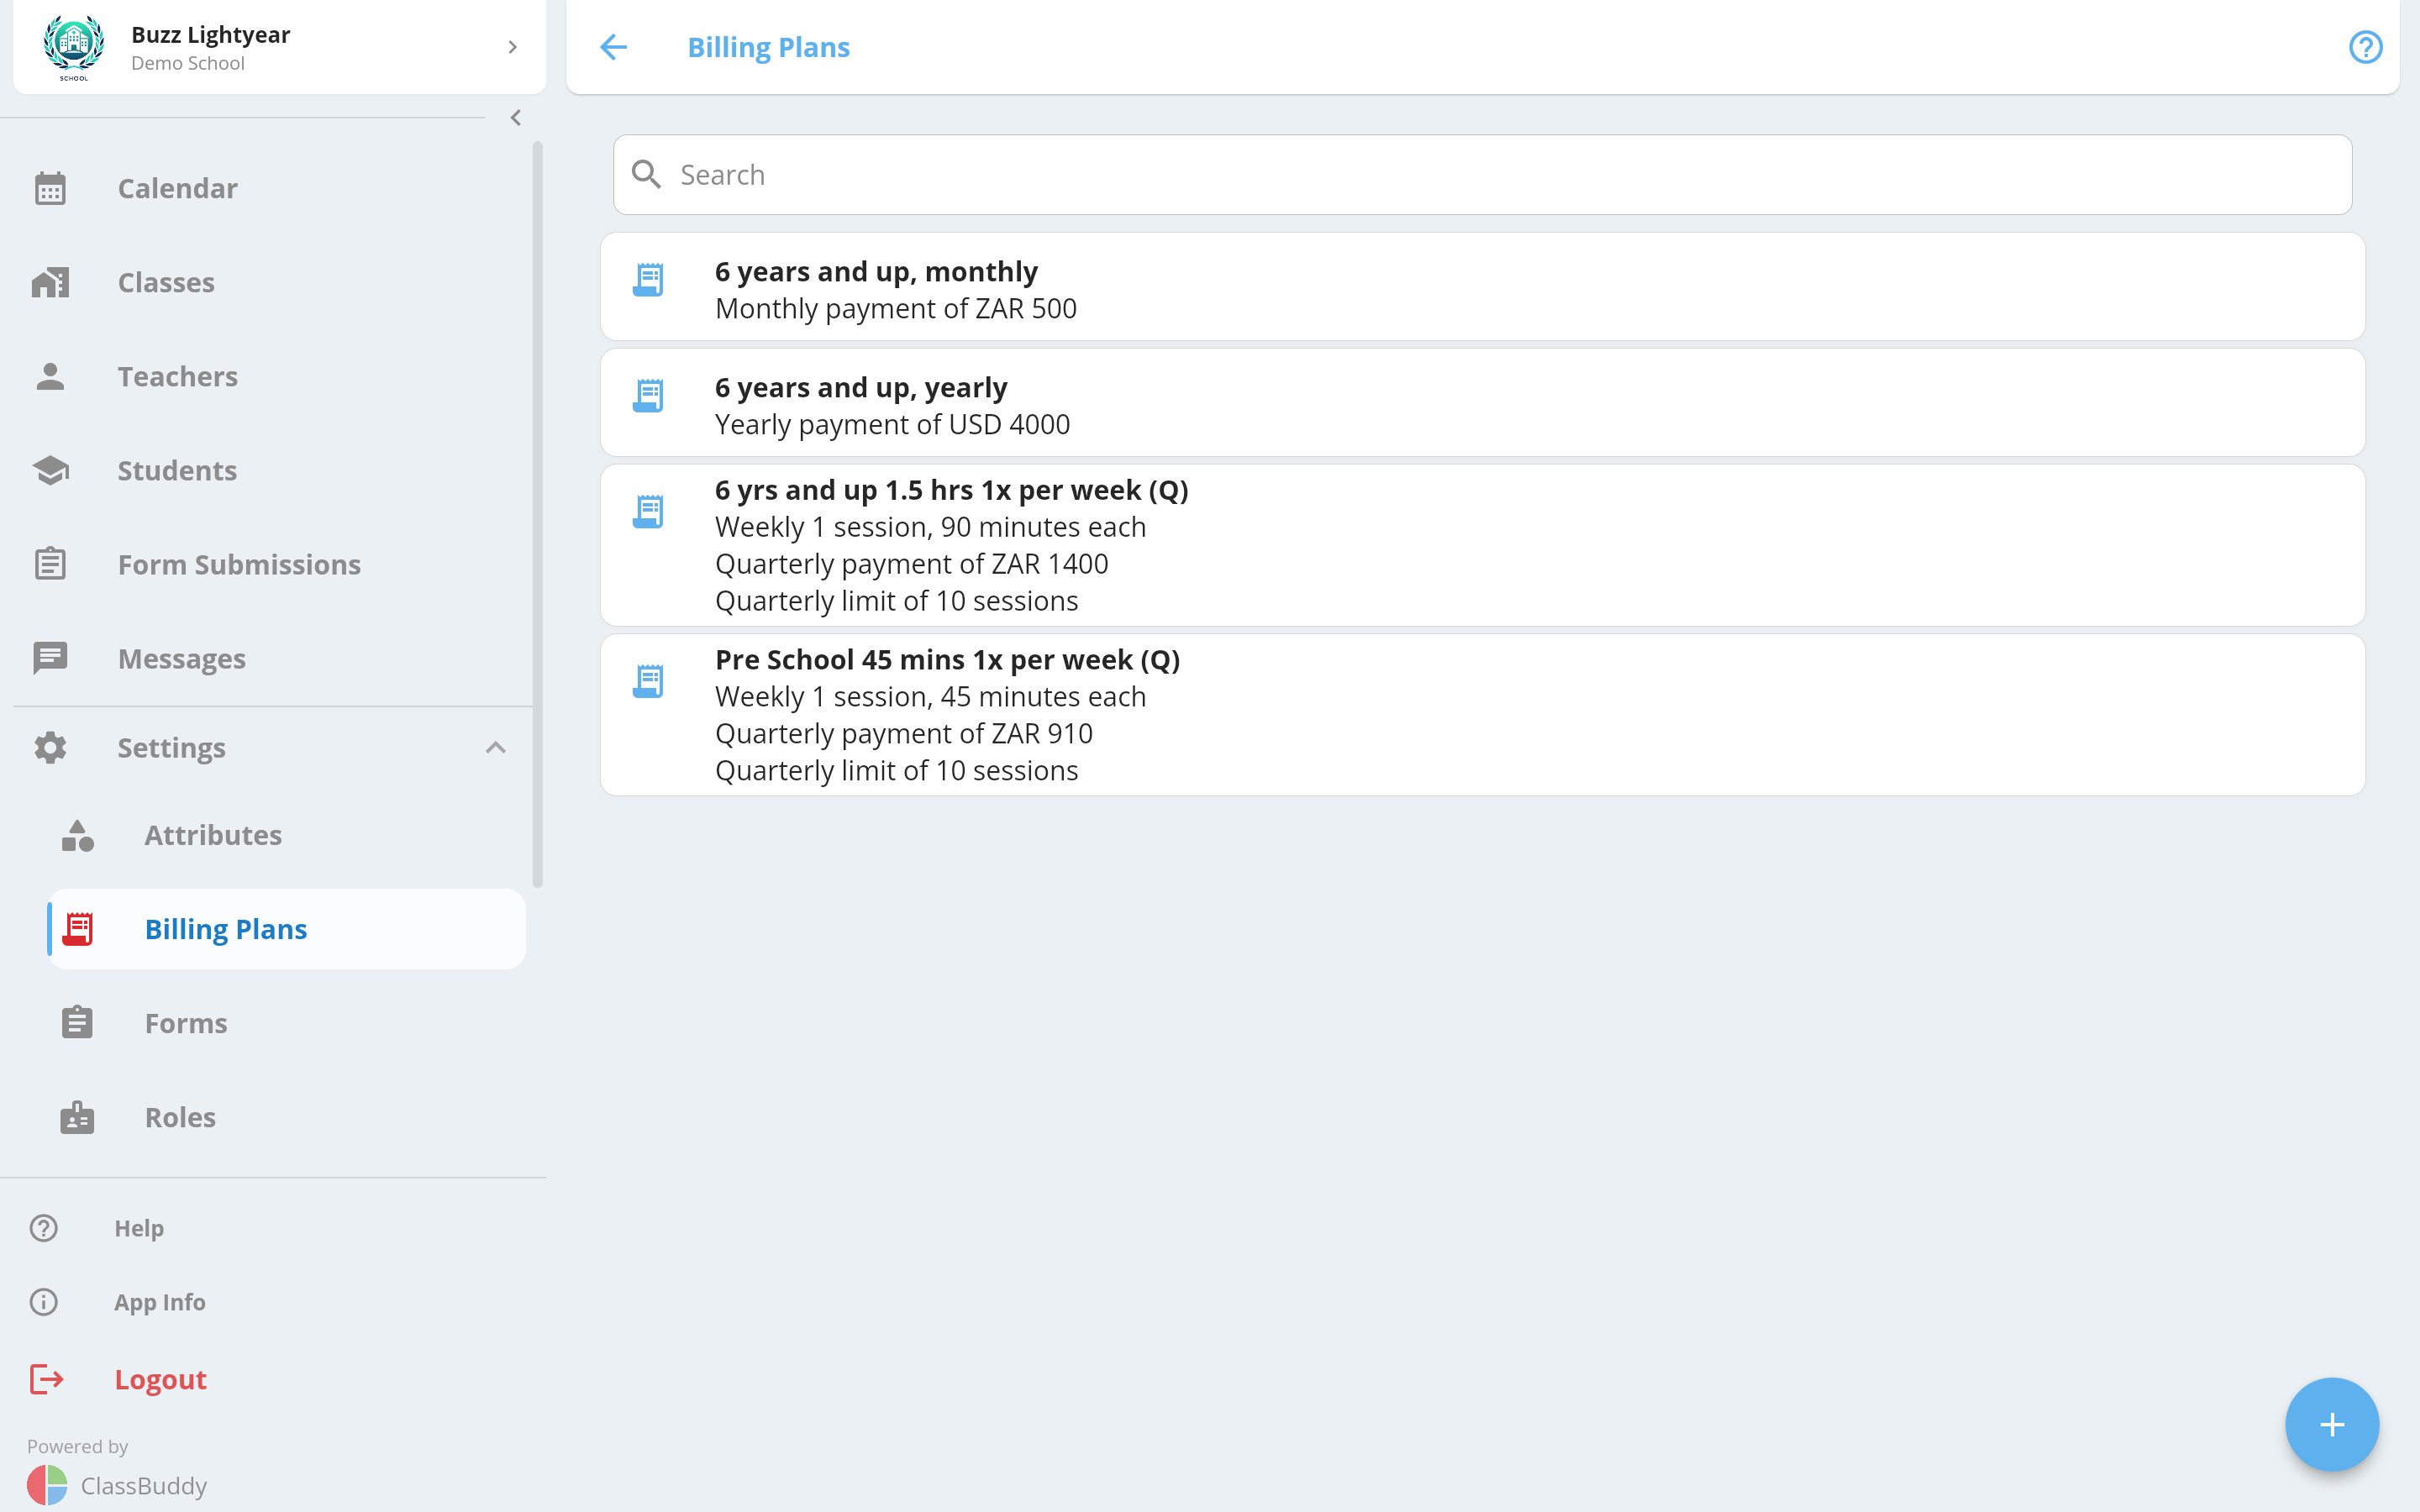
Billing Plans
Billing plans define how much students are charged, how often, and how many sessions they are entitled to. Go to Settings > Billing Plans to manage them.
Creating a Billing Plan
Tap + to open the Create Billing Plan form.
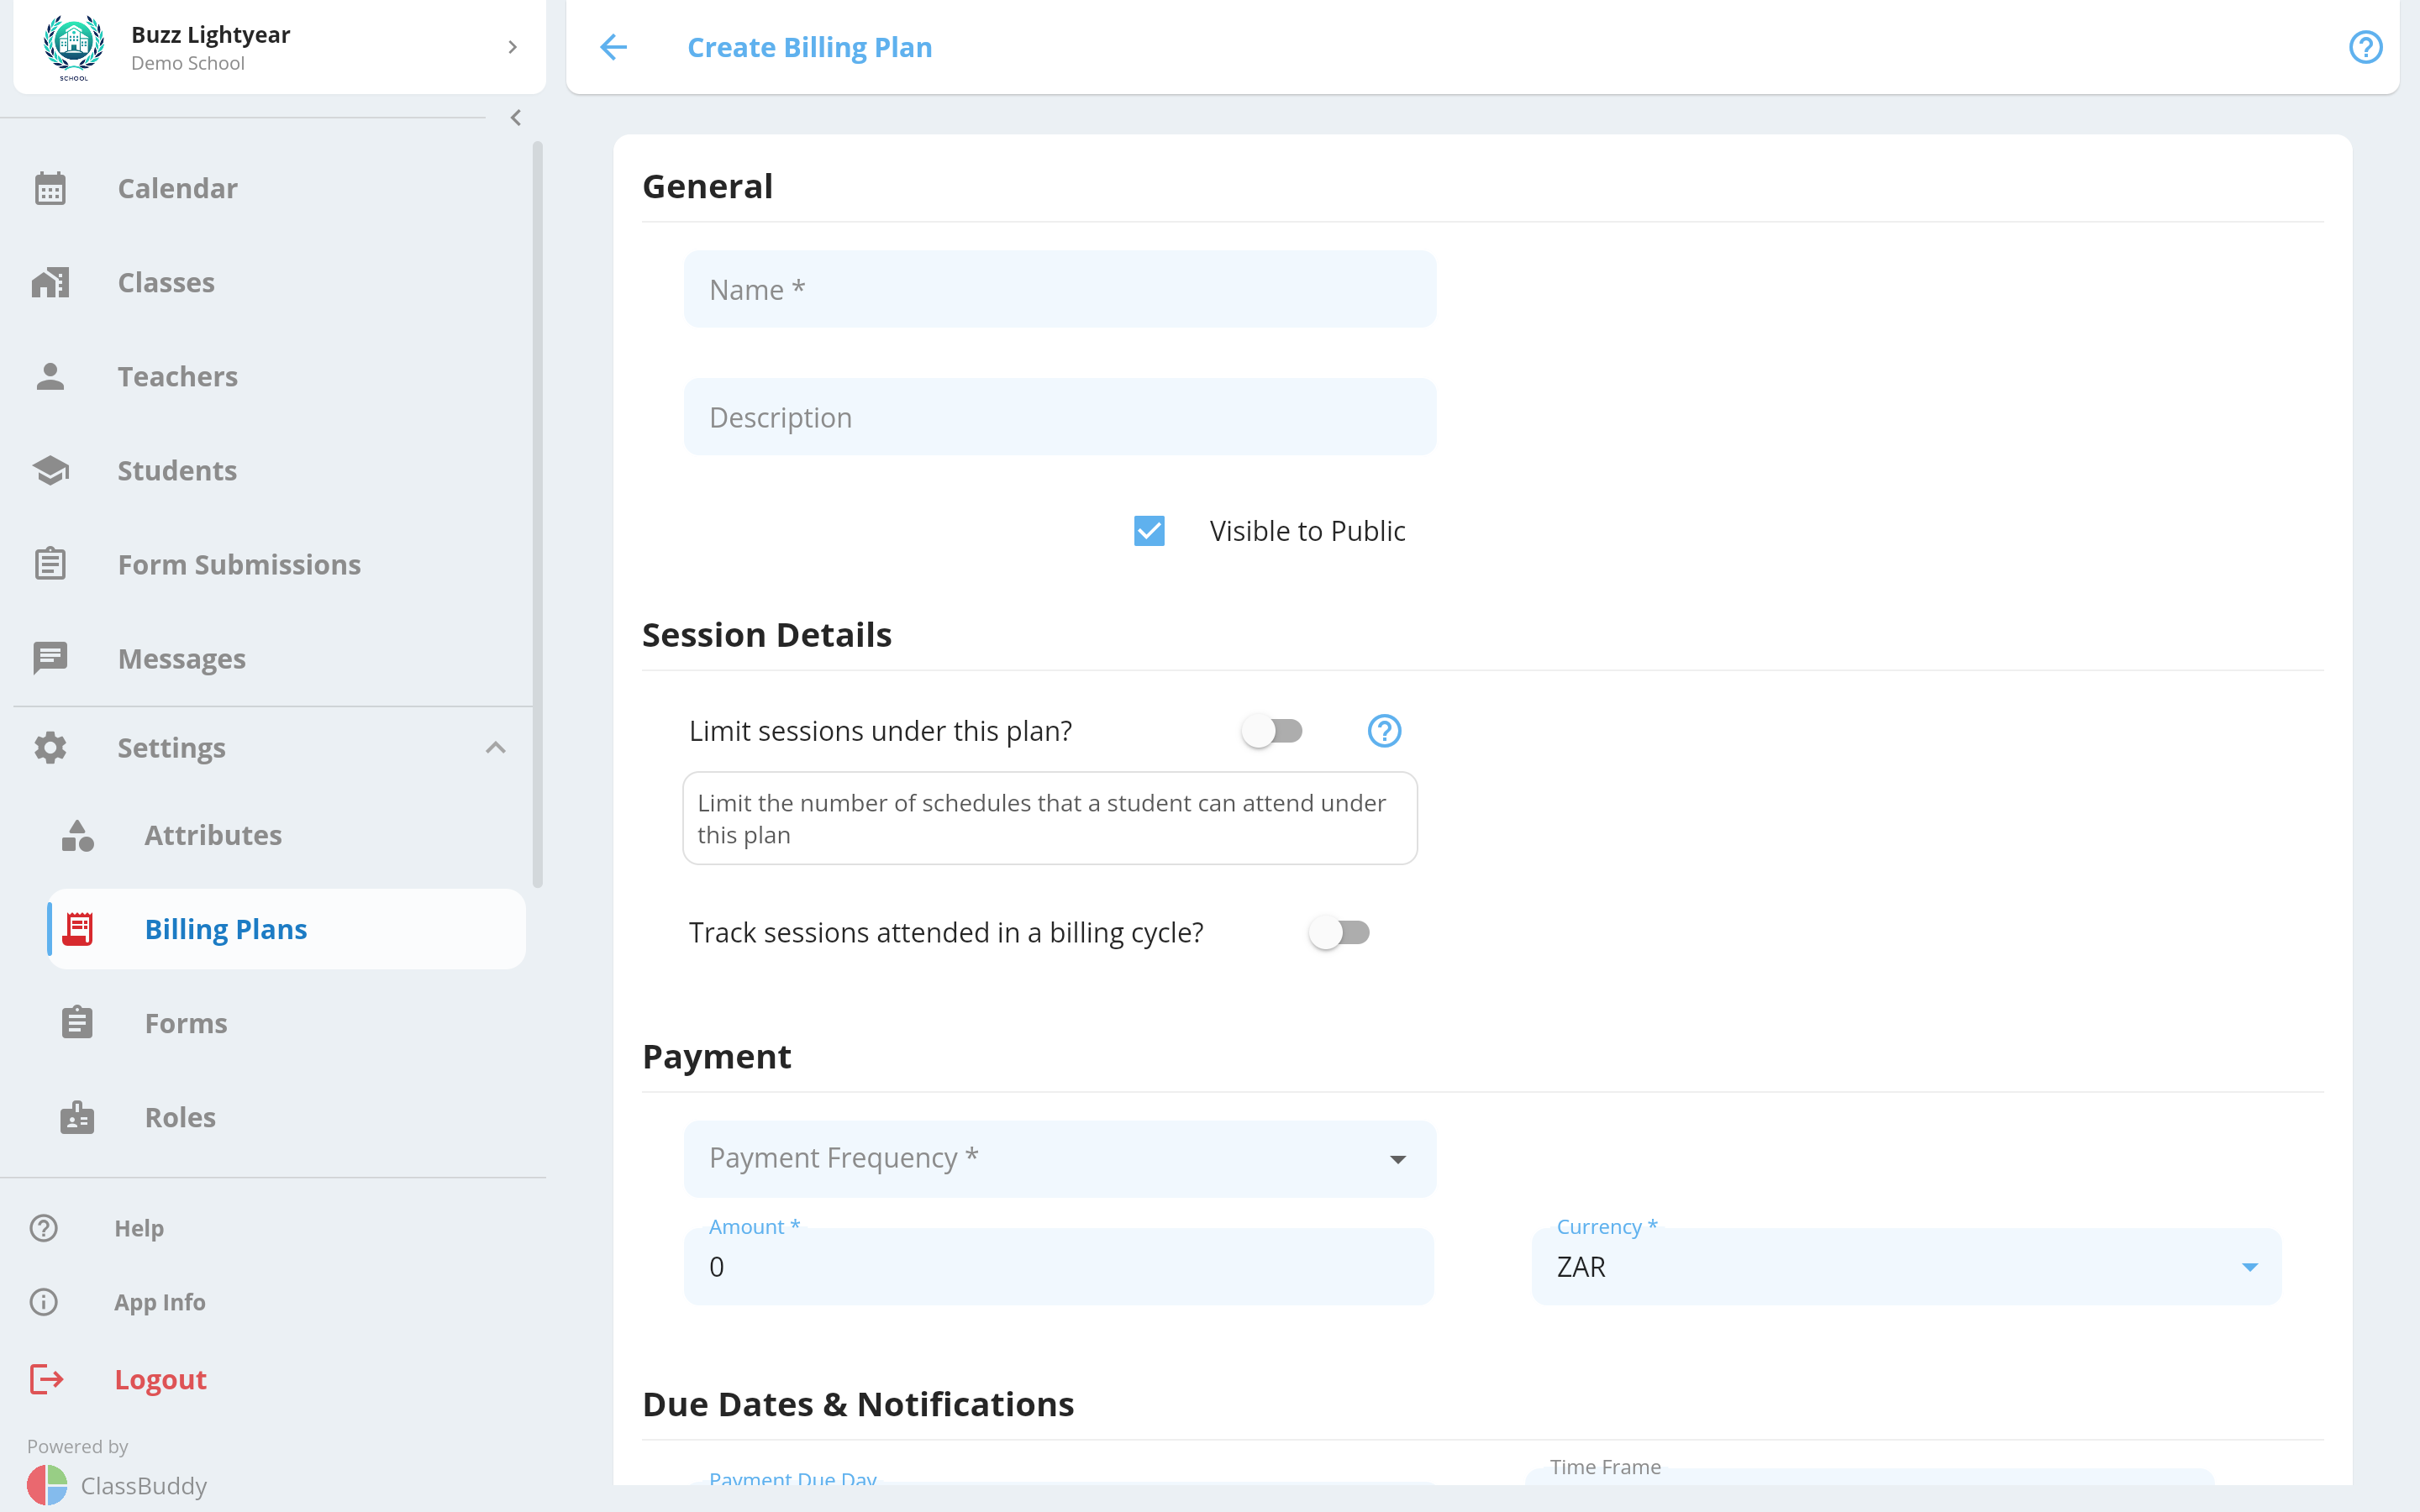
General
| Field | Required | Description |
|---|---|---|
| Name | Yes | Friendly name shown to admins and (if public) on sign-up forms |
| Description | No | Optional notes about the plan |
| Visible to Public | — | When on, the plan appears on sign-up forms so students can select it. When off, only admins can assign it. |
Session Details
| Field | Required | Description |
|---|---|---|
| Limit Sessions | No | When on, the plan enforces a maximum number of sessions. Required for Schedule Based plans. |
| Sessions Count | Conditional | Number of sessions the student is entitled to per session frequency period |
| Session Frequency | Conditional | How often the session count resets — Once Off, Daily, Weekly, or Monthly |
| Session Duration | Conditional (required for Schedule Based) | Length of each session in minutes. Used to match this plan to schedules of the same duration. |
Payment
| Field | Required | Description |
|---|---|---|
| Payment Frequency | Yes | How often the student is billed — Daily, Weekly, Monthly, Quarterly, or Yearly |
| Amount | Yes | The amount charged per payment period |
| Currency | Yes | Currency for the amount (default: ZAR) |
Due Dates & Notifications
These fields control when payment is due and when the student receives a payment reminder.
| Field | Description |
|---|---|
| Payment Due Day | Day of the month the payment is due (e.g. 5 = 5th of the month) |
| Payment Due Timing | Which month the due date falls in, relative to the billing period. Options: 2 months before, 1 month before, same month, 1 month after, 2 months after. |
| Notification Day | Day of the month a payment reminder notification is sent |
| Notification Timing | Same relative month options as Payment Due Timing |
Example: Payment Due Day = 5, Payment Due Timing = "1 month before" means the payment is due on the 5th of the month before the billing period begins. This allows you to collect payment in advance.
Session Tracking (Billing Cycle)
Enable Track Sessions attended in a billing cycle to monitor how many sessions a student attends within a defined cycle. If the student exceeds the limit, an email notification is sent to the school admin.
| Field | Description |
|---|---|
| Billing Cycle | The cycle period — Monthly, Quarterly, or Yearly |
| Billing Cycle Sessions Count | Maximum sessions allowed within one cycle |
This is useful for plans that allow a certain number of sessions per month but you want visibility when a student goes over.
Tap Submit to create the plan.
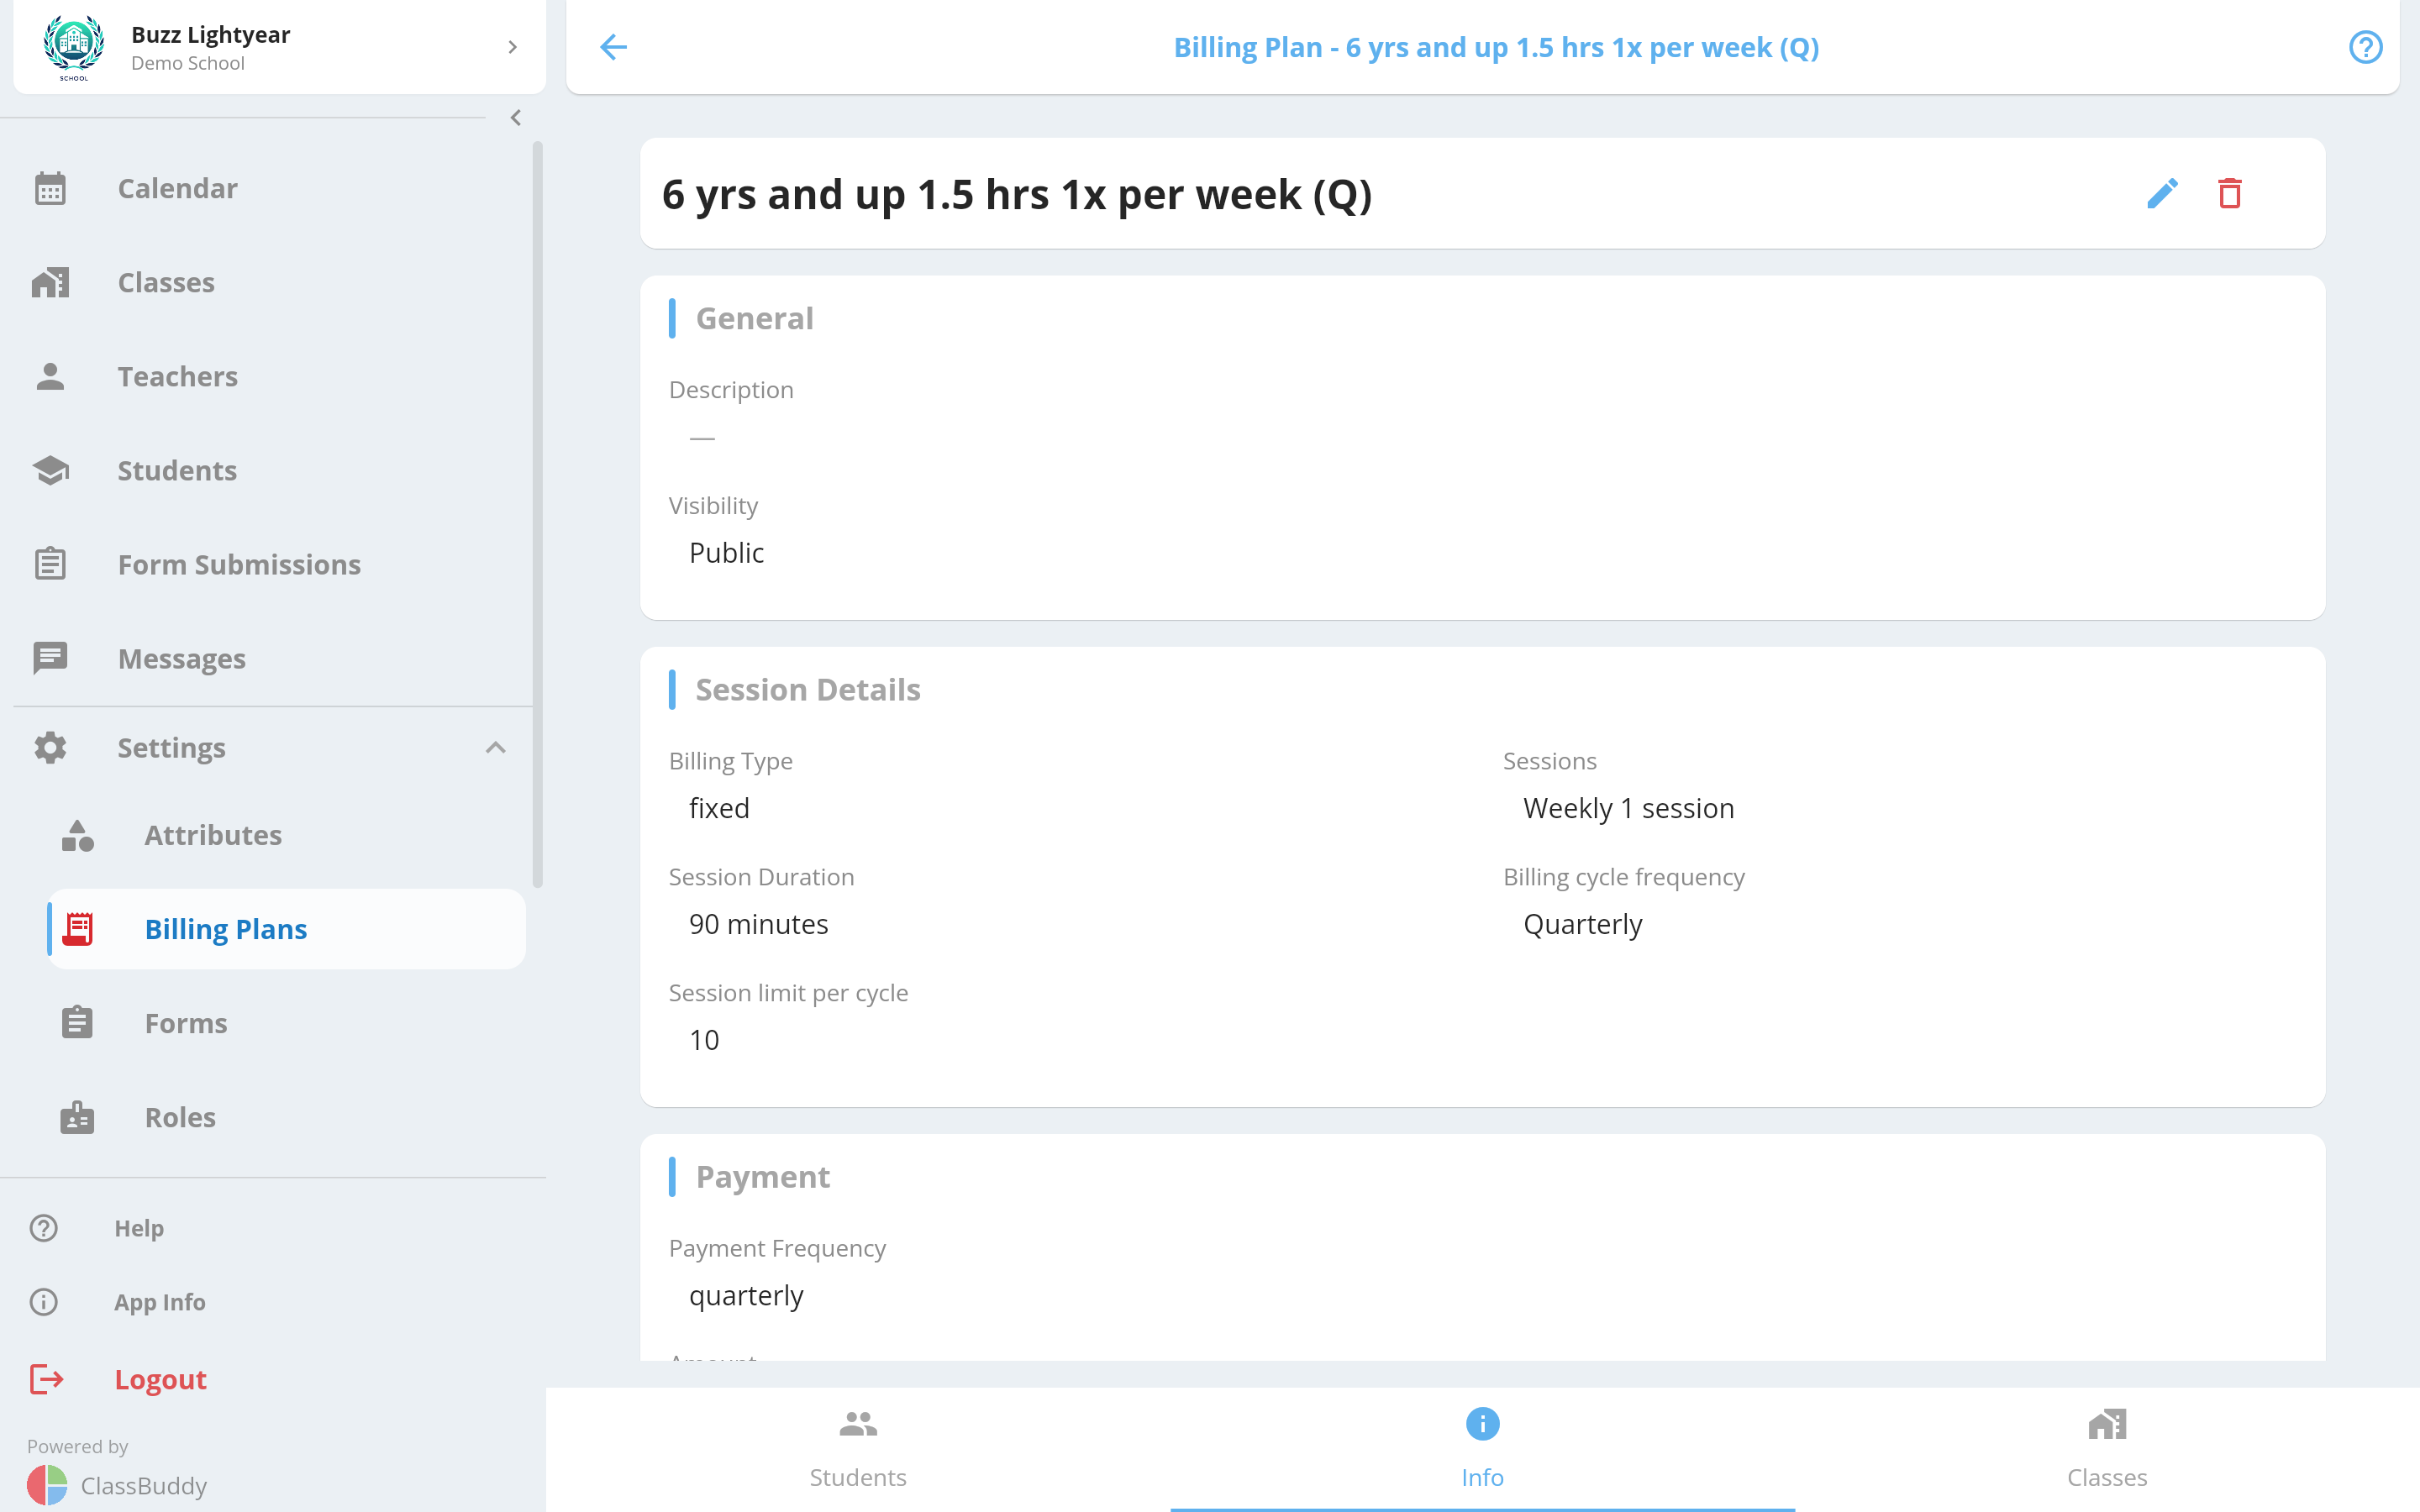
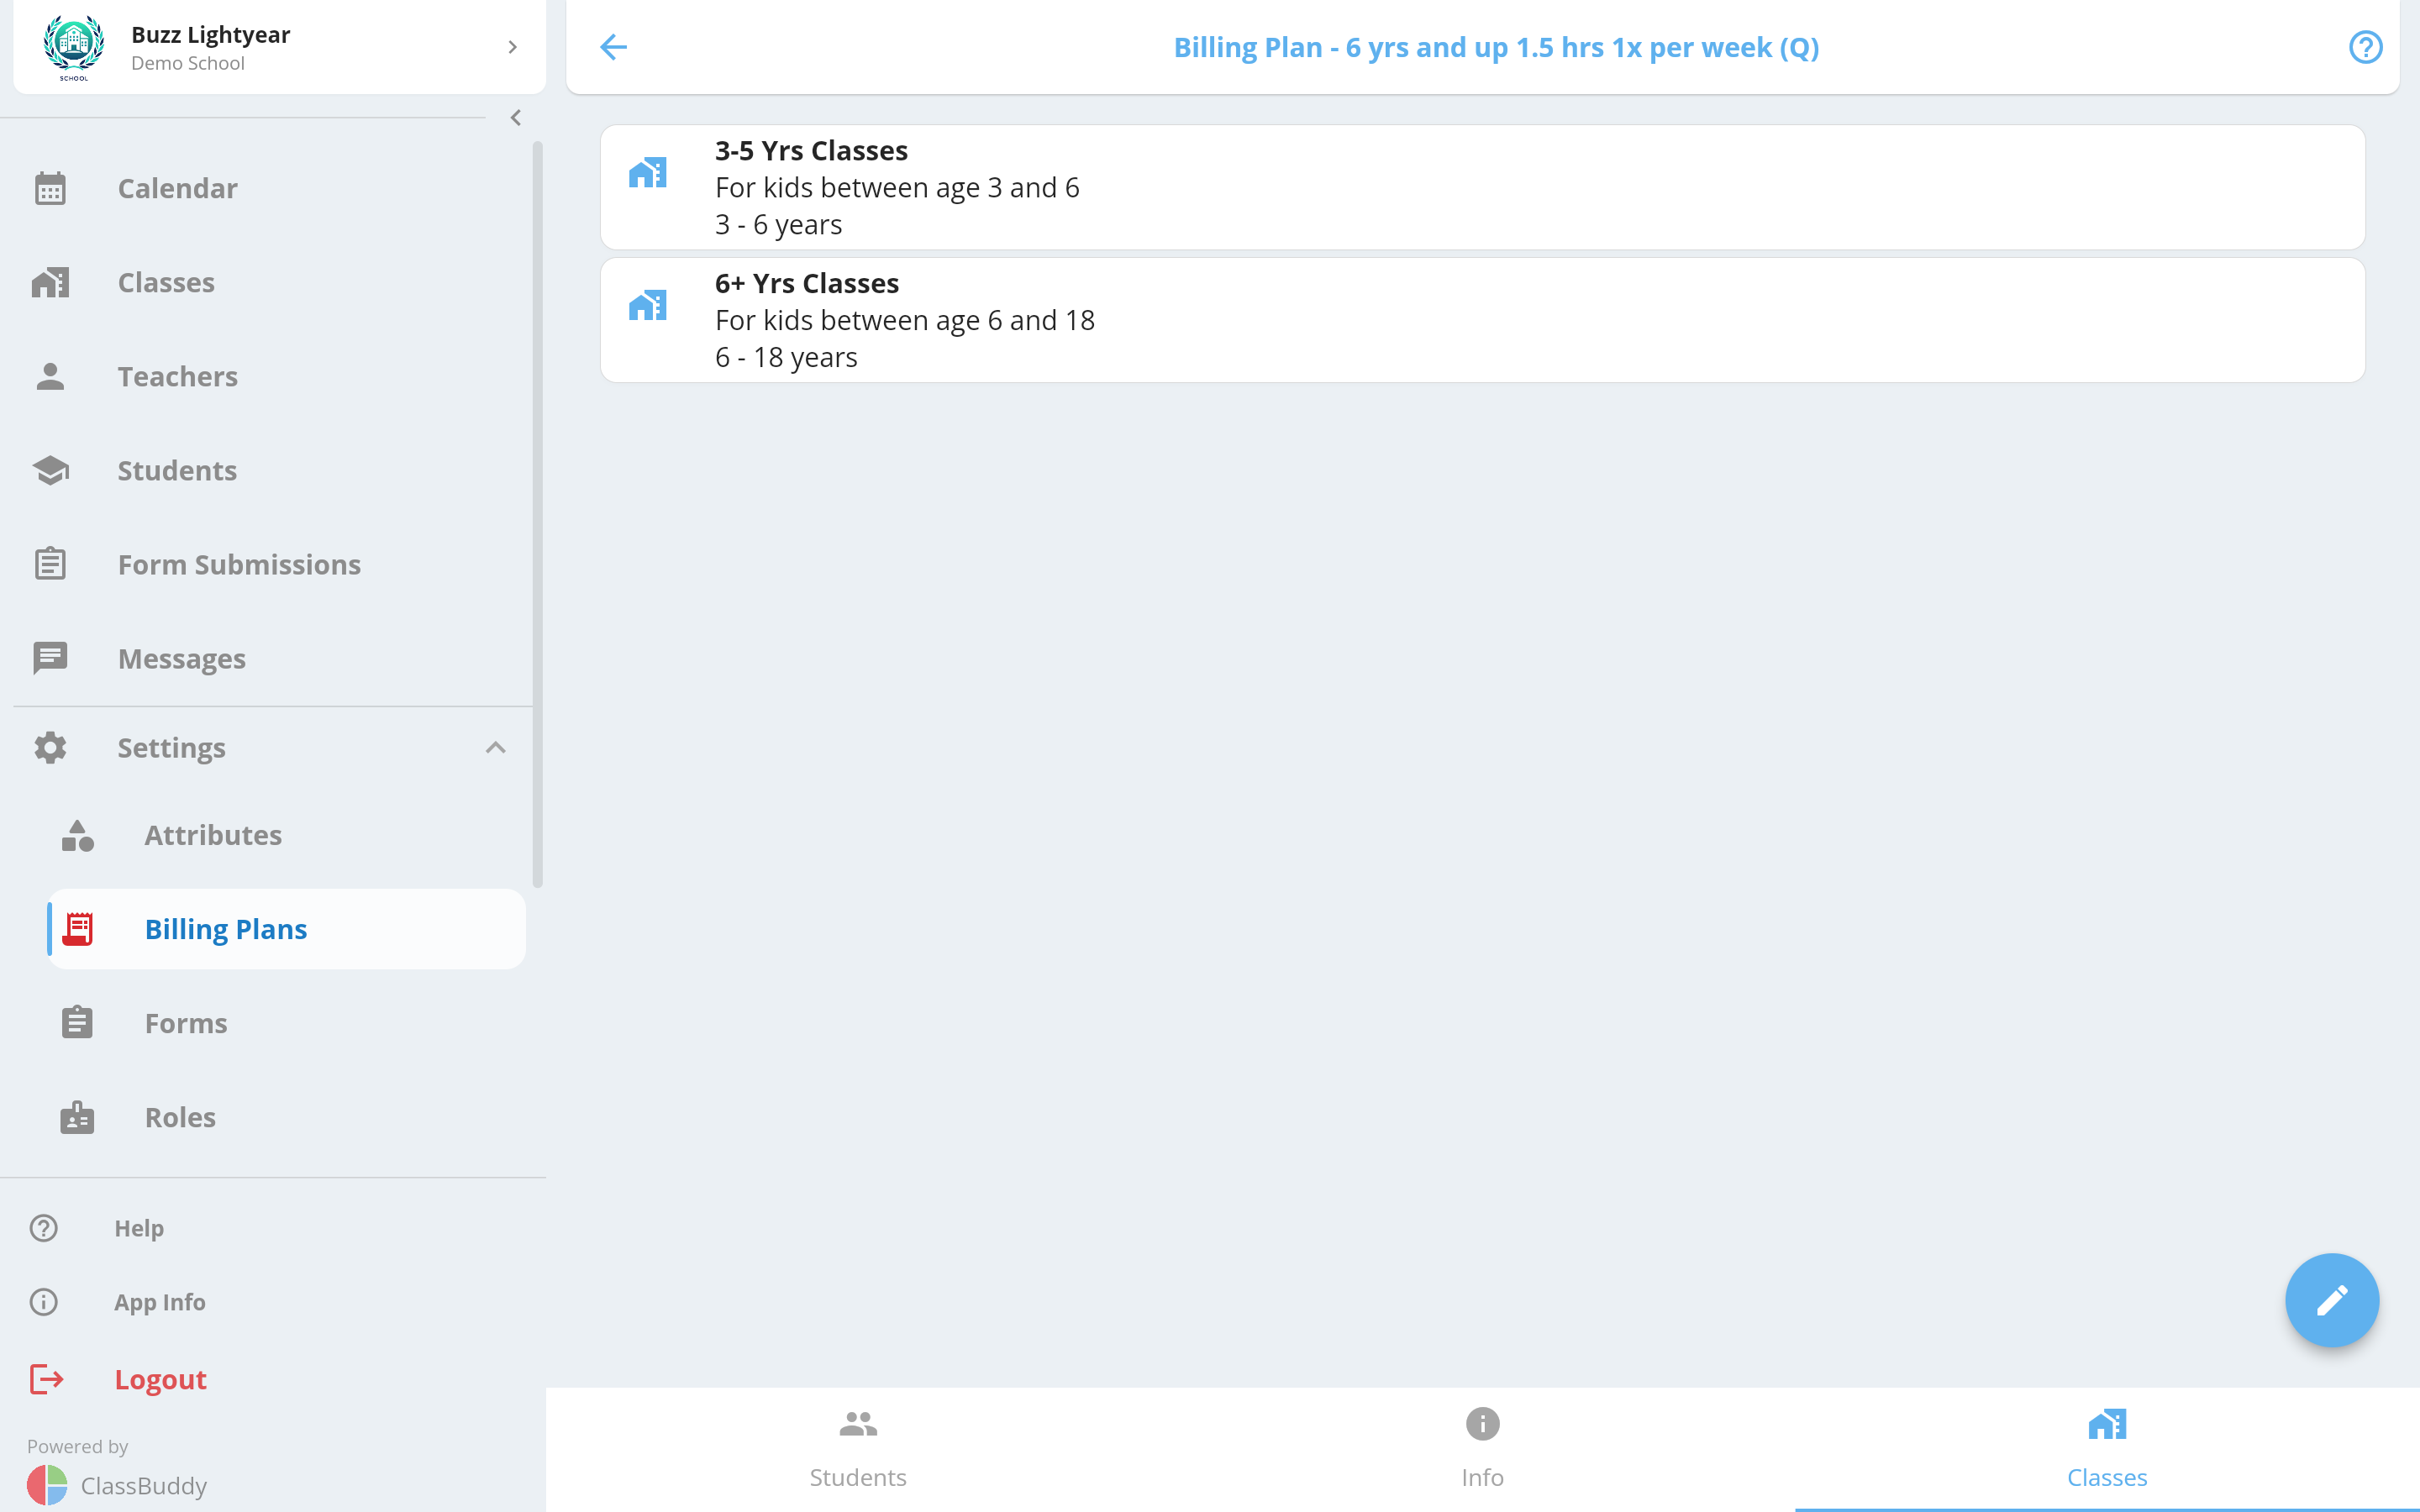
Billing Plan Tabs
Tap any billing plan to open it. Three tabs are available:
| Tab | Contents |
|---|---|
| Students | All students currently on this billing plan |
| Info | Full plan details |
| Classes | All classes this plan is linked to |
Editing a Billing Plan
Open the billing plan, go to the Info tab, and tap the edit icon in the top-right corner.
Update any fields and tap Submit.
Deleting a Billing Plan
From the Info tab menu, select Delete and confirm.
Deleting a billing plan removes it from all students and classes it is linked to. Students previously on this plan will have no billing plan assigned.
Assigning a Billing Plan to a Class
A billing plan must be linked to a class before it can be assigned to students in that class.
From the class:
- Open the class and go to the Info tab.
- Tap Billing.
- Tap the edit icon to update the linked plans.
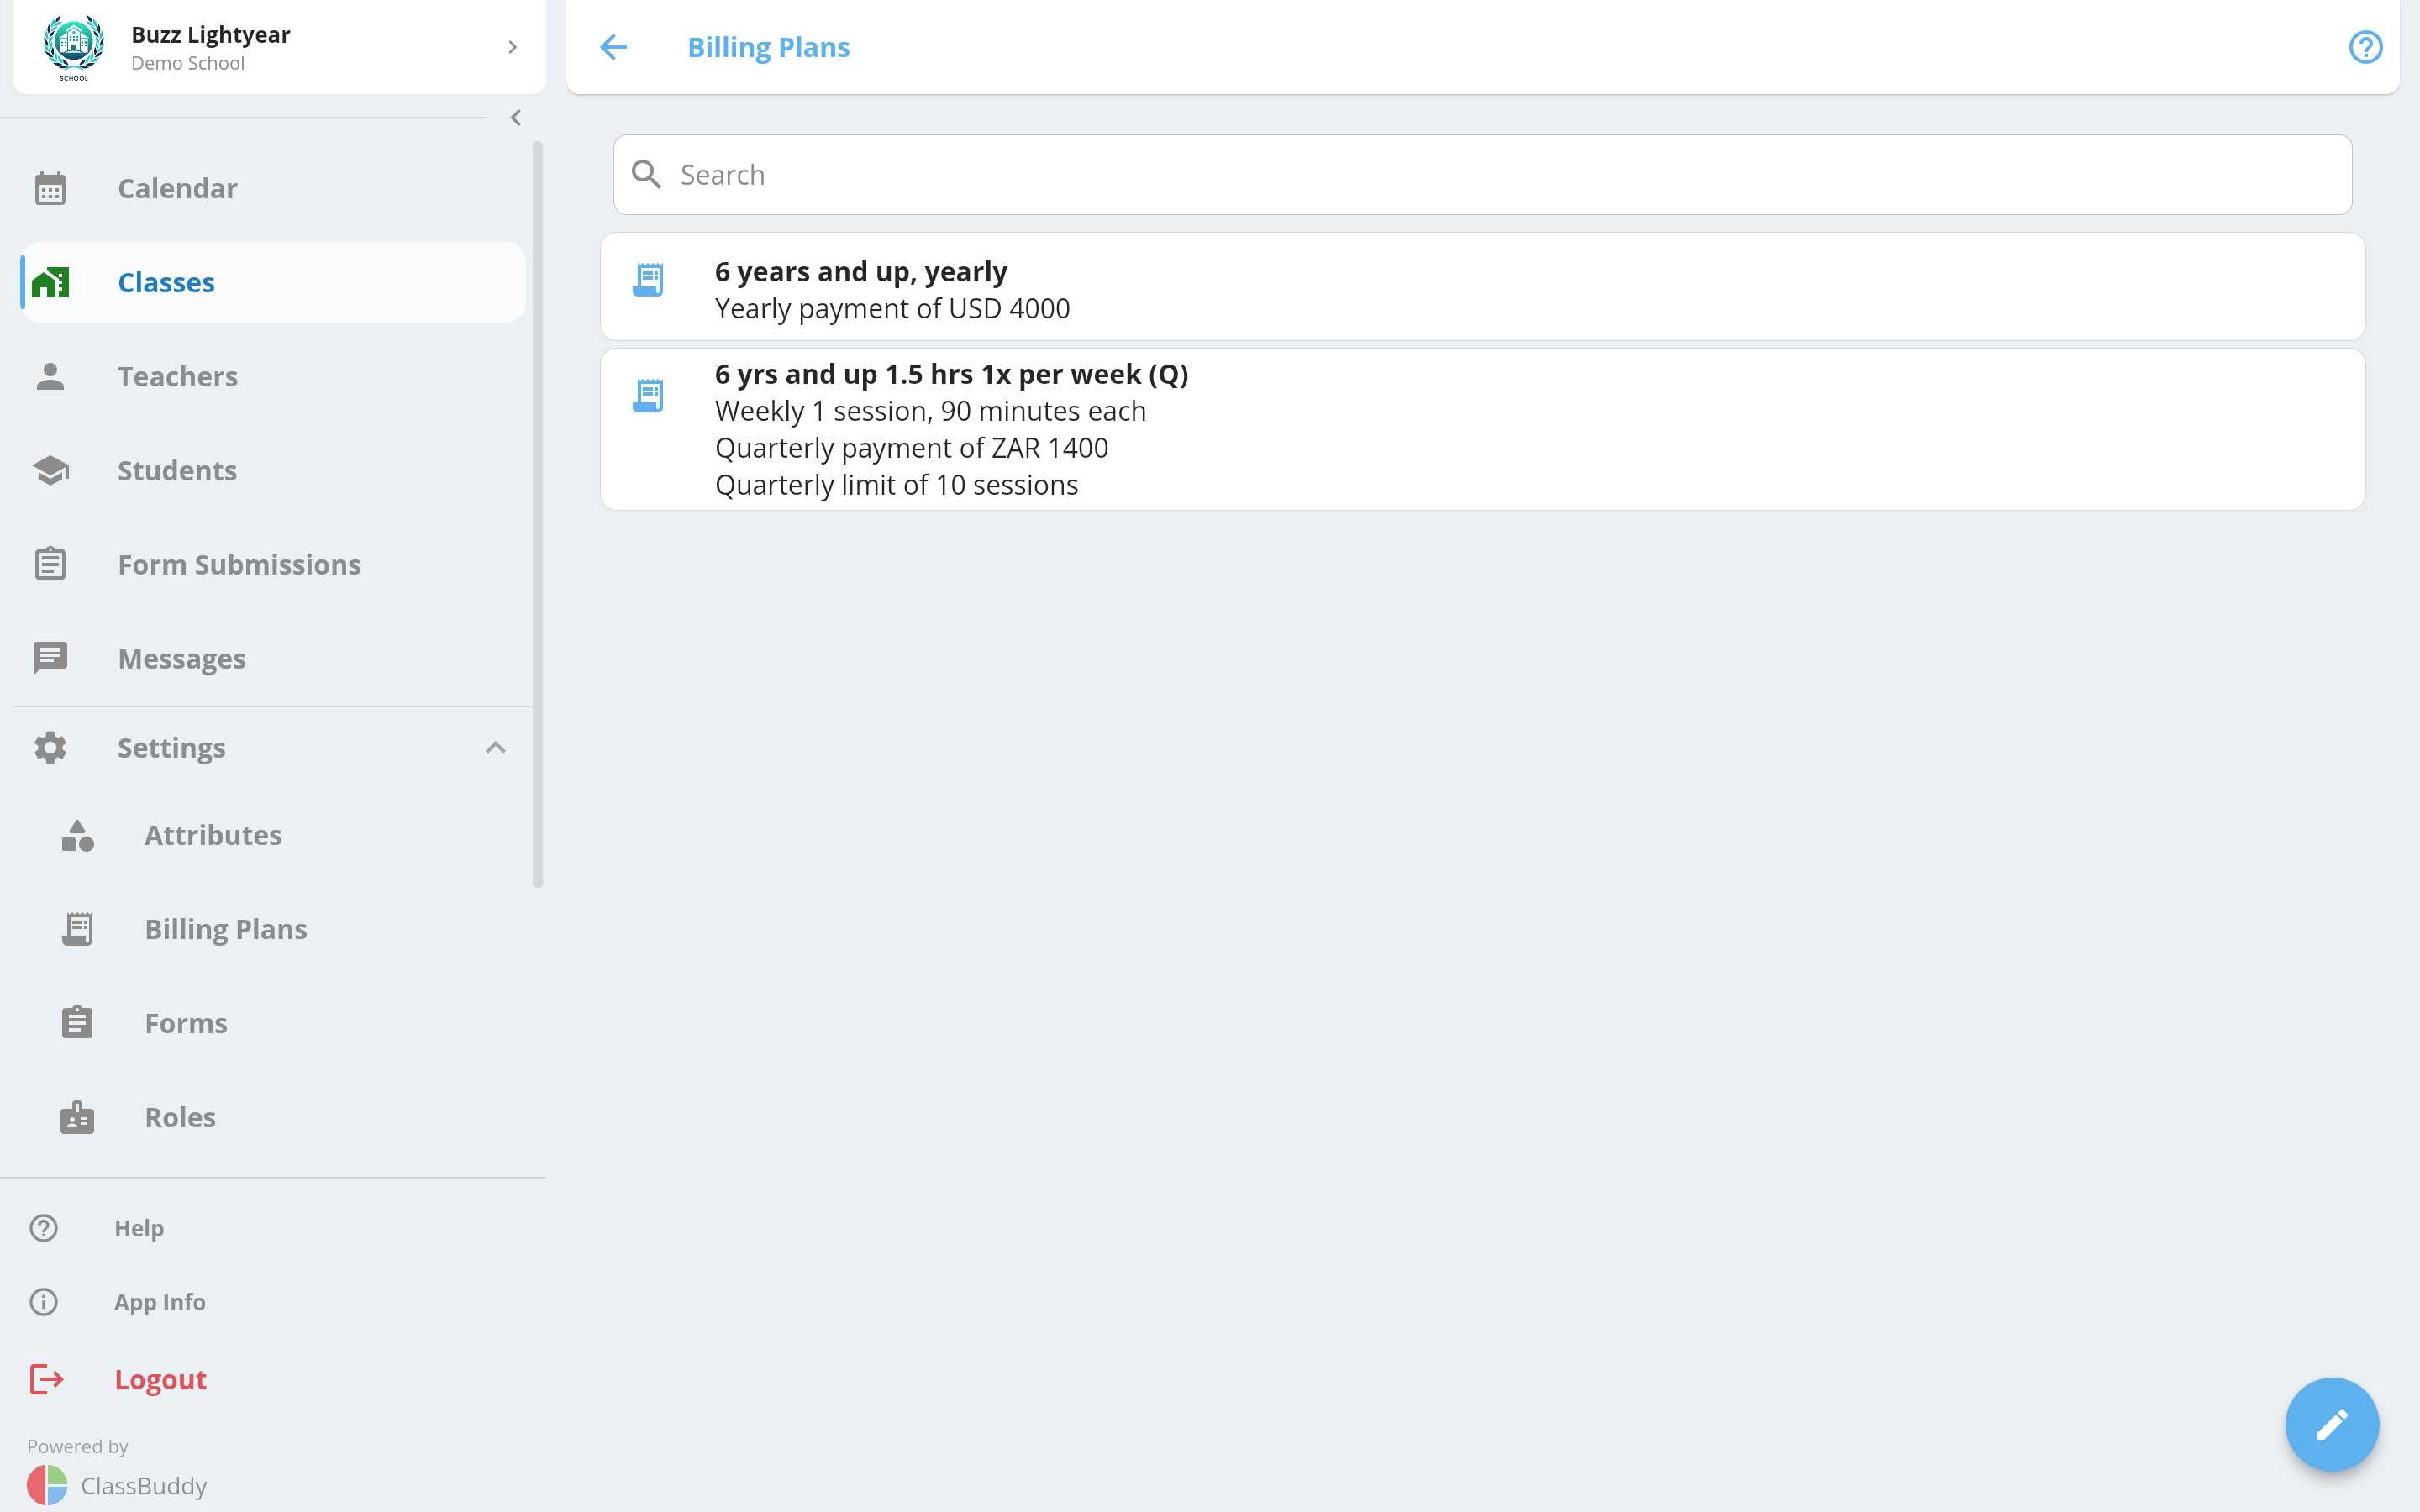
From the billing plan:
- Open the billing plan and go to the Classes tab.
- Tap + to add a class.
- To remove a class, tap the menu next to it and select Remove.
Assigning a Billing Plan to a Student
There are three ways to assign a billing plan to a student:
1. Via sign-up form (automatic)
When a student enrols through a sign-up form and selects a class/schedule, the billing plan is automatically selected based on their schedule choice. This works because ClassBuddy matches billing plans to schedules by frequency and session duration. Make sure all your billing plans are created and linked to classes before going live with a sign-up form.
2. Via the student profile
- Go to the student's profile.
- Scroll to the Billing Plans section and tap Add.
- Select the billing plan from the list and tap Save.
To change or remove a billing plan from a student, tap the menu next to the plan on their profile.
3. Via editing student schedules
- Go to the student's profile and open the Schedules tab.
- Tap the edit (pencil) icon next to a schedule.
- A billing plan may be automatically selected based on the schedule. Adjust if needed and save.
Key Rules
- A billing plan must be linked to a class before it can be assigned to a student in that class.
- On a sign-up form, billing plans are automatically matched to schedules by frequency and session duration — create all necessary plans before publishing your form.
- Private plans can be assigned by admins but do not appear on sign-up forms for students to select themselves.
XERO Integration
If your school has XERO accounting configured, billing plans can be mapped to XERO product item codes. This enables automatic invoice line item creation when billing events occur.
To configure, open a billing plan's Info tab and look for the Invoicing Items section. Tap + to map the plan to a XERO item code.
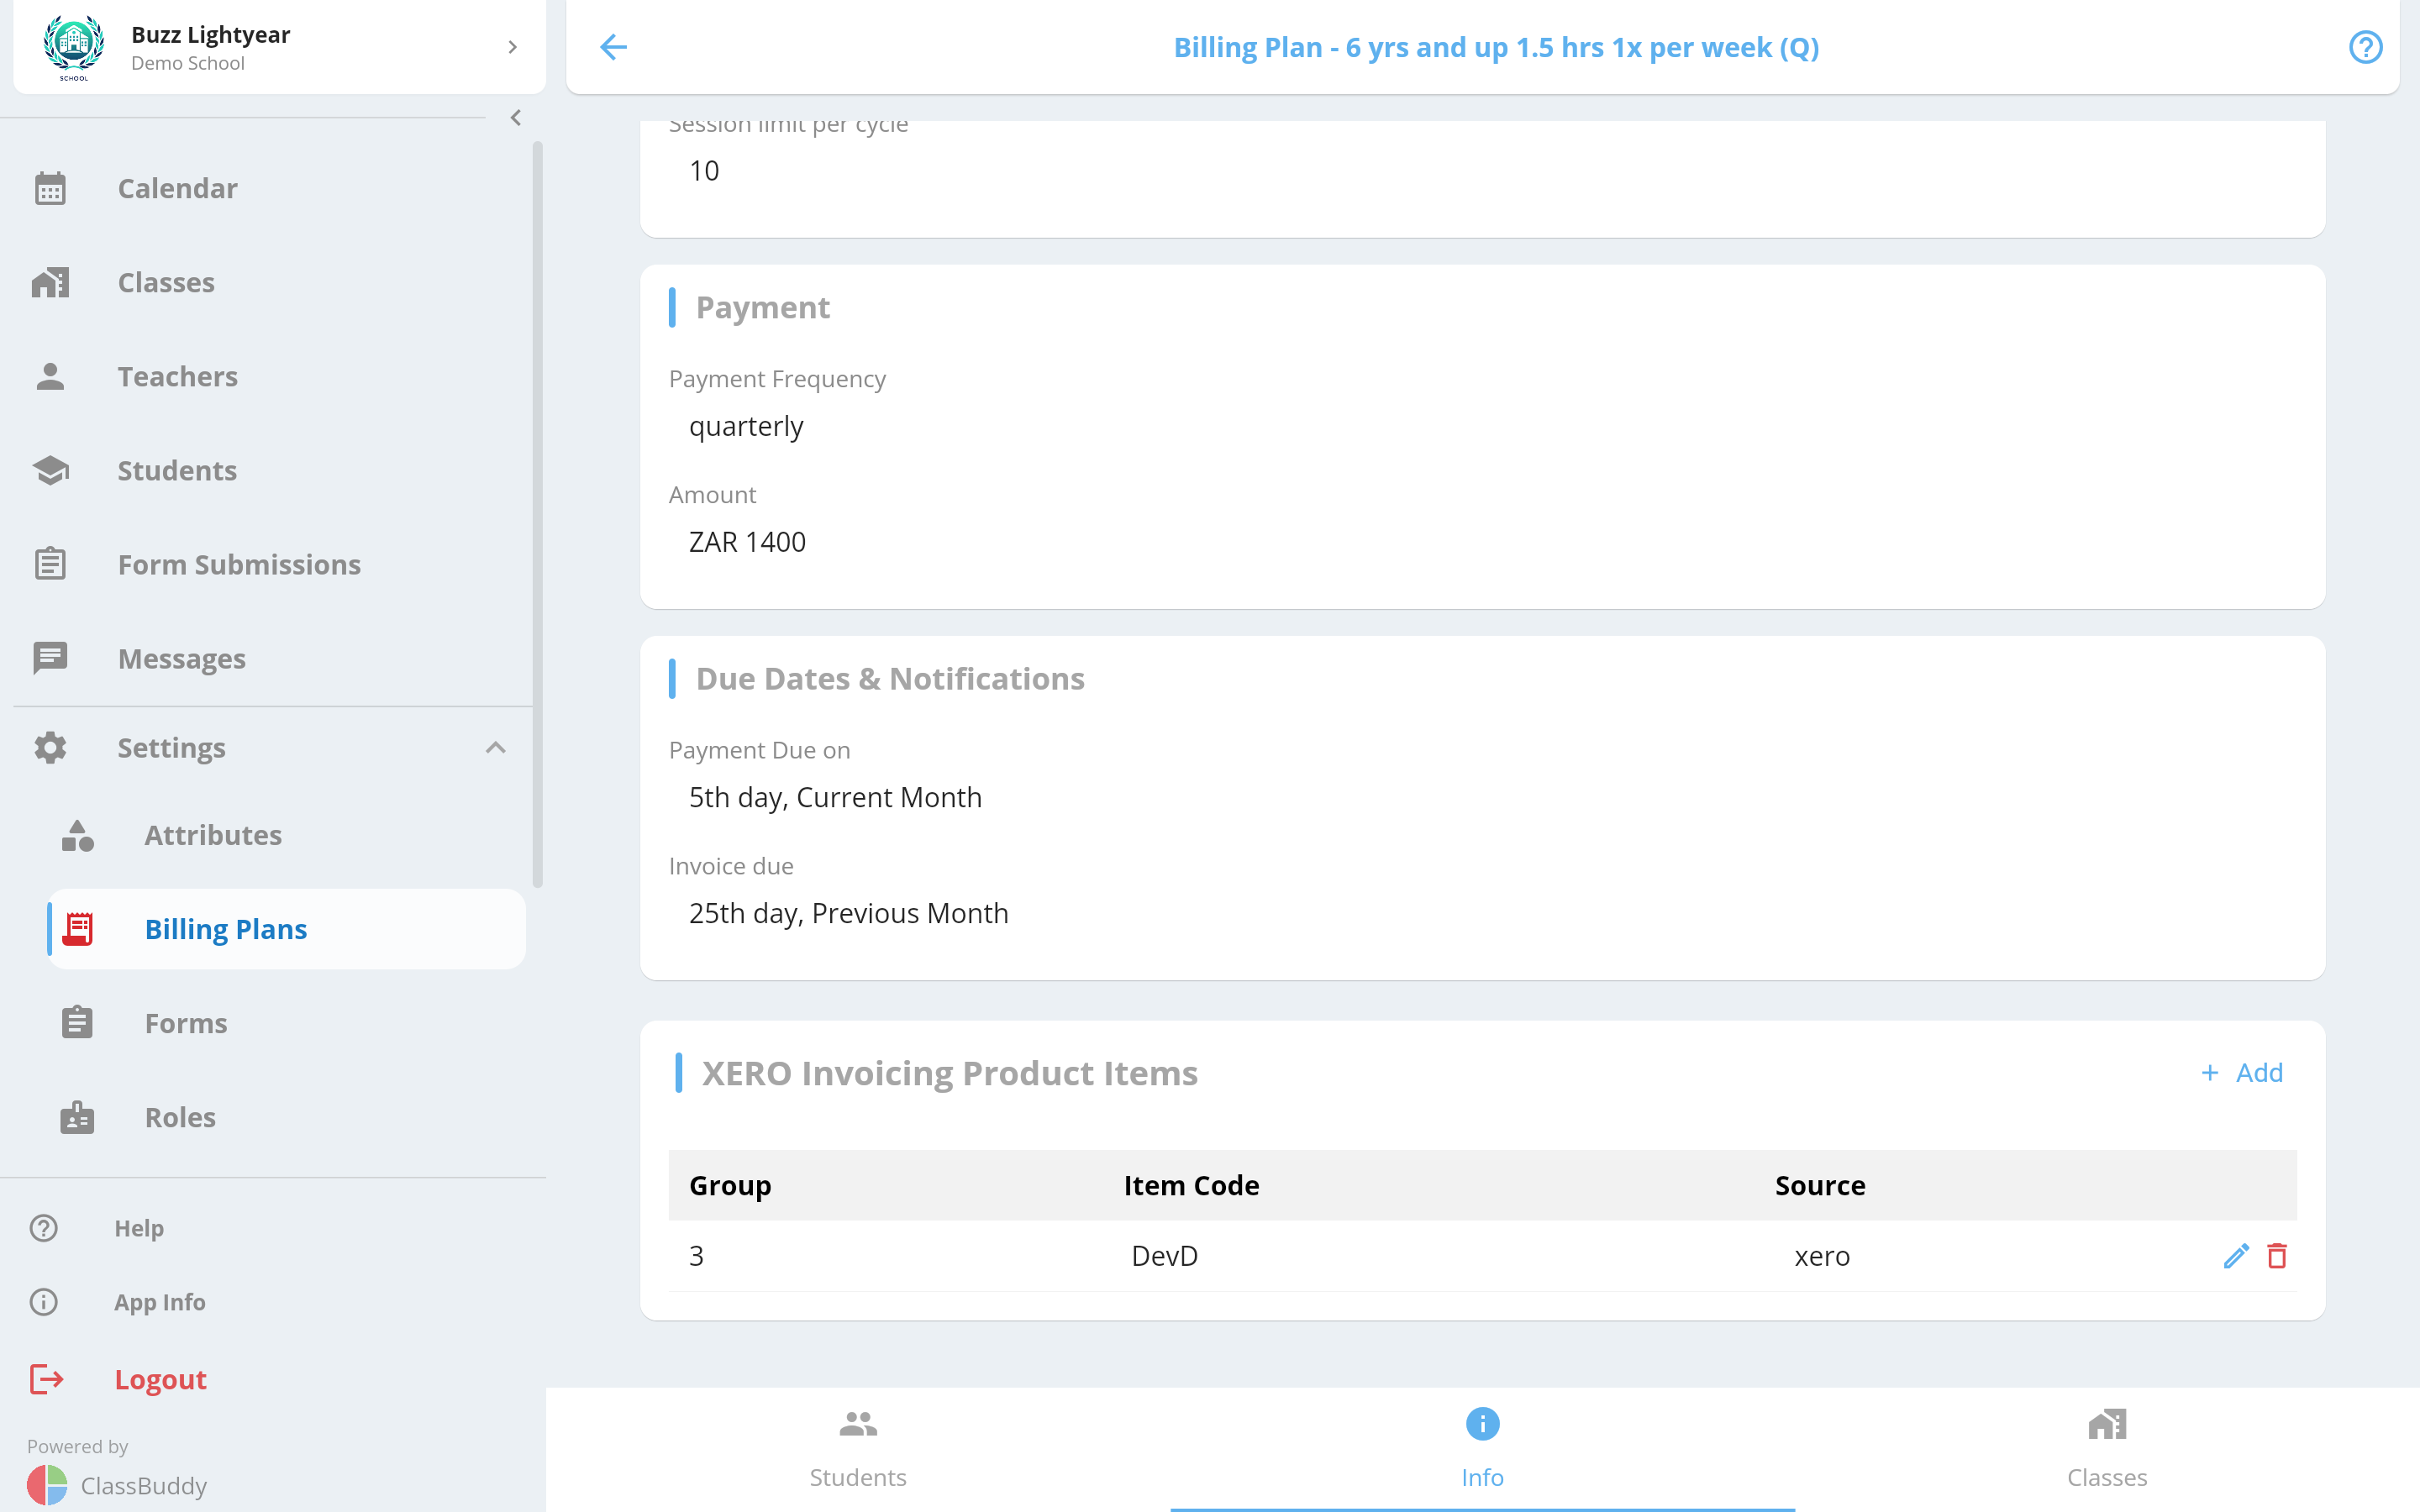
This section only appears if XERO integration has been set up for your school's setting group.